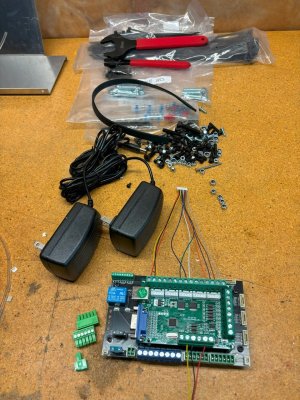
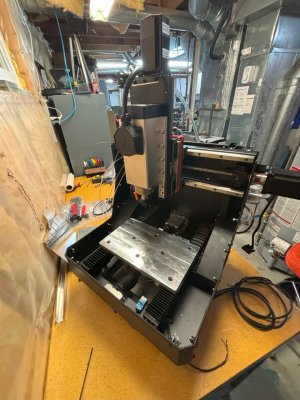
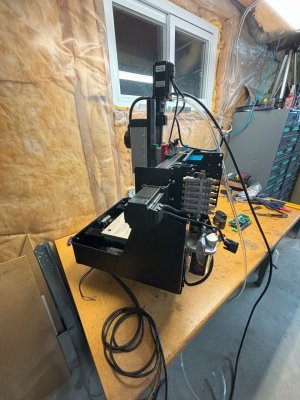
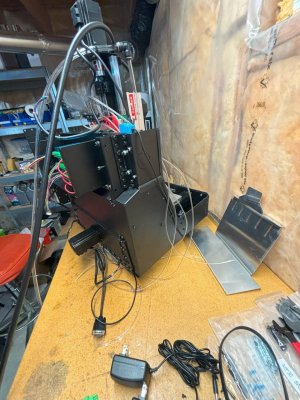
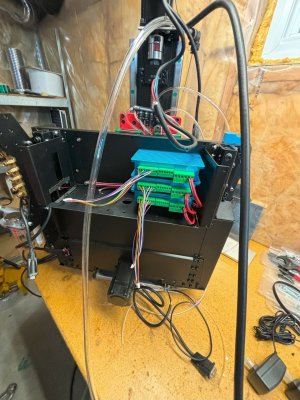
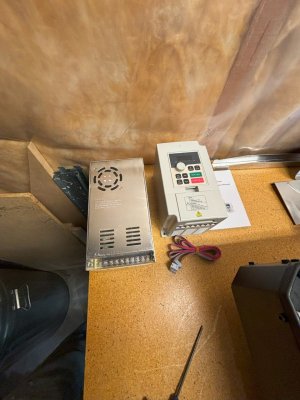
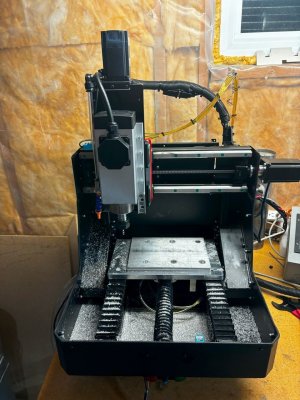
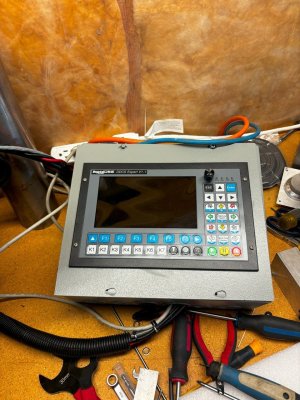
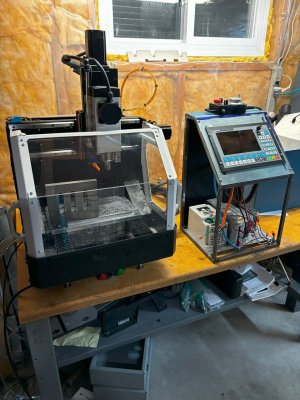
So I decided to buy a new machine. Its going to arrive hopefully tomorrow and I'll pick it up from the UPS store.
Its a DMC2 Mini Mill from https://shariffdmc.com
A bit of background storytelling on why I want (need?) this machine.
I converted a ZAY 12Z mill (RF45 type) to CNC back in 2010.
What I didn't know about CNC vs what I thought I knew about CNC machines - well you can guess, but I sure did learn a lot over the years.
Long story short - it works, has had many updates, but still leaves me wanting a machine that won't eat 3mm endmills just by looking at them. i.e. it can't do small stuff due to backlash, yes even with backlash compensation. Its just too sloppy and variable depending on where in its travel it is. (single ball nuts), and the spindle speed is too low.
I don't have it in me to tear it all apart and replace the ballscrews and nuts (and probably mounts) with new double ball nuts. Maybe once I have a 2nd milling machine...
I want to machine small things - little IC engines, bits for steam locomotives, etc. A desktop CNC seems to fit the bill there. And I'd been looking at the various router options but didn't think a cnc router was what I really wanted.
I helped someone spec out and build a Taig CNC mill just 2 years ago, they bought the Taig 5019CR micro mill and I helped them through the stepper motor and control selection and setup. Its a nice little machine but still seemed to be missing something.
And then I saw it. Youtube knew what I needed in my life - a gapping hole in my wallet and another project I don't have enough time for.
Things that this machine ticked boxes for me, that seemed to be missing in other machines:
1. enclosure - keeps most chips in. I know it won't keep them all in, but reducing the area impacted is nice.
2. proper way covers on Y axis ways and ballscrew. X and Z are elevated so not as directly impacted.
3. ability to run coolant. (coolant pump included)
4. proper oiling system
5. proper high speed variable speed spindle (ER20)
6. Claimed ability to run very small cutters / small resolution (0.1mm end mill shown in youtube video )
7. Modest price* $3400 Cad plus shipping ($250) and taxes. Not thrilled with the shipping but I'd be out a full day from work and $100 in gas to go pick it up (5hr drive each way). And it still needs a controller* - more on that later, but for the price it seems like I'd be most of the way there in terms of dollars spent if I tried to build this myself from parts I order off of Amazon or AliExpress (that thought did cross my mind several times).
Additionally - this has a real human admitting their 1st design left some room for improvement and using the feedback to improve the offering and explaining why its a better design (not just stating "new and improved")
Regardless - I'm now on this path so we'll see how it goes. Hopefully I can provide a timely update on my progress as I build and then test this thing out and my ramblings will be of use to someone else.
Mike

