When I bought my Emco V13 from Govdeals in Ohio in early March, there were 3 of them for sale. Two were in good shape, one was taken apart, parts missing etc. I got a good one. Through a post on Facebook i met a guy in Alabama who was bidding on the parts machine after the first buyer refused to take it and it was relisted. I saw the machine when i was in Ohio the previous week and it didn't look bad but I didn't look closely. I wish they'd have told me that the sale fell through because i would have bought it too. I offered my opinion on it to the fellow from Alabama and he bought it. Most parts were available and he ordered them, but several parts couldn't be sourced new or used. Nobody parts them out it seems. So i agreed to help my new friend out. He's missing the change gear quadrant, RH bearing block, tailstock leadscrew, dial holder and a few other bits, and probably more to come.
Here's some pics. Everyone likes pics, right?
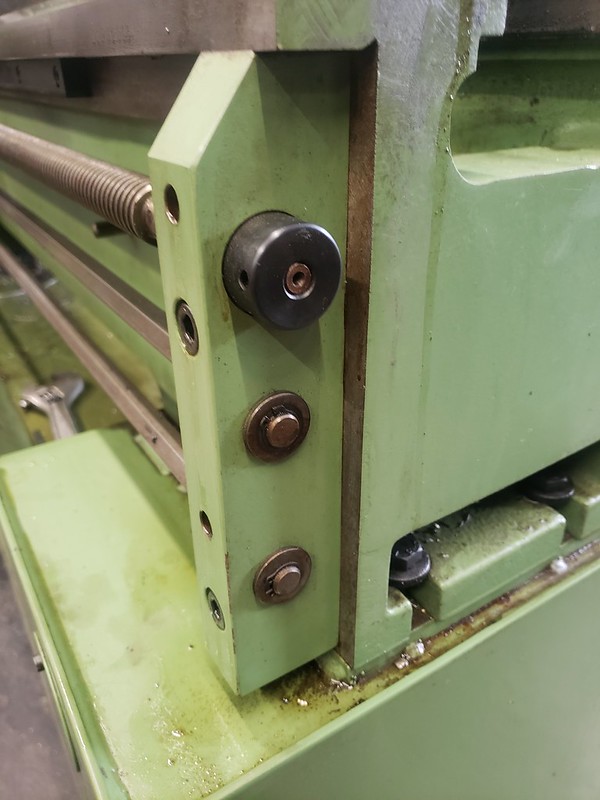
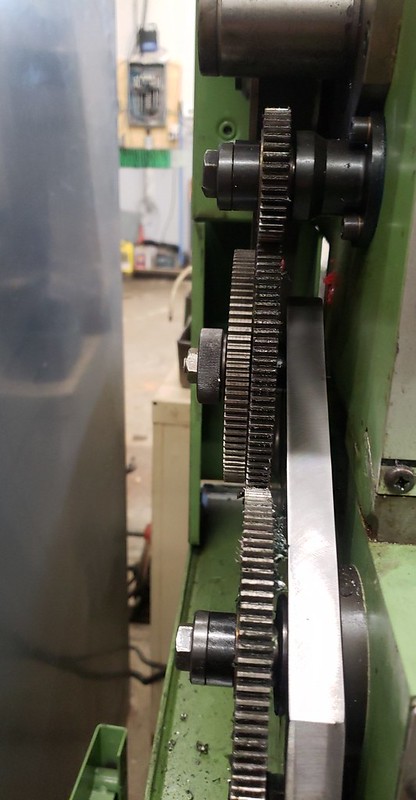
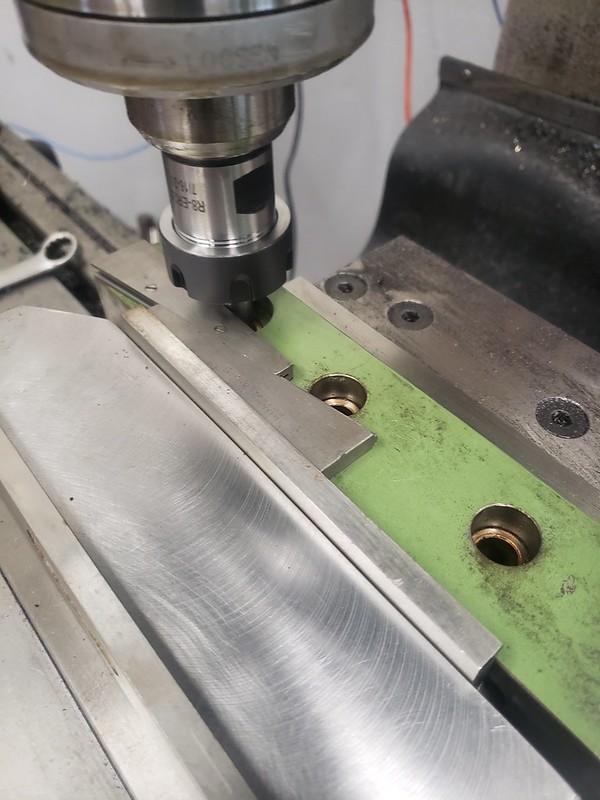
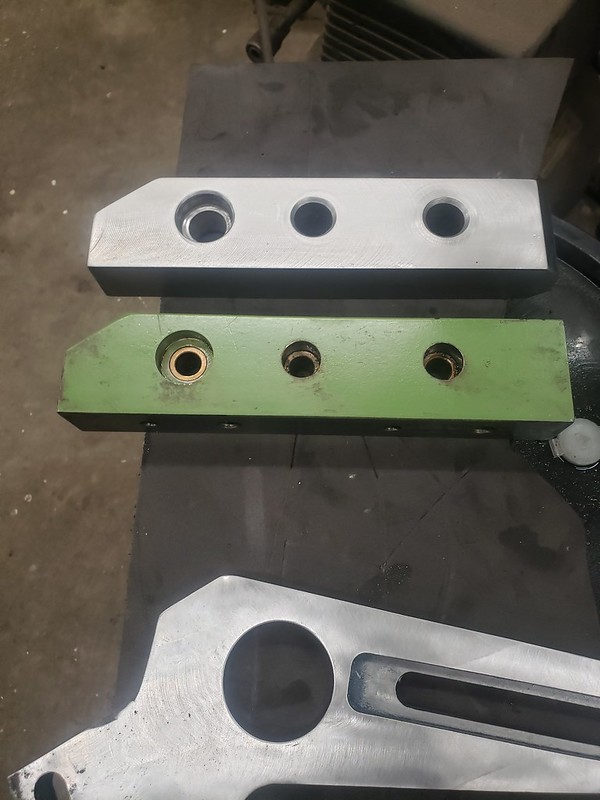
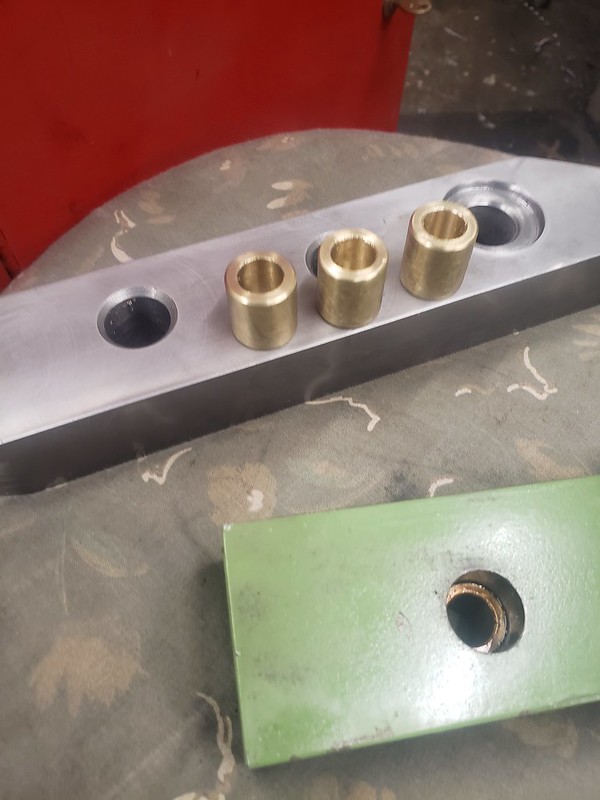
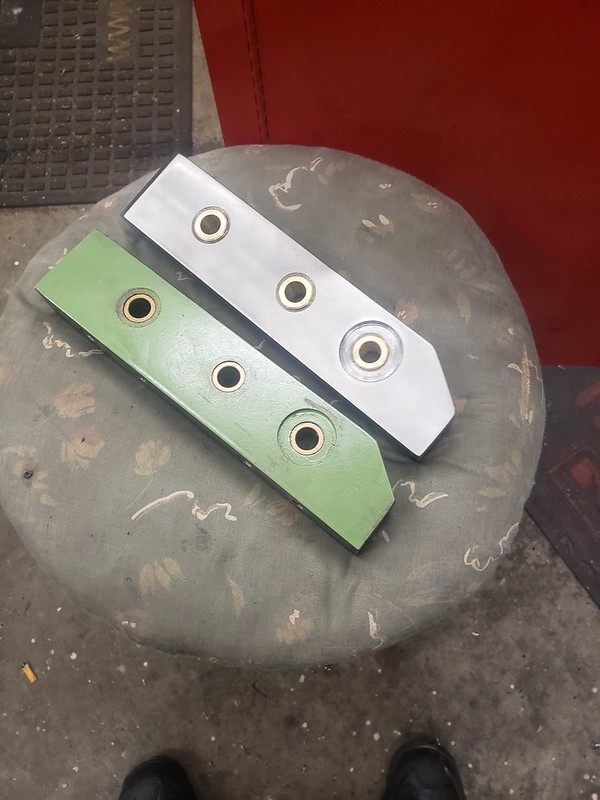
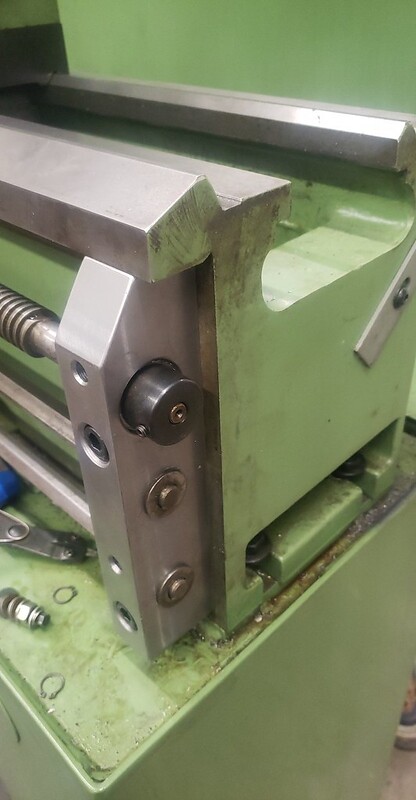
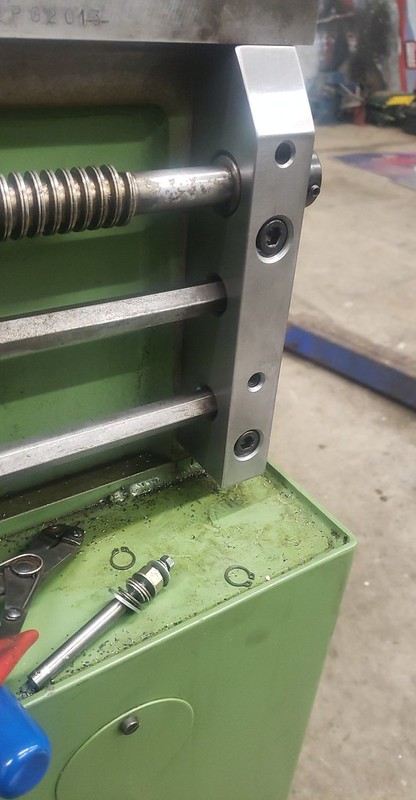
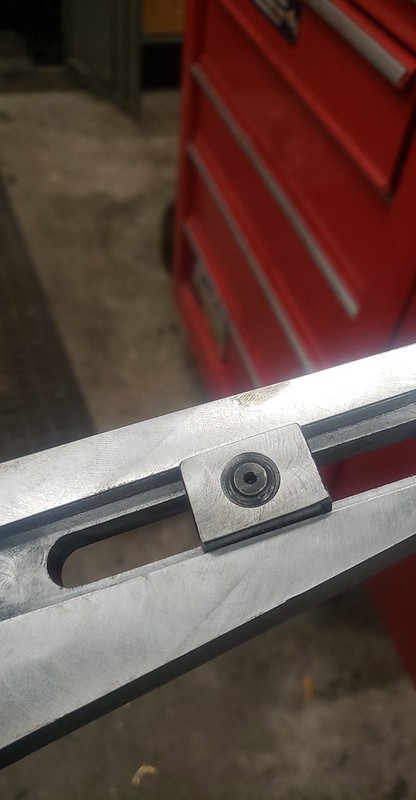
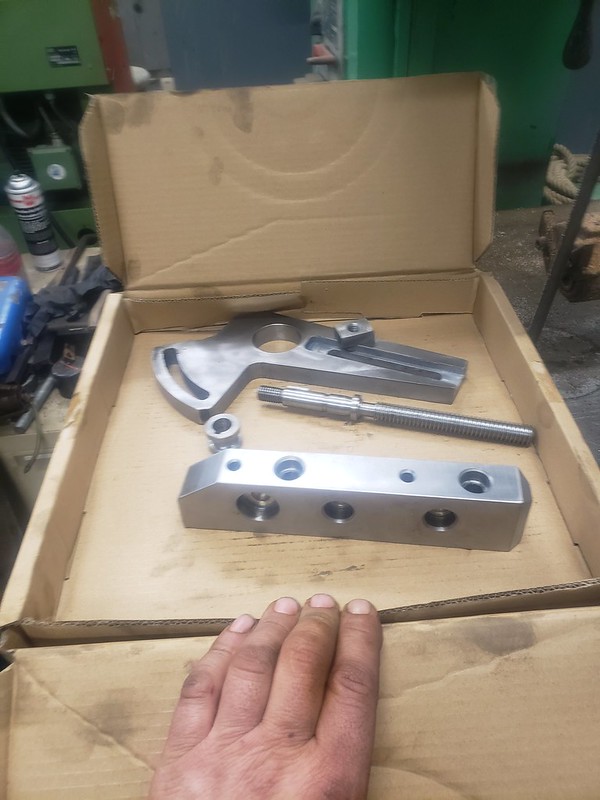
He's missing this block
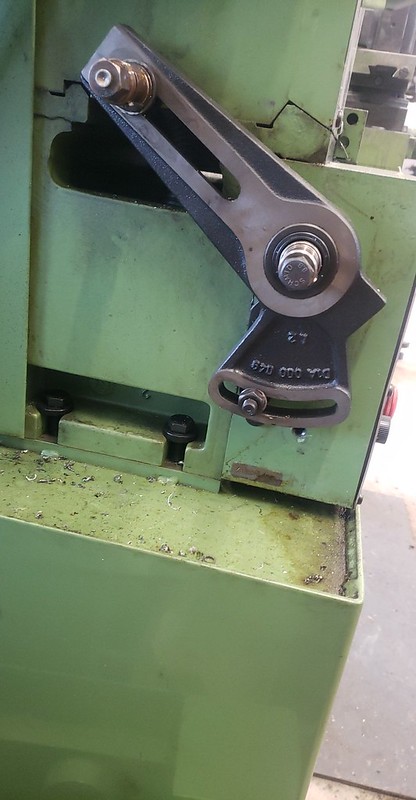
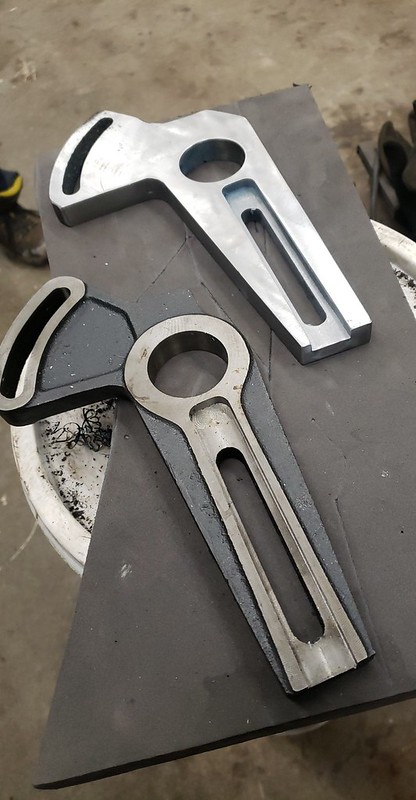
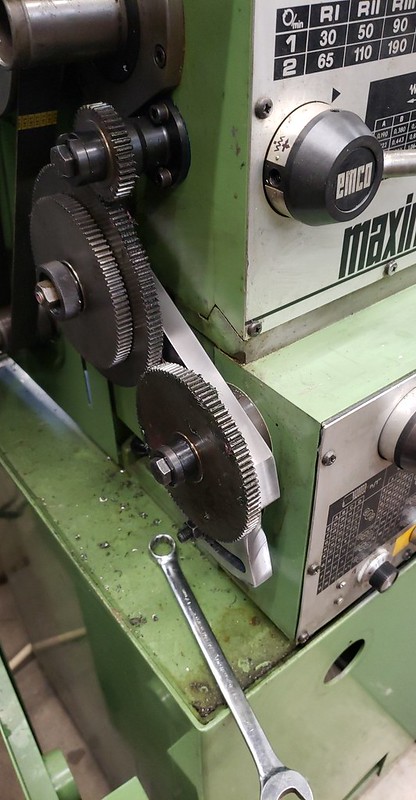
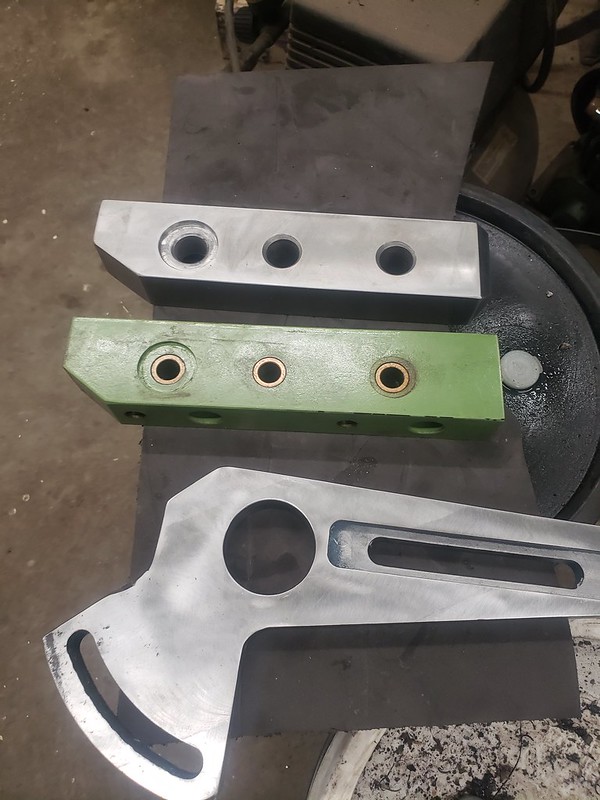
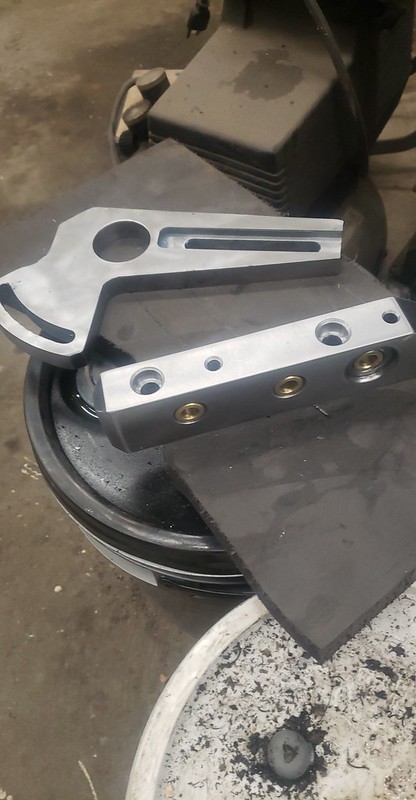
this quadrant
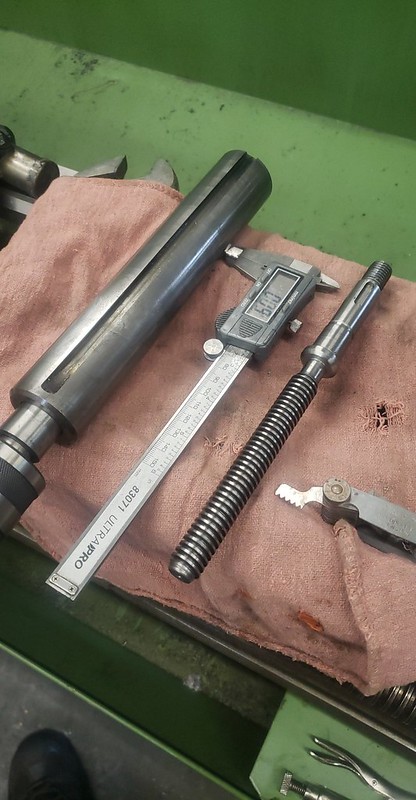
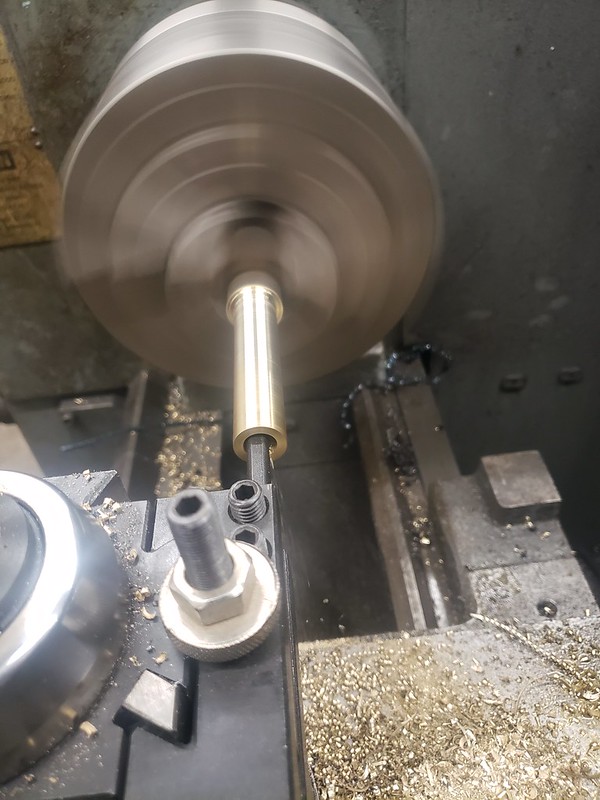
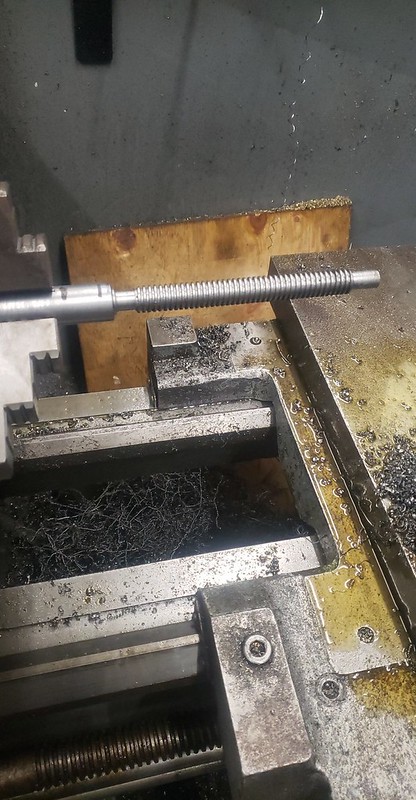
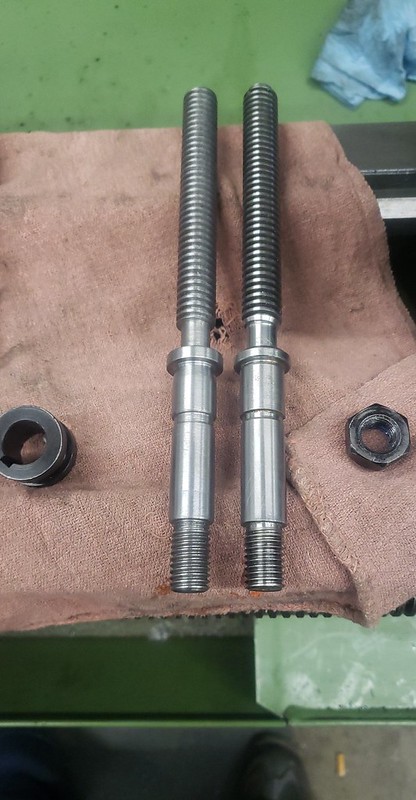
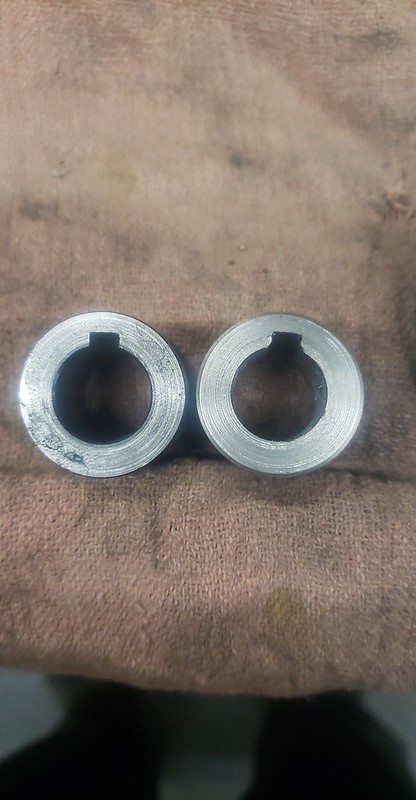
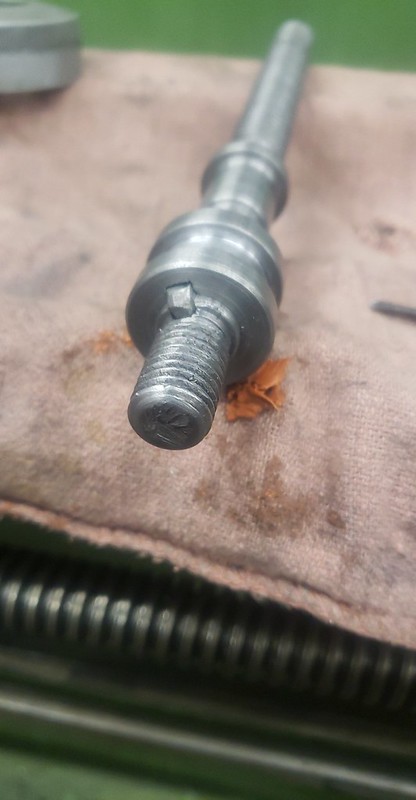
Tailstock screw
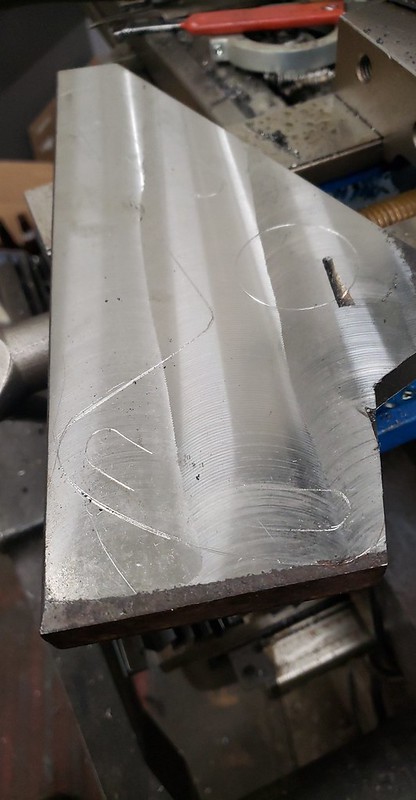
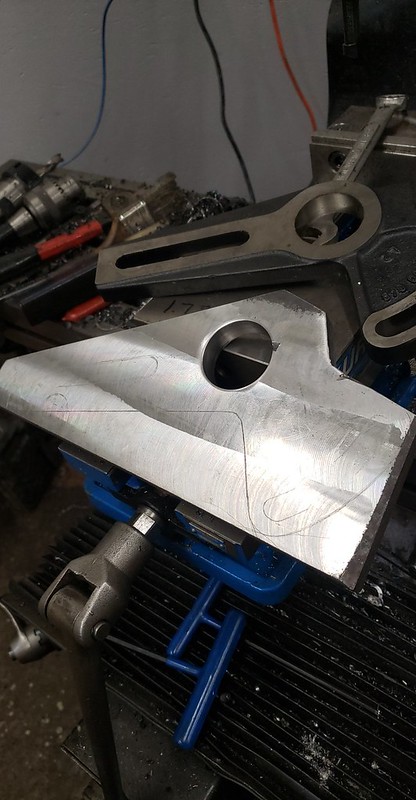
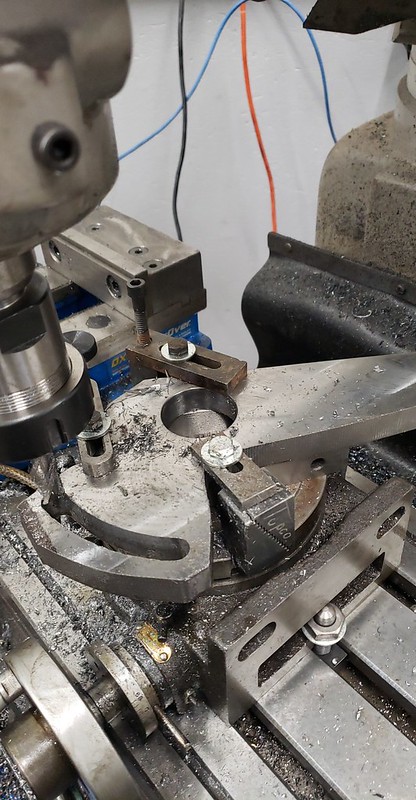
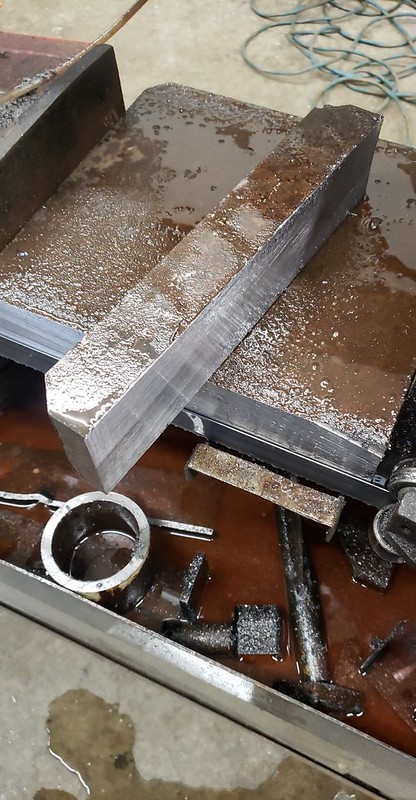
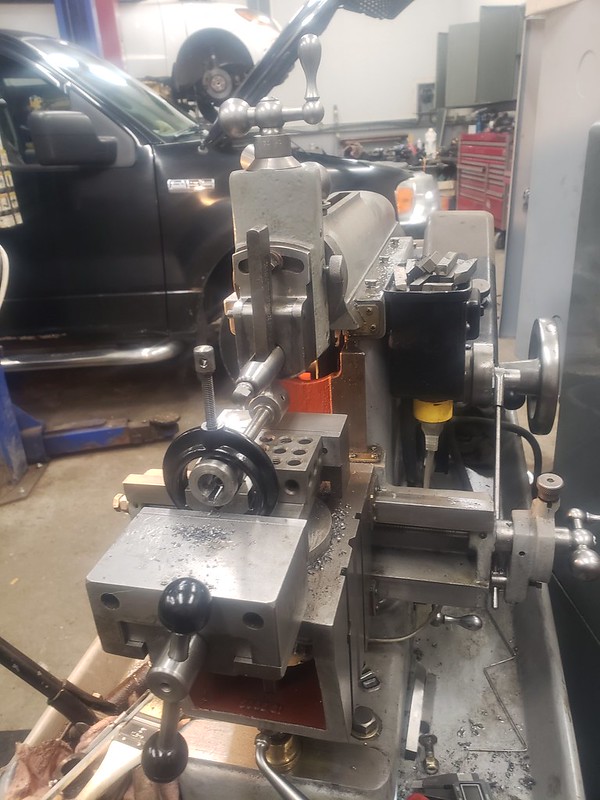
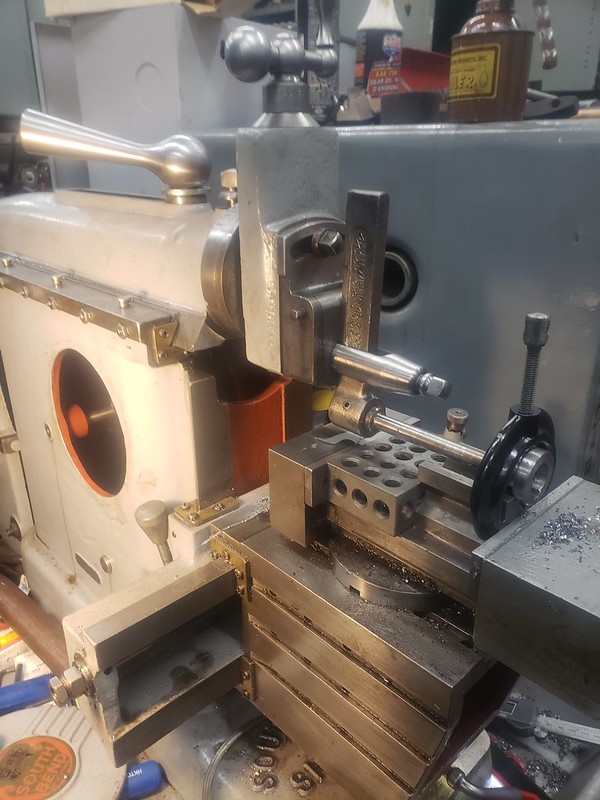
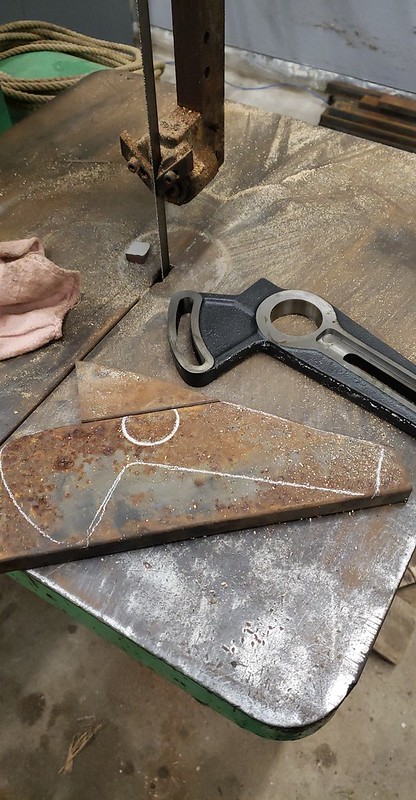
I started with the quadrant. Simple job for the bandsaw and mill
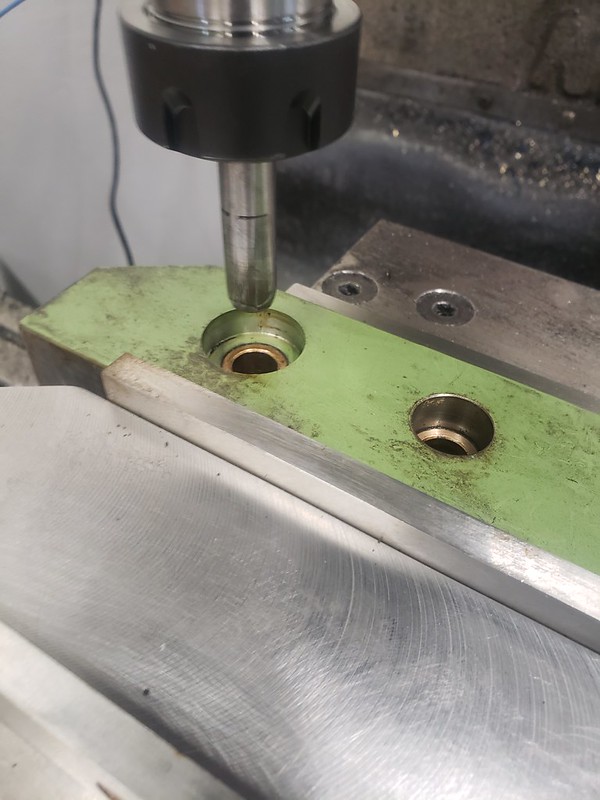
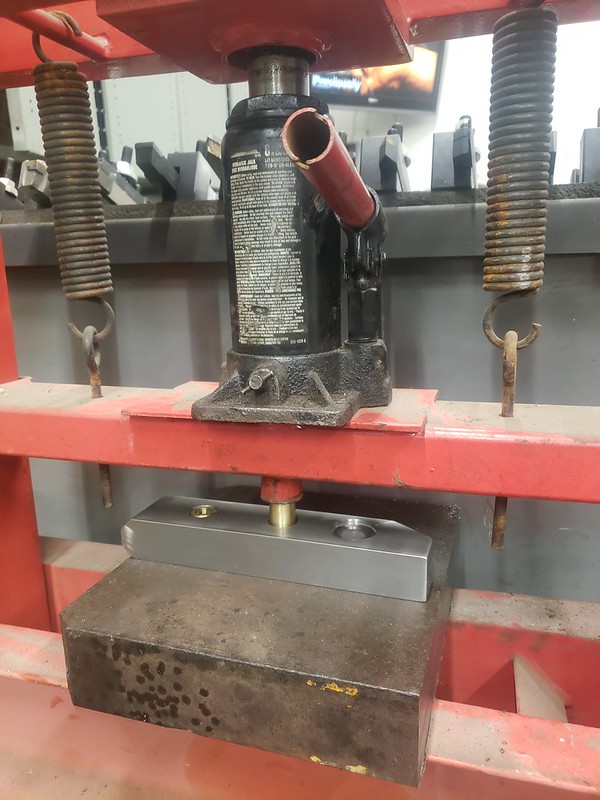
I had some welding to do
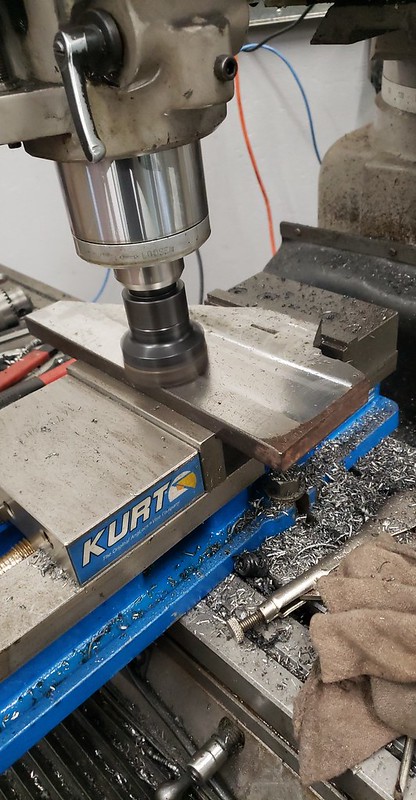
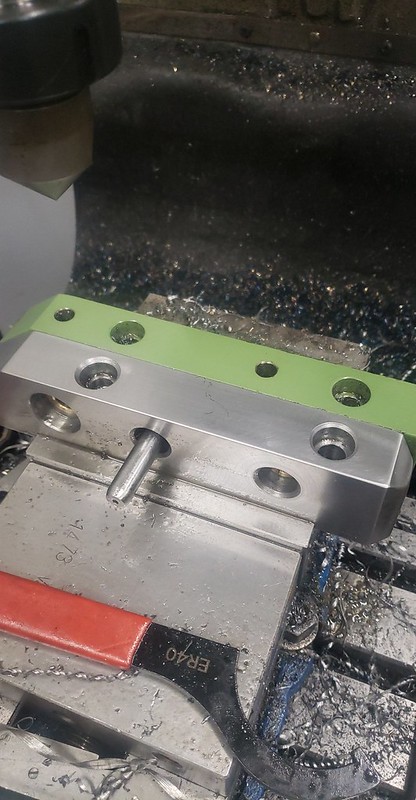
The welding didn't warp it too bad. Took 25 thou off each side
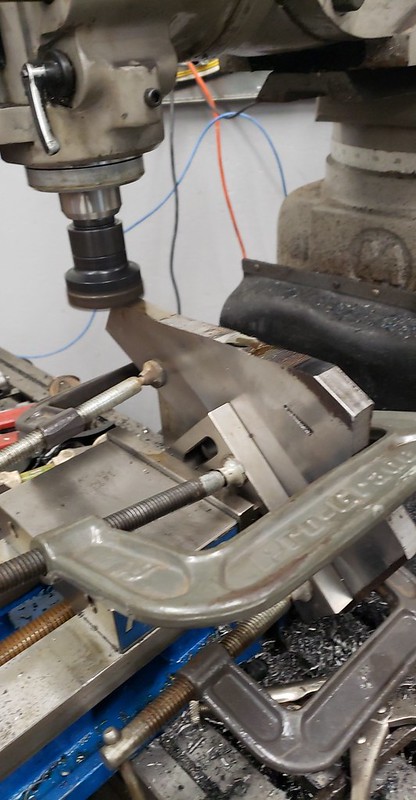
Wish i would have made the bandsaw cuts a bit straighter, but i left a bit of extra meat to clean up
Here's some pics. Everyone likes pics, right?
He's missing this block
this quadrant
Tailstock screw
I started with the quadrant. Simple job for the bandsaw and mill
I had some welding to do
The welding didn't warp it too bad. Took 25 thou off each side
Wish i would have made the bandsaw cuts a bit straighter, but i left a bit of extra meat to clean up