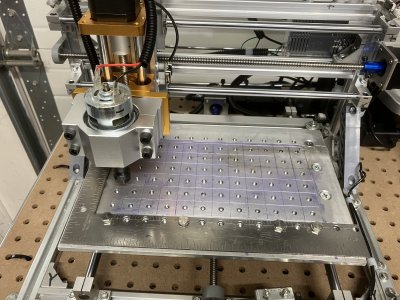
Here’s my latest iteration of cheap engravers. 3018 CNC router with aluminum spoil board (6 mm tapped holes on 20 mm centres), and Jinsoku LE-1620 laser engraver. Table is a roll-around shelf unit I snagged from a grocery store that was buying new fixtures and blowing out their old shelves. Rock solid, and a layer of 1/4” pegboard makes a nice work surface.
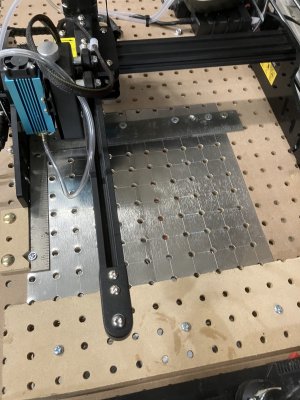
The laser engraver has an aluminum spoil board with hold-down holes matching the pegboard holes. Rube Goldberg air assist made from an aquarium pump and some vinyl tubing.
$100 PC with $15 monitor, no big worries if they get fried when something goes wrong. Spent more money on software than hardware. ESTLCAM for the router, Lightburn for the laser.