Working on Anodising aluminium. After ruining many pieces I finally have some good results.
A few key learned details.
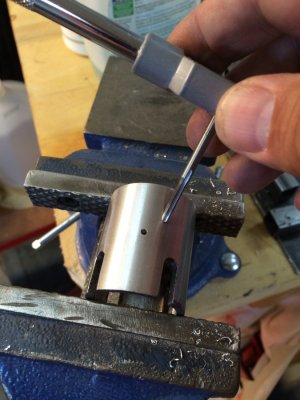
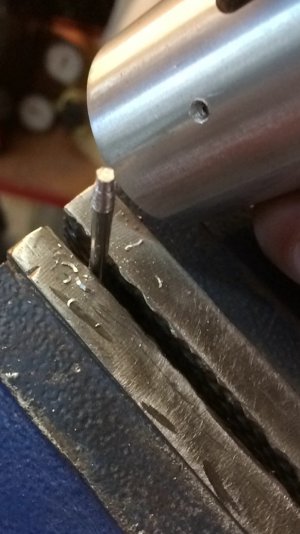
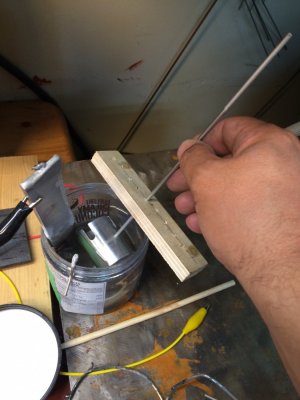
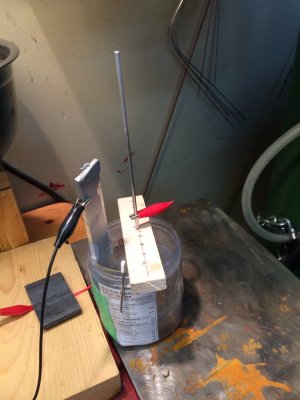
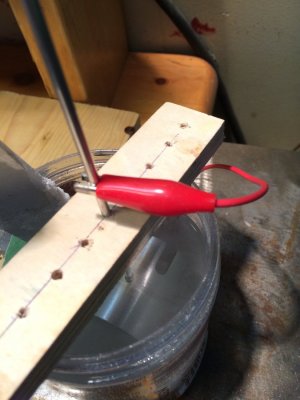
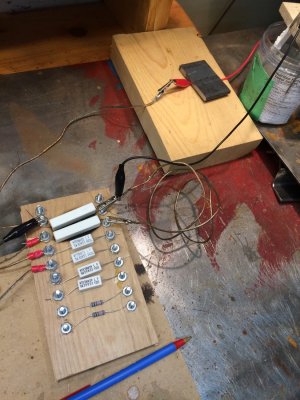
The electrical connection has to be solid. Make a jig or a threaded connection. Al wire is too brittle to connect firmly enough.
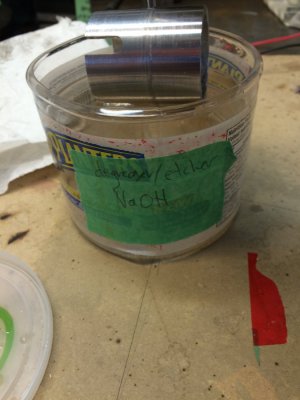
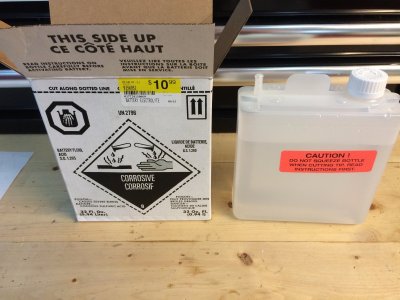
Use battery acid. People on the net claim other concoctions work. Not for me. Hard to find in Calgary. I bought mine in Montana. I can't confirm but I was told Gregs distributor has it here in town.
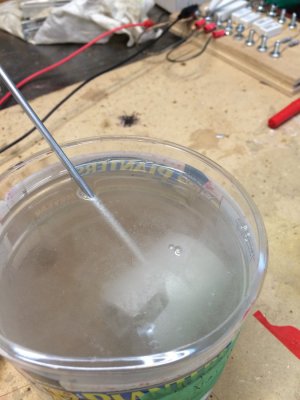
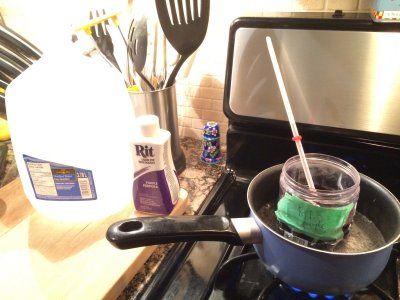
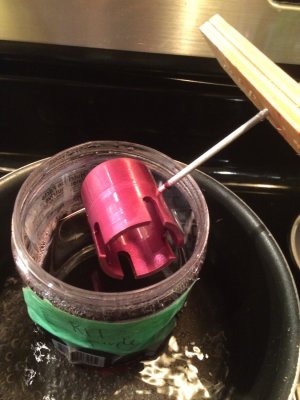
Make sure the dye is hot (60C+) before you put the part in. Don't let the part dry out before the dye bath. I just used liquid RIT fabric dye.
Good videos on the net on this topic.
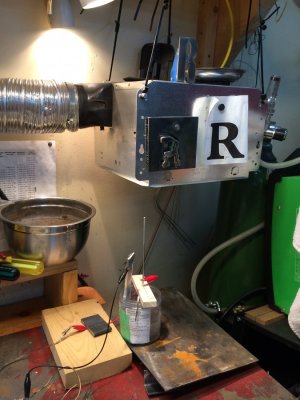
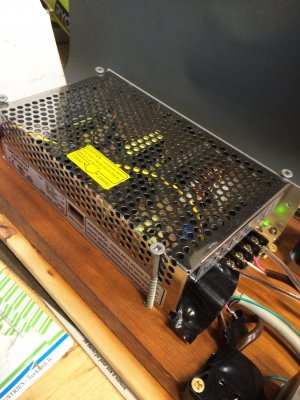
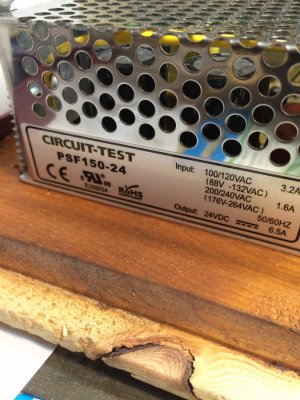
Try to get the amperage correct. Buy big resistors and do the ohms law math.

A few key learned details.
The electrical connection has to be solid. Make a jig or a threaded connection. Al wire is too brittle to connect firmly enough.
Use battery acid. People on the net claim other concoctions work. Not for me. Hard to find in Calgary. I bought mine in Montana. I can't confirm but I was told Gregs distributor has it here in town.
Make sure the dye is hot (60C+) before you put the part in. Don't let the part dry out before the dye bath. I just used liquid RIT fabric dye.
Good videos on the net on this topic.
Try to get the amperage correct. Buy big resistors and do the ohms law math.
Attachments

Last edited: