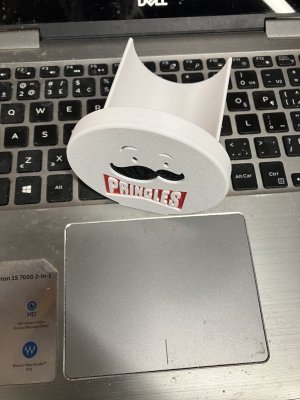
Could be a fun Christmas gift. Friend of mine saw it on FB
What is it Dave? A cheese slicer?

Could be a fun Christmas gift. Friend of mine saw it on FB

It's for Pringle's, slide it in on the top side of the can, rotate it 180 degrees and all the chips are on their own little trayWhat is it Dave? A cheese slicer?
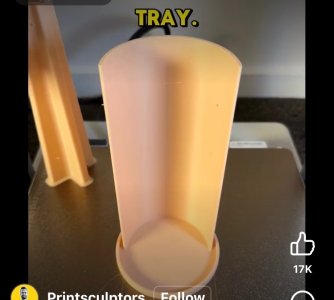
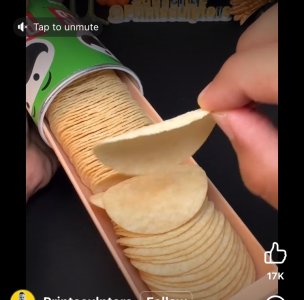
It's for Pringle's, slide it in on the top side of the can, rotate it 180 degrees and all the chips are on their own little tray
How did you get to cheese slicer from Pringle's? 😛


good practice on multi color and surprising how easy the supports came off.View attachment 76505
Could be a fun Christmas gift. Friend of mine saw it on FB
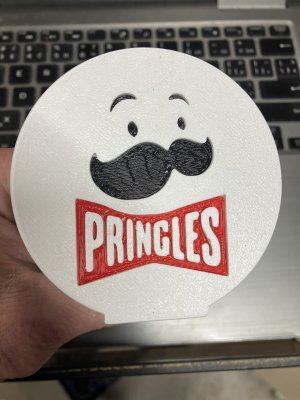
Sure! That would be great, if you want to try making one or two, please!good practice on multi color and surprising how easy the supports came off.
I can probably help you out if its still on your radar, my printer is improved and my skills are improving
View attachment 77595

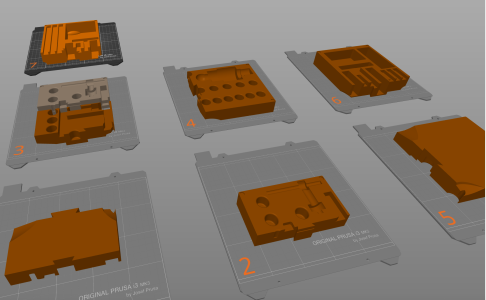
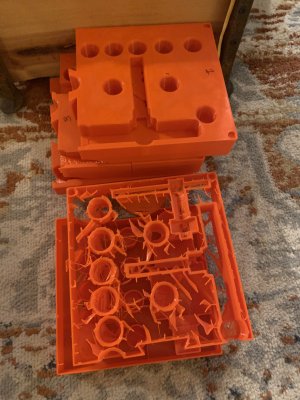
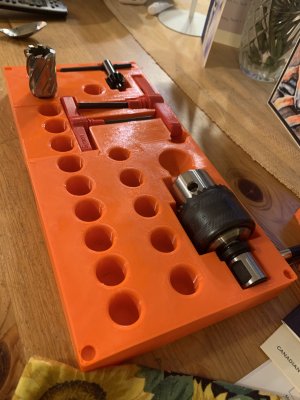
Bambu slicer slices models into sub-parts. The Prusa slicer does a better job by having an option for an automatically created dove tail on both sides of the cut. Both programs are based on...something else...Cura? Not sure off the top of my head. See my toolbox posts for the Vevor Mag Drill: https://canadianhobbymetalworkers.com/threads/vevor-mag-drill-1100w.18574/post-229513I never heard of any programs like that any recommendations?
For some reason, since in many sites there's no monetary reward for posting files, I don't understand why these 'makers' post stl files. 99% of the CAD programs can't import these to then make changes.Is it easier to modify existing files, like makerworld has, or just start from scratch?
How easy is it to "snip" part of a file and rotate it 180 degrees, or copy it to add a second one?
How easy or hard is it to change dimensions, is it click and drag to enlarge/tighten?
For some reason, since in many sites there's no monetary reward for posting files, I don't understand why these 'makers' post stl files. 99% of the CAD programs can't import these to then make changes.
Now if they provide a STP or STEP file then you can import it and modify it.
To print more than one of the same it's up to your 3D printer slicer to load or duplicate copies.
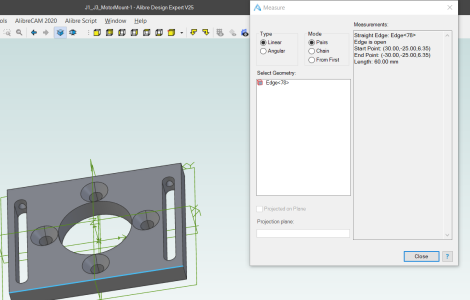
Again a STEP file can be scaled. For example: I imported this stp file. Then measured the edge.
View attachment 78469
Then scaled it by 1.5 and now the edge is 90mm.
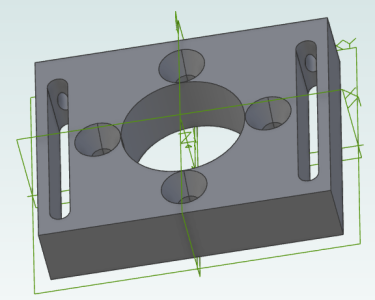
My software also let's me scale X or Y or Z or a combination so here it is twice as thick.
View attachment 78470
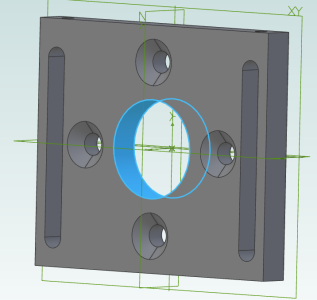
What I can't do is make the hole smaller. Not easily. Instead I first have to plug the hole and make a new hole.
View attachment 78471
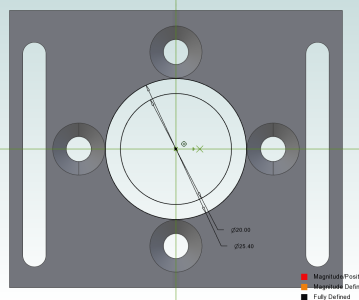
That's really not that hard though. Create two circles and extrude that to essentially make an insert that is flush with the existing hole and has a smaller center.
View attachment 78472
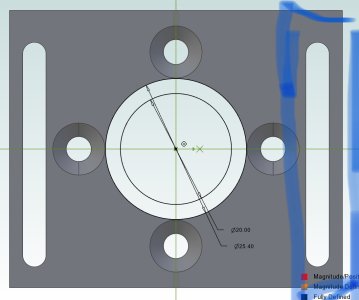 Ahh. So stl is no edit, copy paste print.
Yes. You can build on what is there.View attachment 78473Ahh. So stl is no edit, copy paste print.
In stp, could you "snip" that piece and add a second one beside it?
Is it easier to modify existing files, like makerworld has, or just start from scratch?
How easy is it to "snip" part of a file and rotate it 180 degrees, or copy it to add a second one?
How easy or hard is it to change dimensions, is it click and drag to enlarge/tighten?
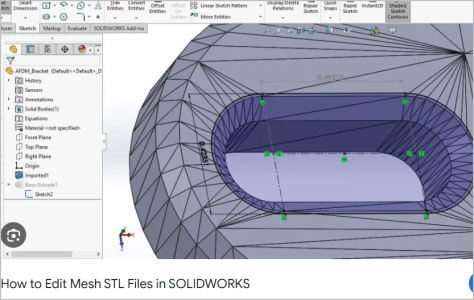
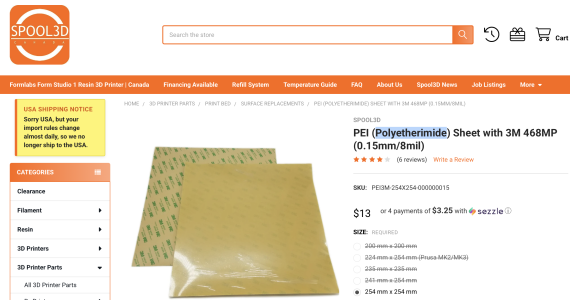
Anybody tried this?
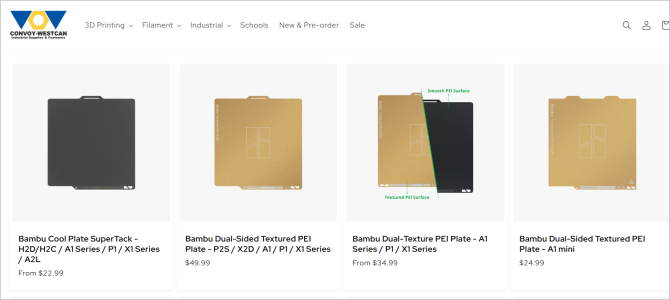
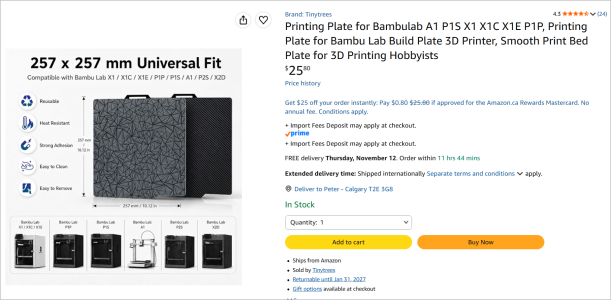

My old Makerbot used a stick on surface I could never get it to lie flat without a wrinkle or air bubbles in the enclosed area.The steel build sheets for my printers are quite scratched up. I see there are new stick on PEI 'sheets' you can get to replace the surface. Anybody tried this? I was hoping I could just put the new sheet on top of the existing surface and avoid any removal headaches.
View attachment 89245
And an article on restoring PEI surface so prints stick to them again. (although they say it's only for PLA and PETG is different)
https://layercraftlog.com/fdm-printing/pei-surface-reconditioning-protocol