• Spring 2024 meetup in Calgary - tentative date Saturday, April 20/2024. Other regions are also discussing meet ups. If you want one in your area get going on organizing it! discussion
  • We are having email/registration problems again. Diagnosis is underway. New users sorry if you are having trouble getting registered. We are exploring different options to get registered. Contact the forum via another member or on facebook if you're stuck. Update -> we think it is fixed. Let us know if not.
  • Spring meet up in Ontario, April 6/2024. NEW LOCATION See Post #31 Discussion NEW LOCATION

Tool Vise stop

Tool

Doggggboy

Ultra Member
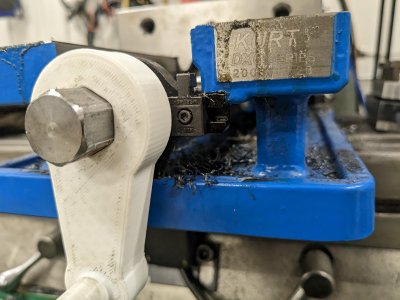
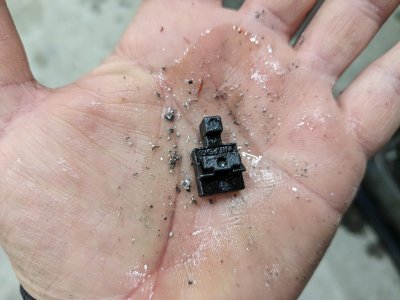
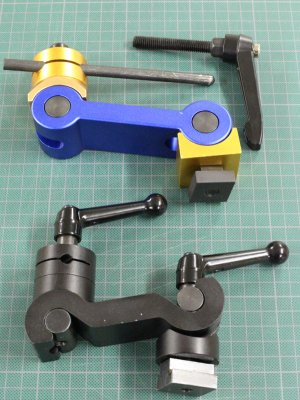
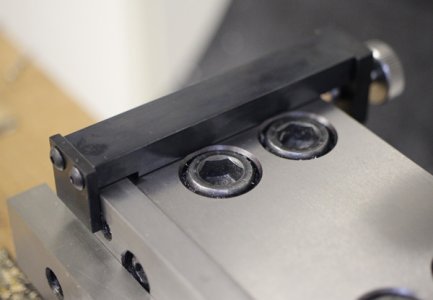
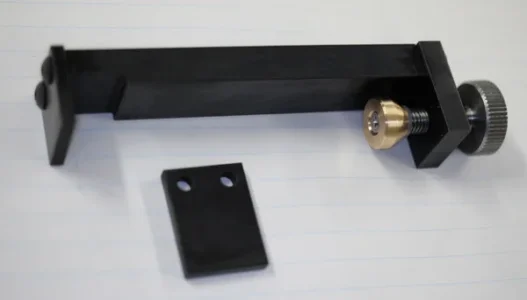
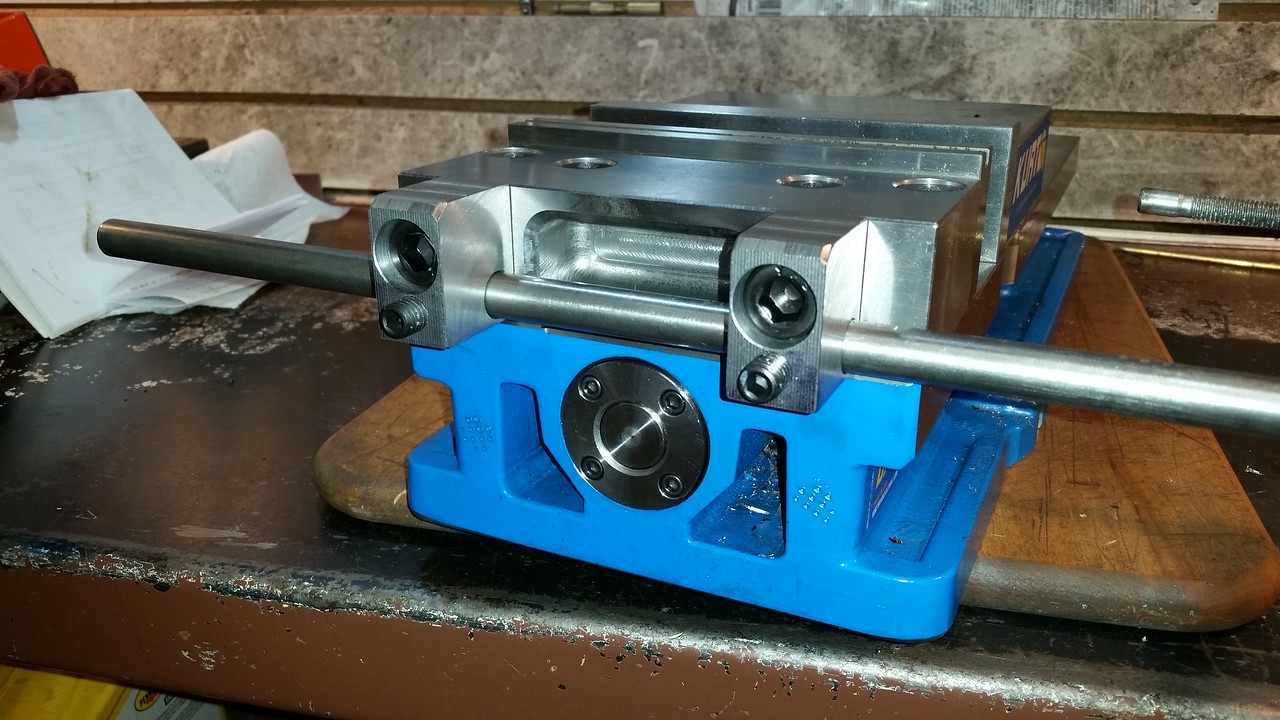
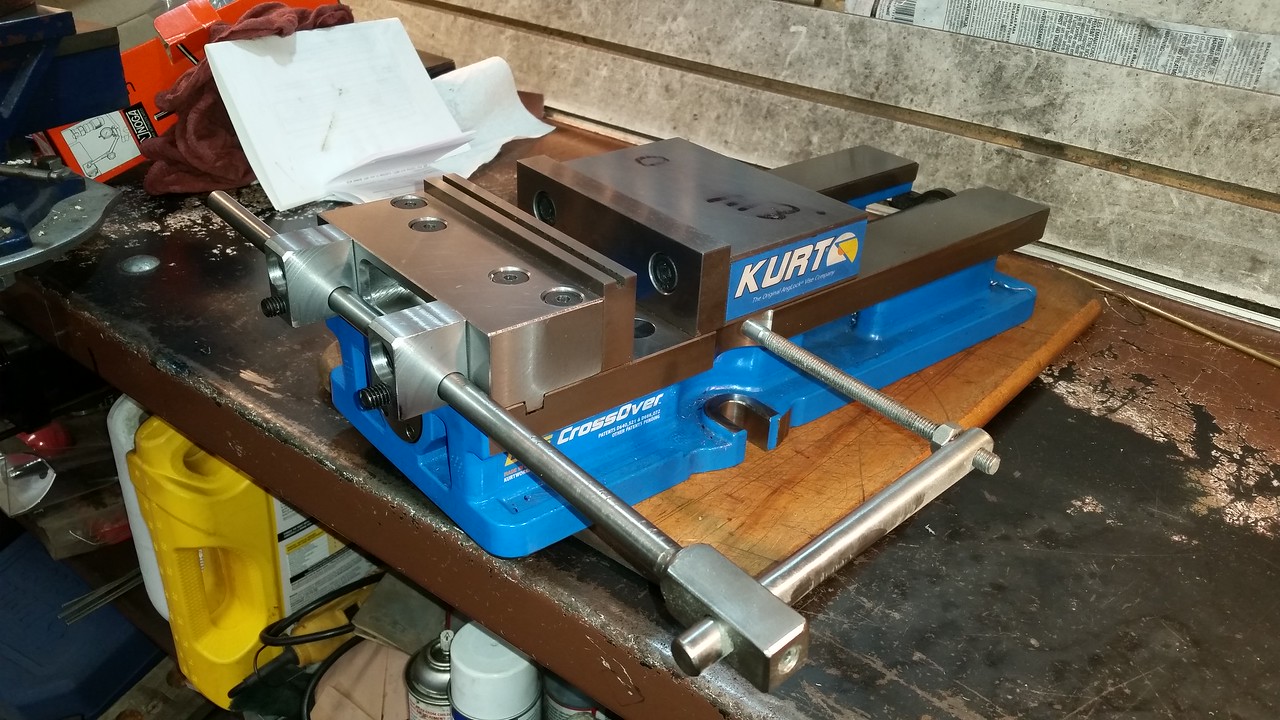
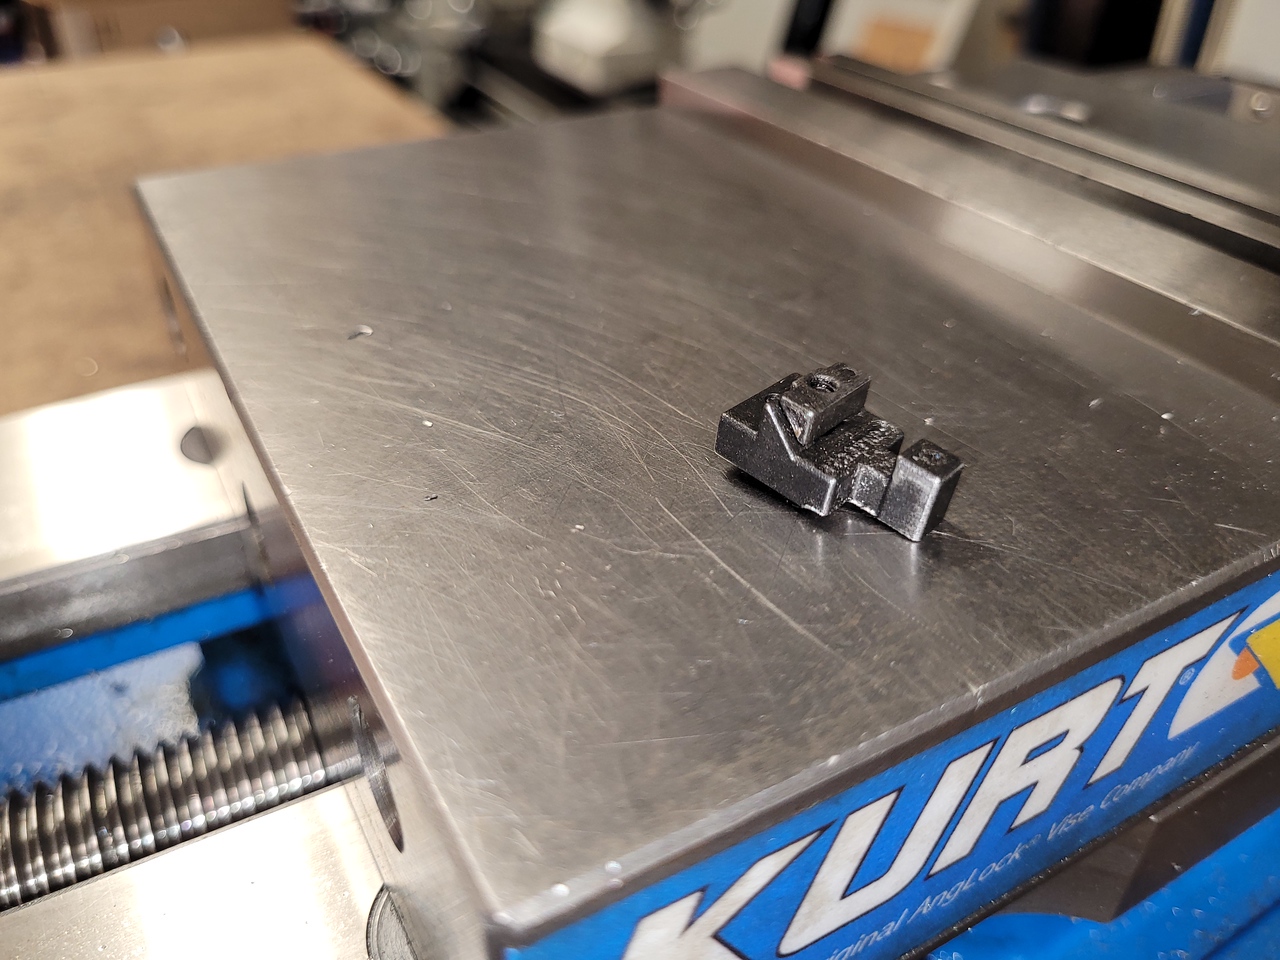
I 3d printed a speeder handle for the Kurt D6 Crossover vise and when I put it on I remembered watching a Joe Pie video showing the stop that came with his Kurt vise on his CNC setup. I had a quick look and sure enough. There is a little vise stop stuck in the end by the keeper for the screw.
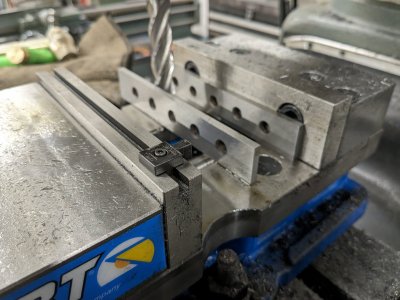
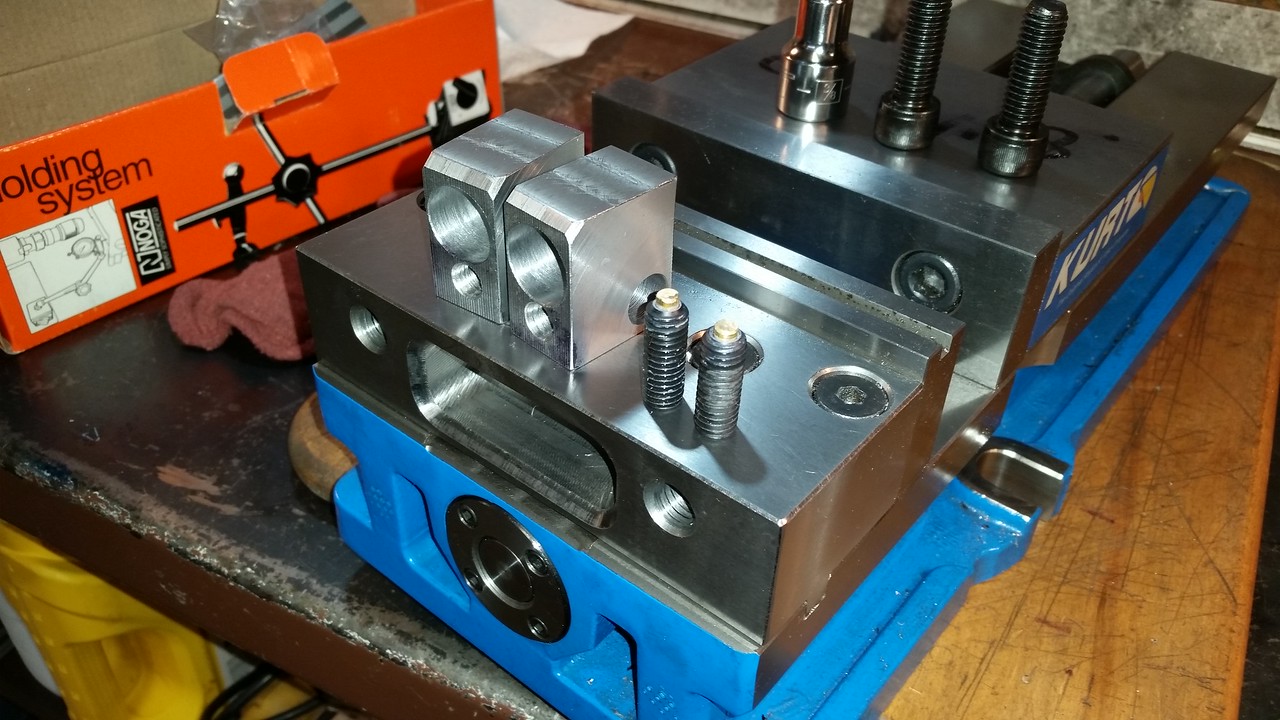
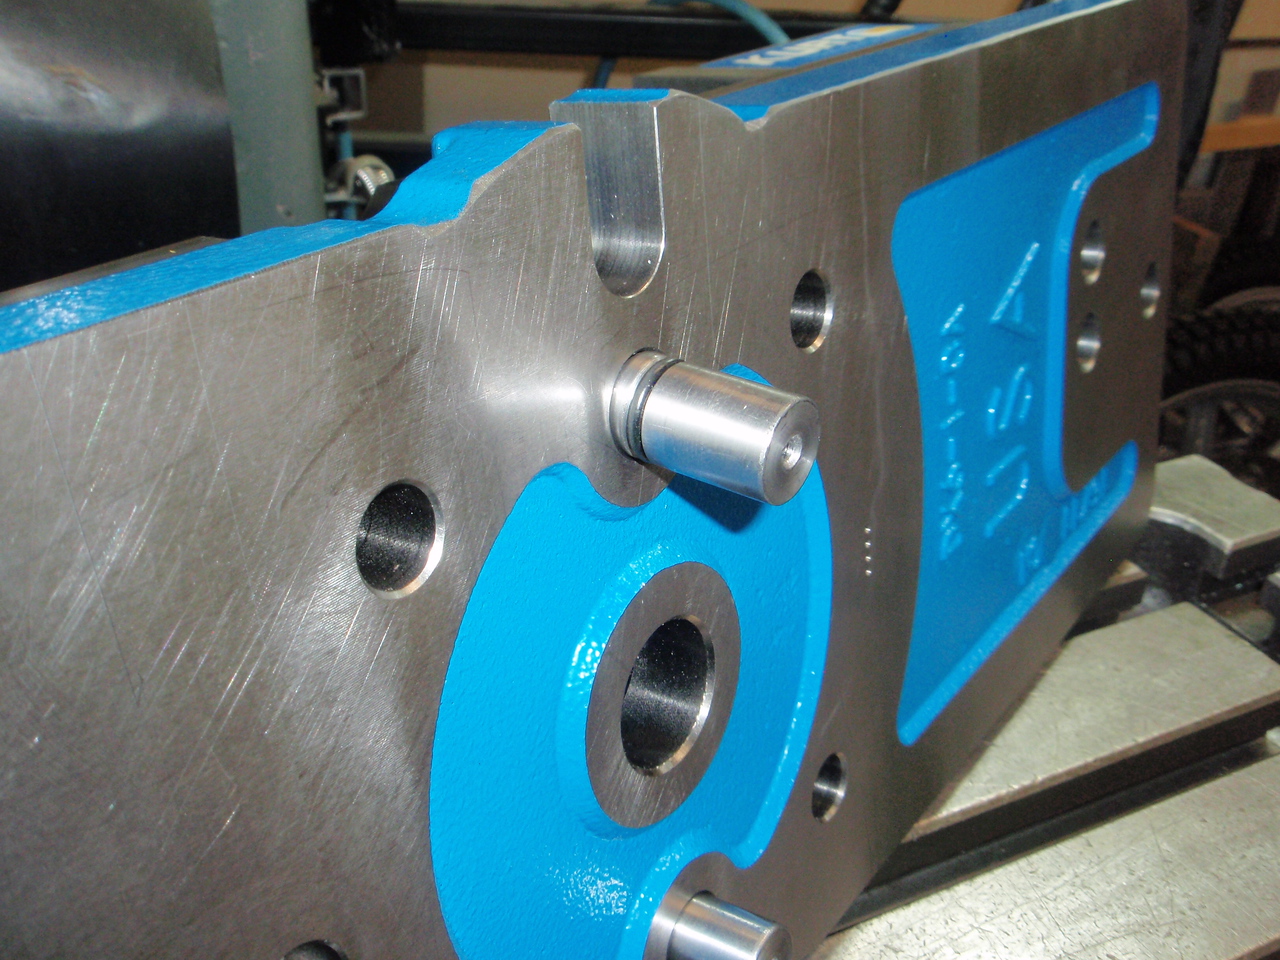
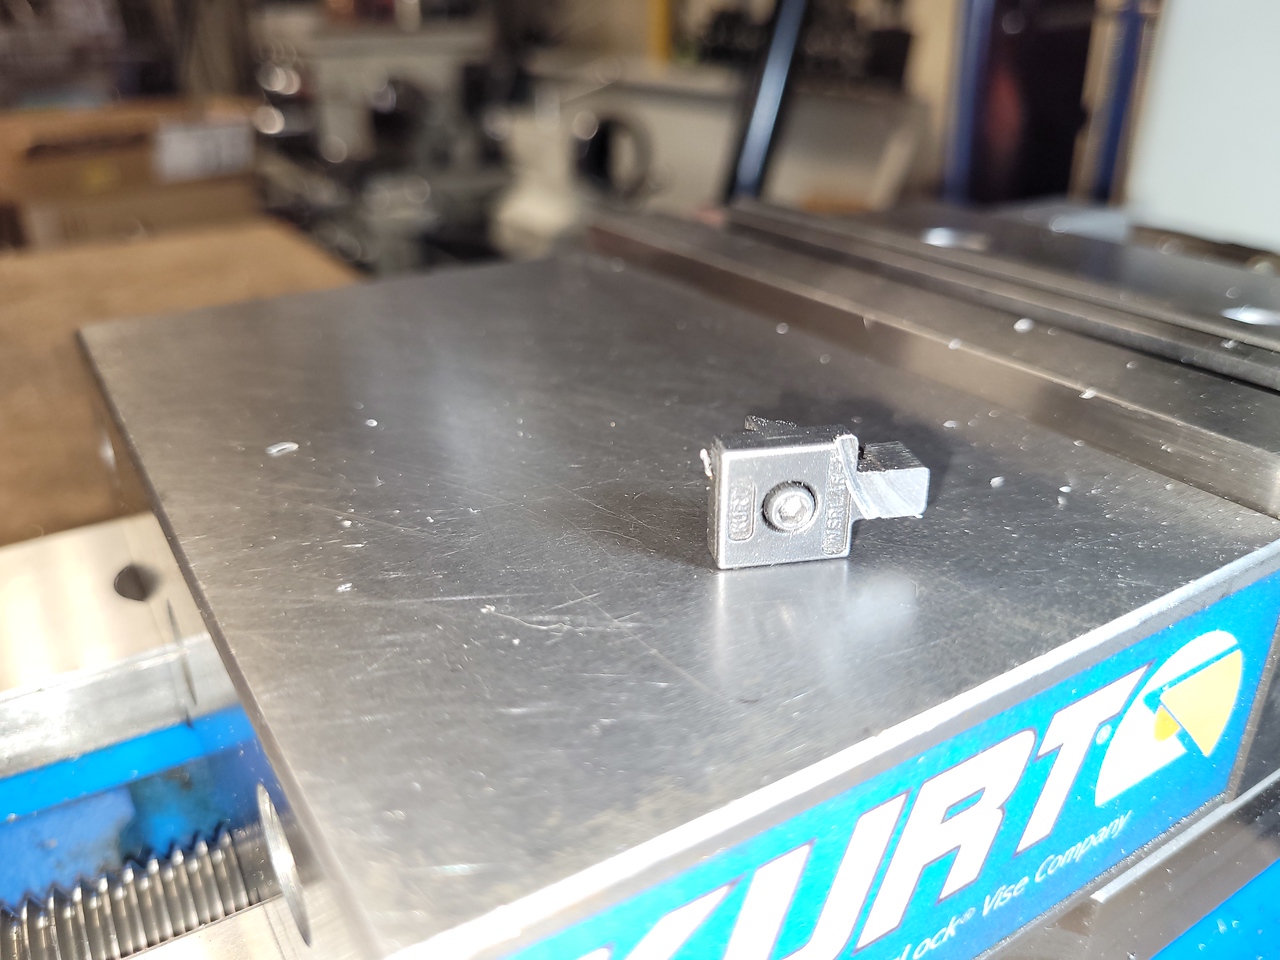
Fits nicely in the slot on the top of the jaw and uses a set screw to run the wedge into place to hold it.
I was on the brink of making one but now I can have a nap instead.
 

Attachments

  • PXL_20230226_211004997.jpg
    PXL_20230226_211004997.jpg
    373.3 KB · Views: 33
  • PXL_20230226_211110136.jpg
    PXL_20230226_211110136.jpg
    366.5 KB · Views: 33
  • PXL_20230226_211141240.jpg
    PXL_20230226_211141240.jpg
    420.8 KB · Views: 33

PeterT

Ultra Member
Premium Member
Thats one thing about the Kurt style vises - rectangular jaws & better yet a slot in the jaw. You may find the depth stop finger may not work as well for other combinations of material thickness/parallel height.

Prismatic jaws like my vise are have nothing to clamp onto & the rear face is angled. So I had to come up with something else as shown. But I made it so I could attach different stop plates.

But when you are outside the span range of jaws, consider these T-slot mount style stop. Lots of flexibility to position the rod stop in XYZ wherever it makes sense relative to the part. The anodized one is a less expensive clone of the popular USA? model. It has socket head screws vs the quick handles, but easy to upgrade.
 

Attachments

  • IMG_1699_edited-1.jpg
    IMG_1699_edited-1.jpg
    49.2 KB · Views: 21
  • IMG_1704_edited-1.jpg
    IMG_1704_edited-1.jpg
    72.1 KB · Views: 19
  • IMG_1714_edited-1.jpg
    IMG_1714_edited-1.jpg
    77.2 KB · Views: 21
  • IMG_1981_edited-1.jpg
    IMG_1981_edited-1.jpg
    256.3 KB · Views: 21

LenVW

Process Machinery Designer
Premium Member
Thats one thing about the Kurt style vises - rectangular jaws & better yet a slot in the jaw. You may find the depth stop finger may not work as well for other combinations of material thickness/parallel height.

Prismatic jaws like my vise are have nothing to clamp onto & the rear face is angled. So I had to come up with something else as shown. But I made it so I could attach different stop plates.

But when you are outside the span range of jaws, consider these T-slot mount style stop. Lots of flexibility to position the rod stop in XYZ wherever it makes sense relative to the part. The anodized one is a less expensive clone of the popular USA? model. It has socket head screws vs the quick handles, but easy to upgrade.
When I was making tools for Ex-Cell-O we used to devise some ‘universal’ vise stops that would bolt into the ends of the vise jaw or have a position register with the sharp corner of the vise jaw.
Then you can set your DRO ‘zero’ position and use it for several setups.
 
Stop are good, but lately with the cnc I used the end mill as the stop during setup and the great thing is if there is play in the system this method clears it.
 

PeterT

Ultra Member
Premium Member
we used to devise some ‘universal’ vise stops that would bolt into the ends of the vise jaw or have a position register with the sharp corner of the vise jaw.
Yes, that's another way. I DRO register off the end of fixed jaw too, then just locate the part ensuring it is flush. A potential downside is with short length parts because the other side is largely unsupported, which isn't as kind to the vise clamping without a mini jack or spacer. Better if the short part is more centered in jaws from that perspective.
 
Last edited:

PeterT

Ultra Member
Premium Member
I used the end mill as the stop during setup and the great thing is if there is play in the system this method clears it.
I think I get what you mean, you move the stock so it butts against the EM? But typically your stop is a zero reference on DRO from which other operations are relative to vs. now it represents half the EM diameter so every part you seed to set EM at EM radius. Maybe CNC is easier but I would find that to be time consuming& cumbersome on a manual machine. Also isn't it possible for the EM to be orientated at some random rotation position where the stock could contact 2 teeth points which is not the same as the actual OD tangent? Not sure what you mean by 'play in the system'.
 

Tom O

Ultra Member
You could run it in reverse so it doesn’t cut just rub it doesn’t affect the sharpness of the cutter. On the Haas the cutter spins in reverse when it touches off , but if you do this manually make sure to change back to forward.
 
When I do this I engage at least 2 edges of the EM, yes it is stationary when I mount the part. When I cycle to the next mount it pulls back (disengages) and then retracts to the next part. I use the M200 code for this.

By bringing the EM in in from one direction only, if there is any backlash it is cancelled out, think how you would do this in manual machining.

Why I did this is I use 3 vises so this way the index point is identical for each vise except for the different location as each index point becomes the zero point for that vise.

Doing this on a fixture plate it is not required.

Again its about with the setup and indexing the most effective and accurate way possible.
 

Susquatch

Ultra Member
Administrator
Moderator
Premium Member
22 USD. Yikes

How does that work? Does the screw pull a wedge up against the other wedge to tighten into the jaw groove?

Is the wedge fatter than it looks in the middle to take the screw? Does anyone have a photo of the bottom of that thing?

22 US is a lot. But not if it does what they say it does! You would pay a lot more than that for a regular stop.
 

John Conroy

member
Premium Member
Accessories for Kurt vises are outrageously priced, Like $22 USD for the little jaw stop or $151USD for the vise mounted work stop I copied when I made mine.

kurt workstop.png

Or the alignment keys for $58 USD My mill table has 5/8" slots and the round key holes in the bottom of the vise are also 5/8" so I just used some 5/8" drill rod to make my keys. I machined a groove for an o-ring to retain them into the vise and drill a 1/8" hole lengthwise through them so they can be ejected from the vise with compressed air.


They put the alignment of the vise with about .002" of perfectly trammed when they drop into the table slots.
 

John Conroy

member
Premium Member
How does that work? Does the screw pull a wedge up against the other wedge to tighten into the jaw groove?

Is the wedge fatter than it looks in the middle to take the screw? Does anyone have a photo of the bottom of that thing?

22 US is a lot. But not if it does what they say it does! You would pay a lot more than that for a regular stop.

Here are a couple of pics, you'll note the mark of shame on mine, LOL.


$35 CAD from KBC

Kurt jaw stop.png
 

Doggggboy

Ultra Member
Yeah but you need to order 2 of them for the minimum order and then the 54.18 Fedex shipping cost factors in.
Unless you need it in a hurry, then the Fedex priority shipping is 458.90, to my place at least.:oops:
This is one of those widgets that's nice to have, but not worth buying.
 
Top