Tips/Techniques Using ER Collets

Tips/Techniques
This is a set of tips on how to use ER collets as gleaned from an article published in "Modern Machine Shop" after an interview with Jonathan Harvey at Rego Tool. Rego is the initial developer of the ER Collet system.

Here is my summary:

1.Ensure adequate clamping length - always engage the tool at least 2/3 of the way into the clamping portion of the Collet.

2. Always use a torque wrench to tighten the collet nut to specifications. But..... the article doesn't say what that torque should be. So I did a google search and pulled together the following chart as a guideline. I'd recommend finding torques for your own collet set if you can find it. To-date, I've never used torque to tighten my collets. So this is a new beginning for me. My claw wrenches don't even have a provision for measuring torque so I may need to drill a hole to take a fish scale.

Screenshot_20230916_145253_Chrome.jpg
3. Ensure proper alignment of the collet, collet nut, and tool. Assemble the collet into the nut correctly first, then insert the tool to the correct depth, then torque the nut to specs. Note - correct installation of the collet and collet nut is very often done incorrectly. The correct method is to identify the eccentric lip/ring inside the nut, insert the collet into the nut on an angle to engage the lip, and then rock the collet to snap it into full engagement. Reverse this process to remove it. Here is a link to an image that illustrates the process. I used a link instead of a direct image in order to avoid copyright infringement for the image.


4. Remove the backup screw if your collet holder has one. Most ER Collet suppliers have already removed this stop screw because its too easy to use incorrectly. If your collet holder has one, Rego recommends removing it. (To be honest, I've never even seen one.)

5. Keep your holder and collets clean. A precise fit of the collet, tool, collet holder, and spindle tapers requires a tight clean fit. Always keep these surfaces clean and free of chips and dirt and brush or blow any dirt out of the expansion slots.

6. A small tip of my own - always use collets within their design range. Never use a tool that has to be forced into the collet, and never use a tool that is too small for the design range of the collet. Many collets are marked with their design range. Sometimes even the design range is too big. In this case, it helps to have a set of metric collets that will have a collet that will almost always fit when the imperial collet is just a tad too big.

Here is a link to the original full article for those who would prefer to read that:


van123d

Well-Known Member
Thanks for this. I actually just received an R8-ER32 collet adapter and a set of collets so this was very timely.

One question I have is when would you choose to use the ER collet vs an R8 collet in equivalent size?
 

combustable herbage

Ultra Member
Premium Member
I would choose the Er32 collet because it is faster to change on my column mill, if you have a power draw bar the R8 is probably your choice, that's my thought.
 
ER over R8 hands down. Better grip, more concentric.

Bearing nuts for the ER's are something to consider as it allows ease of achieving the torque.

Also consider a table mount to allow holding it while tightening it down. Less stress on the mill.

I have multiple holders dedicated for certain cutters.

Welcome to the big boy world.
 

Susquatch

Ultra Member
Administrator
Moderator
Premium Member
One question I have is when would you choose to use the ER collet vs an R8 collet in equivalent size?

NEVER. The ER has better grip than R8 - period. Some will argue I'm sure. But my argument is that ER is split two ways with more splits and this allows a more even front to rear load across the whole grip length. ER will also hold a greater range of sizes than an R8 collet can. I wouldn't hesitate to use an R8 of the same size as the tool though. Eg a 1/4" R8 Collet on a 1/4" endmill.

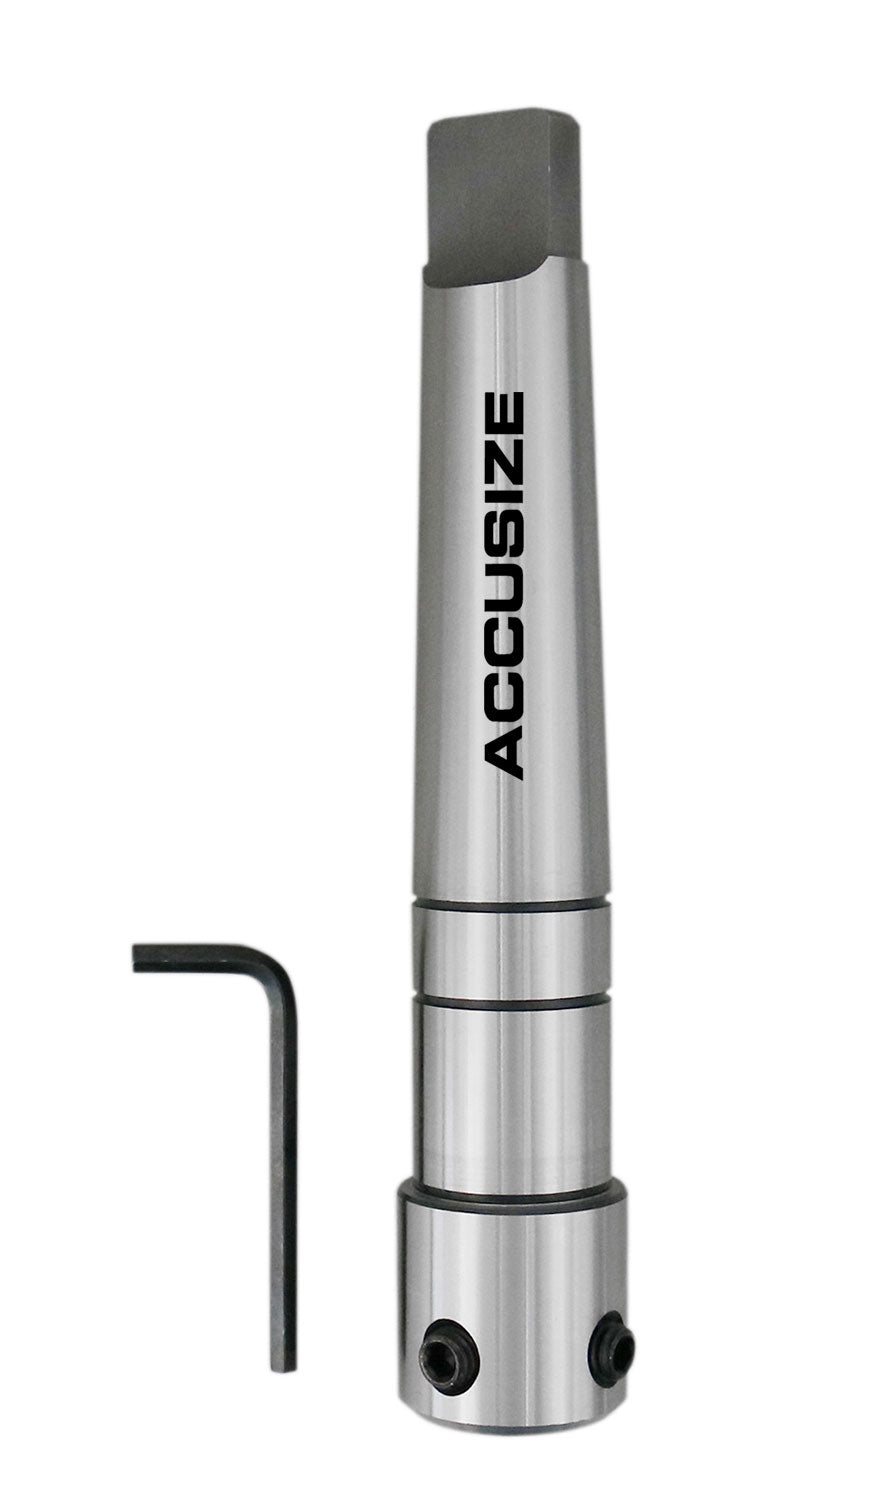
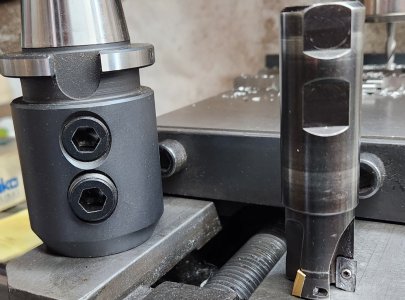
HOWEVER - You didn't mention R8 end mill tool holders. These are not collets. They are purpose built to hold one size and one size only. I prefer them even over ER collets. Some say that they are not as concentric as an ER is, but I don't personally think this tiny difference really matters in a milling operation.
 
One of the big differences is if you have dedicated ER holders you have consistent lengths and offsets (CNC important). Another is Weldon holders, problem is they can increase run out.

There are a few threads on this on this group. Also look up some YouTube videos about this.
 

Dabbler

ersatz engineer
I have a full ER set in imperial, but I usually use my R8 collets. Habit, I guess. but I've never had a mill cutter slip, and it works well enough. I agree ER system is better in every way.
 

Susquatch

Ultra Member
Administrator
Moderator
Premium Member
I have a full ER set in imperial, but I usually use my R8 collets. Habit, I guess. but I've never had a mill cutter slip, and it works well enough. I agree ER system is better in every way.

Truth be known, I can see why you might. It's just plain easier, and takes up less Z room. For those with smaller mills, that can be a critical advantage. Also, as you say, it's unlikely that an endmill of the designated size will slip.

Why do I remember you being a big fan of dedicated R8 end mill holders? Not Weldon - the kind with grub screws.

But it was fun to say NEVER!

I really shouldn't use that kind of humour on here. Too easy to miss the big hairy smile.
 

Dabbler

ersatz engineer
Why do I remember you being a big fan of dedicated R8 end mill holders?

I think I've used my ER collets twice in 10 years. So I guess you could call me a fan of the R8 - but I think it is more laziness than anything else.

Weldons collets are also superior, but many end mills aren't Weldon shank any more, so there's that.
 
I think I've used my ER collets twice in 10 years. So I guess you could call me a fan of the R8 - but I think it is more laziness than anything else.

Weldons collets are also superior, but many end mills aren't Weldon shank any more, so there's that.
HS cutters have a lot more Weldon selection than Carbide.

The second issue is that weldon shanks are slip fit, this means that when you tighten them they push the cutter off center, additionally because of how they are tightened they can flex the cutter again further increasing the runout.

Each holding method has it advantages and disadvantages, however current methods are going wedge type or shrink fit as cutting forces and pull out are increasing with current machining formats and cutters.
 
Last edited:
Truth be known, I can see why you might. It's just plain easier, and takes up less Z room. For those with smaller mills, that can be a critical advantage. Also, as you say, it's unlikely that an endmill of the designated size will slip.

Why do I remember you being a big fan of dedicated R8 end mill holders? Not Weldon - the kind with grub screws.

But it was fun to say NEVER!

I really shouldn't use that kind of humour on here. Too easy to miss the big hairy smile.
With regards to Z clearance, this is a very valid and concerning issue. When this issue rises its head (no pun intended), knowledgable shows add 6" rises (give or take a little). Why only 6" not more or less, simple add vise ht plus holder ht is approx 6" thereby being the best compromise.
 

Susquatch

Ultra Member
Administrator
Moderator
Premium Member
Weldons collets are also superior, but many end mills aren't Weldon shank any more, so there's that.

It is possible that we are crossing paths in different directions. Not sure.

I have always thought of Weldon to be a very specific shaft and socket design as shown below.

Screenshot_20230917_152418_Chrome.jpg

In my research a year ago or so, I found that a true Weldon has two adjacent flats 90 degrees to each other and a female hole in the holder deliberately machined off center resulting in a oblong V-Block sort of affair that forces the resulting assembly to be on center when the grub screws are tightened. That's why it is so popular with tools like annular cutters.

I think some machinists insert the tool, feel the loose fit and assume tightening the grub screws forces an off-center result when the truth is quite the opposite. In truth, the grub screws force an off center assembly to become centered.

Then we have the problem of poor copies that either don't incorporate this feature at all or don't do it properly. The end result is a dogs breakfast that might cause a wide variety of experiences.

Thankfully, in my opinion, it's not really a big problem for most machinists anyway. A slightly off-center end mill usually works just fine even though it is off-center a few thou. In fact, I have seen some machinists describe off-center tools as an advantage cuz they act a wee bit like a boring head with better finishes. Perhaps so, but I could also see it chattering or vibrating on less rigid machines.
 

Dabbler

ersatz engineer
Ok, so here's the rub...

All of my Weldon holders have a *single* set screw. All of my Weldon end mills have a *single* flat. It is only on my annular cutter I have 2 set screws./flats.

My guess is that for the larger Weldon sizes (like 1" - which I do not have) they used the 2 set screw system. but that is just a guess on my part.
 
Holders for Annular cutters are based on a Weldon design (and weldon work), but they have an extra feature that allows for insertion of a locator pin and spring which also acts as an ejector of the center cut piece.

These holders are expensive compared to regular weldon holders.


van123d

Well-Known Member
Thanks everyone. I saw the ER system as inconvenient compared to the R8. I figured for me it would be when the extra precision is desired or for the odd size end mill such as metric that I don’t have an R8 collet for. I am a bit surprised that people are using them in preference to the R8. I will have to give them a fair bit of use and see if I end up a convert as well.
 

Susquatch

Ultra Member
Administrator
Moderator
Premium Member
Ok, so here's the rub...

All of my Weldon holders have a *single* set screw. All of my Weldon end mills have a *single* flat. It is only on my annular cutter I have 2 set screws./flats.

My guess is that for the larger Weldon sizes (like 1" - which I do not have) they used the 2 set screw system. but that is just a guess on my part.

If I remember correctly, the Weldon patent specified 2 flats.

The patent no doubt expired ages ago. So I am thinking that the term Weldon has come to be used broadly to mean anything that is held in place with a grub screw or two. But only a few manufacturers actually use the real Weldon design.
 

thestelster

Ultra Member
Premium Member
1695005355759.png
The end mill is maintained in place by the Weldon flats, a cantilevered shaft supported by screws. It prevents the end mill from turning. Weldon flats are measured from the junction of the neck and the shank, and they are based on a high-speed tool standard called NAS 986, which ranges in diameter from.125 inches to three inches. Currently, no industry standard applies to carbide. Utilizing a flat has several benefits as well as drawbacks, including the following:

set screws prevent the tool from being pulled out of its socket; increases speeds and feeds

The set screws keep the tool from sliding and add torque to the equation.
Set screws force the tool against the opposite side of the holder, which guarantees that there will be some runout. Hand-ground flats reduce the performance of the device.
 

Dabbler

ersatz engineer
The commercially available holders that feature two set screws in a row seem to be called "Improved Weldon" or "Advanced Weldon" -- is it likely that there were 2 versions of Weldon holders, with perhjaps an earlier design with only one set screw? Just musin'....
 

thestelster

Ultra Member
Premium Member
According to the European Standards DIN6535, the double flats are required on shanks of 25mm and 32mm, and a single flat on 20mm and smaller shanks.

I have a 1" and 1 1/4" endmills and holders that have the double Weldon flats.
 

Attachments

  • 20230918_104714.jpg
    20230918_104714.jpg
    412.5 KB · Views: 5
Top