• Scam Alert. Members are reminded to NOT send money to buy anything. Don't buy things remote and have it shipped - go get it yourself, pay in person, and take your equipment with you. Scammers have burned people on this forum. Urgency, secrecy, excuses, selling for friend, newish members, FUD, are RED FLAGS. A video conference call is not adequate assurance. Face to face interactions are required. Please report suspicions to the forum admins. Stay Safe - anyone can get scammed.

Tricky problem - squaring an untrue cube

Now that we know it is very hard, that changes everything!

@ arbutus, are you near a member with a surface grinder? this is less than a 1 hour job on a SG.... Even less if you are okay with a second-grade surface finish - which will still be far better than it is now!
 
Square , perpendcular AND parallel is dam near impossible on the edges alone . PLUS , you're also adding in the true position of the collet hole . I had a Nasa Space Flight titanium 6" x 6" cube back in my good days . .0002 square , perpendicular , and parallel all sides . Using the best inspection grade equipment available I could not get it into spec . I took it down to within .002 of the allowed overall dimensions and we sent it out to be optical lapped . They brought it into specs with no problem .

I won't mention that I buried the silicon carbide wheel into the part by mistake and stalled the SG . It cleaned up though so no witness marks . :)
 
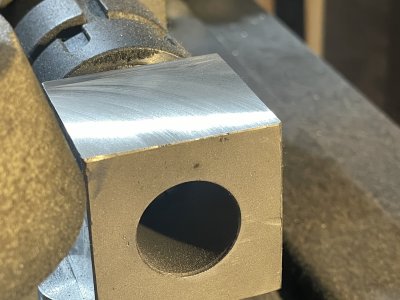
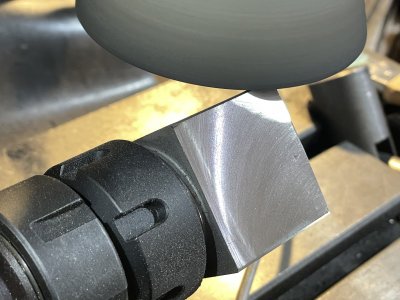
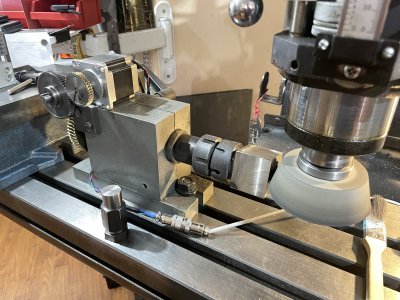
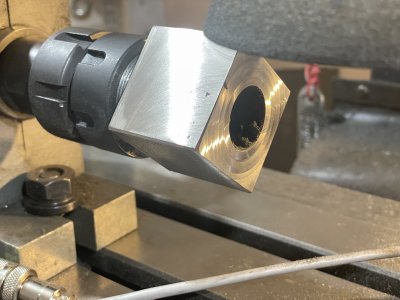
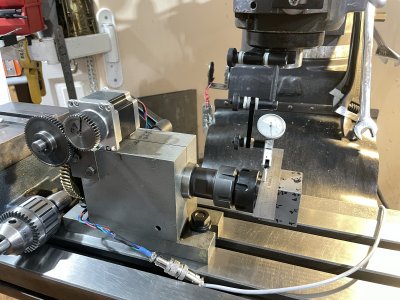
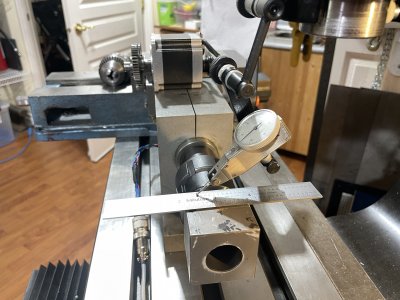
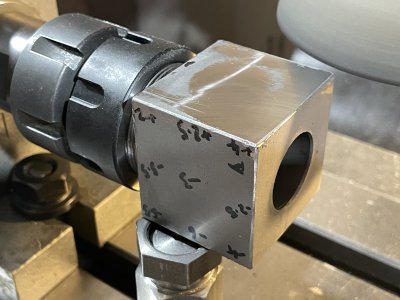
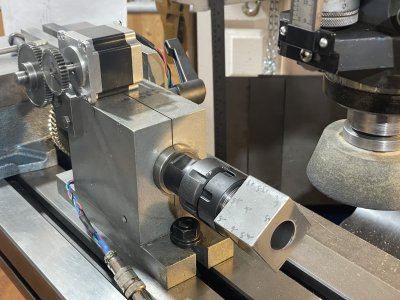
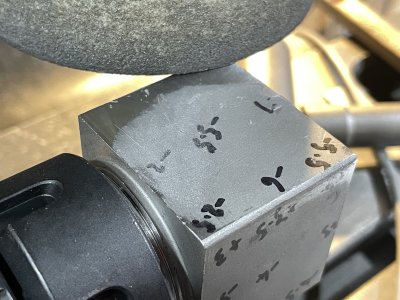
I'm quite happy with this so far. Lots of pix...

Starting with the face that measured flattest.
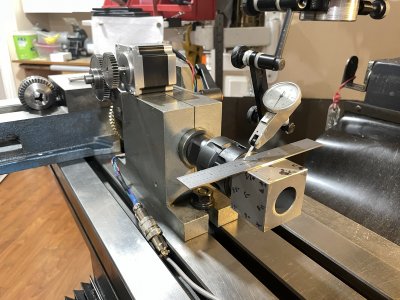
1 Trammed the indexer to zero.
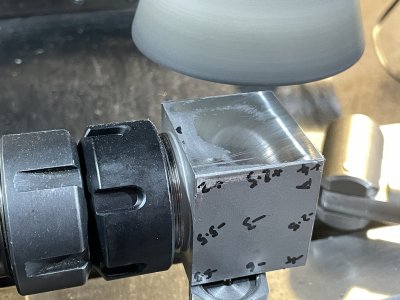
2 1st dusting pass.
3 4-5 passes per face.
4 Spindle speed is 800 rpm
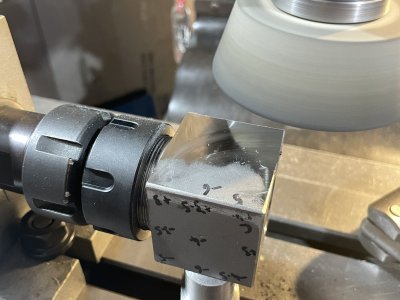
5 Nice finish.
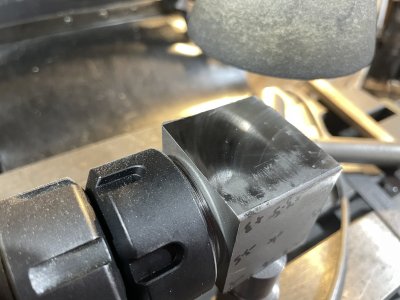
6 Grinding a chamfer.
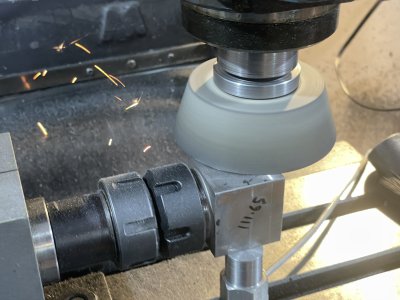
7 Facing the base.
8 View of the finished base.

IMG_4446.JPGIMG_4448.JPGIMG_4454.JPGIMG_4459.JPGIMG_4463.JPGIMG_4464.JPGIMG_4465.JPGIMG_4468.JPG

Surface heights to machine bed:
Face A 111.65mm
Face B 111.68mm
Face C 111.56mm
Face D 111.60mm

So the eccentricity is:
FaceA-C 0.045mm
Face B-D 0.040mm

I think the work was hot when I cut Face C.

The base was ground with the edge of the wheel while the indexer was turning, and the chamfers were cut to the same final height above the table. I can see from the chamfer lines that the faces are perpendicular.

The surface finish is quite nice so I may just leave it for now.


:)
 

Attachments

  • IMG_4445.JPG
    IMG_4445.JPG
    552.8 KB · Views: 11
  • IMG_4447.JPG
    IMG_4447.JPG
    410.1 KB · Views: 10
  • IMG_4449.JPG
    IMG_4449.JPG
    387.7 KB · Views: 10
  • IMG_4451.JPG
    IMG_4451.JPG
    468.4 KB · Views: 9
  • IMG_4452.JPG
    IMG_4452.JPG
    492 KB · Views: 10
  • IMG_4455.JPG
    IMG_4455.JPG
    424.2 KB · Views: 10
  • IMG_4457.JPG
    IMG_4457.JPG
    495 KB · Views: 9
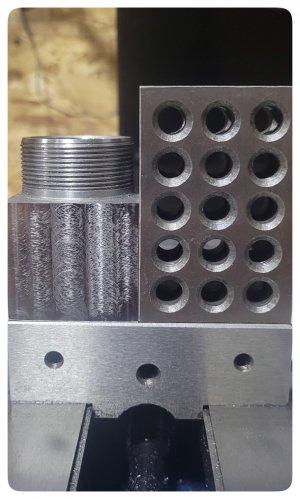
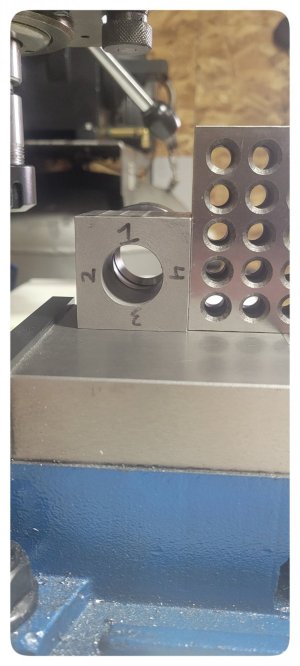
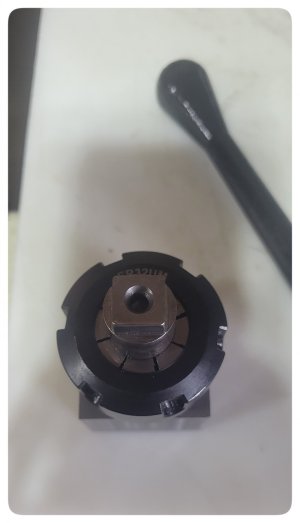
That looks awesome! Mines not nearly as impressive, but I went for it anyways.

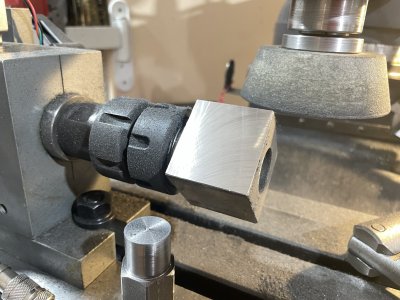
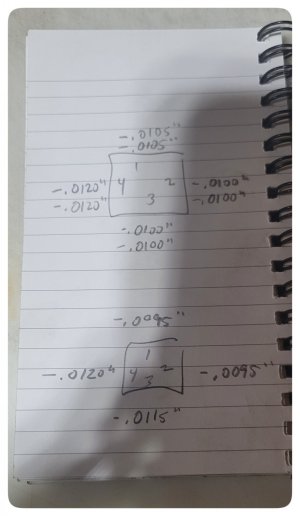
Ended up around .002" out, so much better then the .010" it started as? I measured twice then took it out and spun the collet 180 degrees and still got basically the same numbers

If the bore is out front to back I obviously didn't fix that but until i have the tools it'll due for now, cuts a nice square
 

Attachments

  • 1000006334-01.jpeg
    1000006334-01.jpeg
    180.5 KB · Views: 6
  • 1000006335-01.jpeg
    1000006335-01.jpeg
    328.6 KB · Views: 6
  • 1000006328-01.jpeg
    1000006328-01.jpeg
    220.9 KB · Views: 5
  • 1000006327-01.jpeg
    1000006327-01.jpeg
    127.6 KB · Views: 6
Back
Top