• Scam Alert. Members are reminded to NOT send money to buy anything. Don't buy things remote and have it shipped - go get it yourself, pay in person, and take your equipment with you. Scammers have burned people on this forum. Urgency, secrecy, excuses, selling for friend, newish members, FUD, are RED FLAGS. A video conference call is not adequate assurance. Face to face interactions are required. Please report suspicions to the forum admins. Stay Safe - anyone can get scammed.

Tips/Techniques Threading Basics from April 6 Toronto Meet

Tips/Techniques
Here is a PDF of my notes from the little tutorial I presented at our April 6 meet-up. Hopefully it's not too convoluted.

If anyone has any questions, I will try to answer them as best that I can.

There is more information that I need to post regarding this in the next couple days.
 

Attachments


As soon as we can figure out how to keep them secure.

If you want the Accusize details early, send me a PM. I do have a 10% discount code and they are all setup to go. Just no free shipping yet. They are working on that.

KBC, Princess Auto, KMS, etc, etc are all on the radar screen. We just need to make sure we have our ducks in a row first.
 
I've been quite remiss about finishing up this thread (pun intended).

I want to show how I make a Unified thread using a non-topping (partial profile) insert. Remember, a non-topping insert can do a variety of thread pitches. A HSS tool can also be used.

I will make a 1/2"-13 UNC thread. According to the UN standard basic specifications, the following dimensions for this thread are required:

OD= 0.500"
Depth of thread: 0.042"
Root width: 0.019"
Pitch diameter: 0.450"
(The above information is on the chart that I posted earlier)

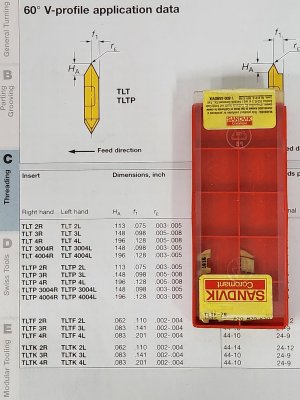
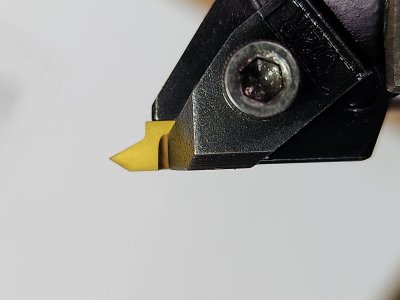
The insert that I will use is a non-topping (partial profile) and it has a sharp point with only 0.002" - 0.004".
 

Attachments

  • 20240424_165729.jpg
    20240424_165729.jpg
    324.3 KB · Views: 5
  • IMG_20240424_162229.jpg
    IMG_20240424_162229.jpg
    179.1 KB · Views: 5
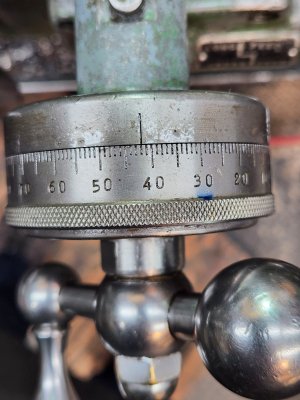
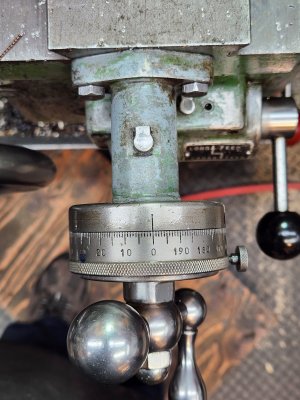
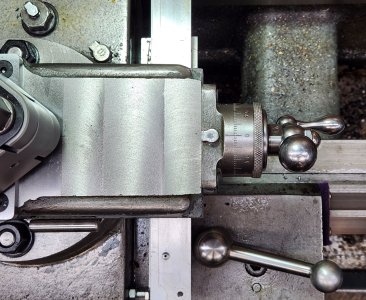
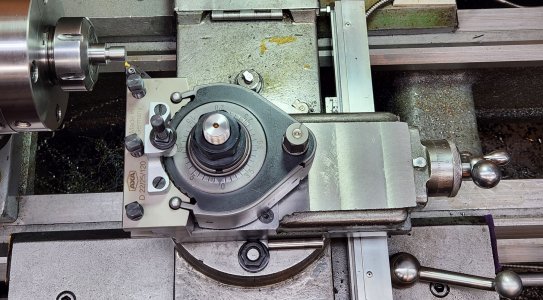
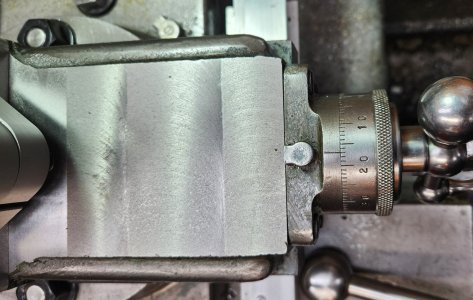
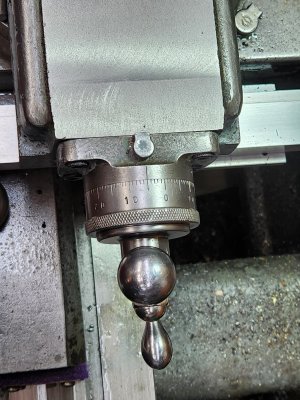
I rotate my compound so it's direction of travel is parallel to the ways. I set it to 0.

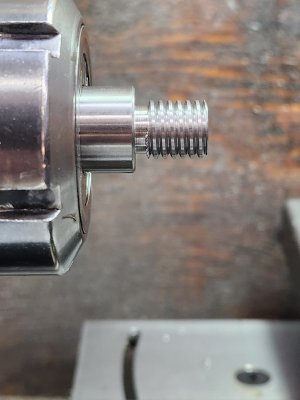
I turn my stock to 0.500" in diameter, and start cutting my thread with repeated plunge cuts until I get to our required depth of thread of 0.042". Remove burrs.
 

Attachments

  • IMG_20240424_165025.jpg
    IMG_20240424_165025.jpg
    272.5 KB · Views: 8
  • 20240424_164945.jpg
    20240424_164945.jpg
    299.2 KB · Views: 6
  • 20240424_163642.jpg
    20240424_163642.jpg
    446.9 KB · Views: 6
  • 20240424_163252.jpg
    20240424_163252.jpg
    496.6 KB · Views: 7
  • 20240424_162700.jpg
    20240424_162700.jpg
    640.6 KB · Views: 8
  • 20240424_162620.jpg
    20240424_162620.jpg
    519.1 KB · Views: 8
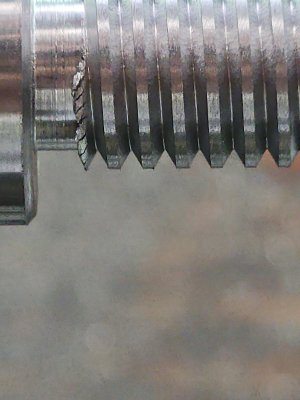
We need a root width of 0.019", but our insert only has a 0.002" tip width. We have to widen the root section of our thread by app. 0.017".
We now advance our compound several thousandths, and we will make another pass while the cross-slide is at our 0.042" depth of cut. Doing this only removes metal from the leading edge of the thread.

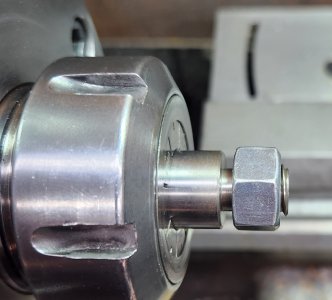
I continue advancing the compound several thousandths at a time with every pass until our nut screws on nicely.

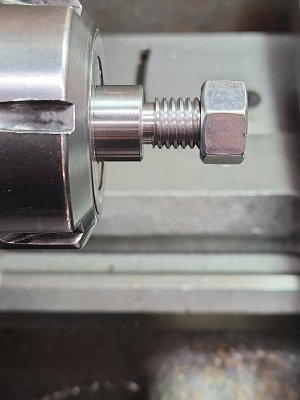
Oh, look at that... we widened our original root, (0.002"), by the amount we moved the compound (0.017"), that equals 0.019" and low and behold, our nut threads on nice.
 

Attachments

  • 20240424_171004.jpg
    20240424_171004.jpg
    444.6 KB · Views: 4
  • 20240424_170928.jpg
    20240424_170928.jpg
    291.7 KB · Views: 4
  • 20240424_170012.jpg
    20240424_170012.jpg
    494.5 KB · Views: 4
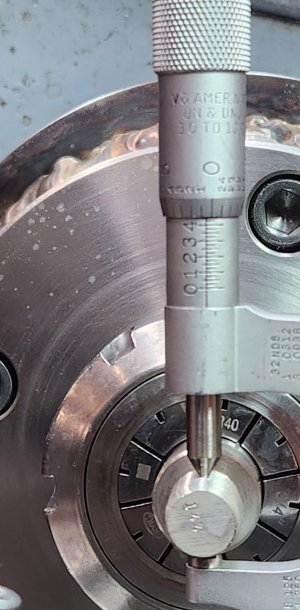
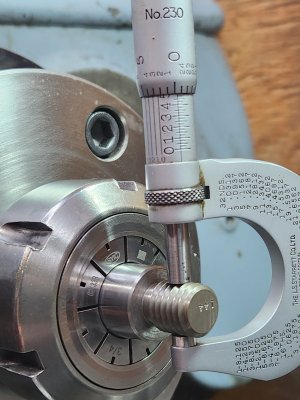
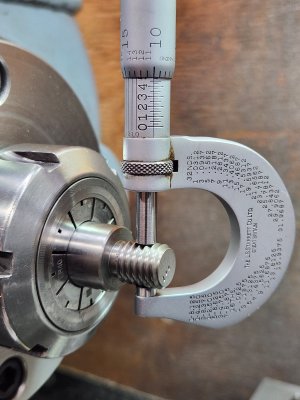
So, our OD is correct, our root width is correct; lets check our pitch diameter. Sure enough its 0.450", and that's correct.

In fact we have just made a UNC 1/2"-13 screw thread, and it's a class 3A tolerance!!
 

Attachments

  • 20240424_171444.jpg
    20240424_171444.jpg
    239.2 KB · Views: 6
  • 20240424_173414.jpg
    20240424_173414.jpg
    352.1 KB · Views: 6
  • 20240424_193004.jpg
    20240424_193004.jpg
    103.6 KB · Views: 6
I would like to reiterate that the fit of the screw/nut interface is based on how well the flanks of the thread fit, and not on the height of the thread.

What I'm trying to say, if you're going to make a screw, and you accidentally turned it a little smaller than the OD required, don't think you need to scap your part.

For example, on the screw thread I just made, which has class 3A fit, the nut threads on smoothly with virtually zero wooble. I then turned that screw to 0.485" OD, 0.015" smaller, and the nut still threads on the with the same tightness.

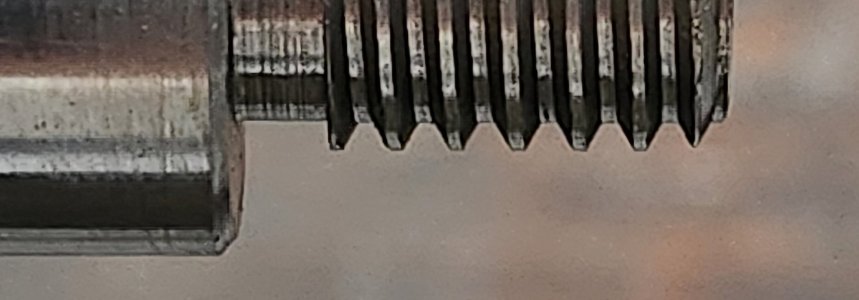
As you can see on the thread below, the root with is proper at 0.019", but the crest width is much wider than the UN basic crest width of 0.010", and the nut still fits perfectly well.
 

Attachments

  • 20240424_174233.jpg
    20240424_174233.jpg
    433.4 KB · Views: 6
  • 20240424_181550.jpg
    20240424_181550.jpg
    114.7 KB · Views: 6
Everbody has a thread pitch gauge similar to the top, but who has one like the bottom?

That's what we need!! It shows you what the root width should be when you go to grind your own HSS threading tool.

We have them for acme threads, why can't we find it for 60° v-threads? Maybe you guys with 3D printers can pump them out. (Of course hardened steel would be better.)
 

Attachments

  • 20240427_090130.jpg
    20240427_090130.jpg
    215.1 KB · Views: 13
We need a root width of 0.019", but our insert only has a 0.002" tip width. We have to widen the root section of our thread by app. 0.017".
We now advance our compound several thousandths, and we will make another pass while the cross-slide is at our 0.042" depth of cut. Doing this only removes metal from the leading edge of the thread.

I continue advancing the compound several thousandths at a time with every pass until our nut screws on nicely.

Oh, look at that... we widened our original root, (0.002"), by the amount we moved the compound (0.017"), that equals 0.019" and low and behold, our nut threads on nice.
One question is is there anything different doing internal threads? as the crest and the root are opposite to an external thread?

Another question I have tried to figure out to no avail is what is the importance/significance to the last column Pitch Diameter-OD(06495P) in your chart from what I think I understand its the imaginary dimension of a certain part of the thread but I just don't see the the advantage or use for it??
Thanks, I haven't had much shop time where my mind was into it but hoping soon to do some more experimenting with this.


1714228603884.webp
 
One question is is there anything different doing internal threads? as the crest and the root are opposite to an external thread?
Yes. Internal dimensions is the mirror image of the external, so the threading tip nose is 1/2 of the external.
importance/significance to the last column Pitch Diameter-OD(06495P)
Knowing what the pitch diameter is supposed to be, and being able to measure it (either by thread micrometers, 3-wire method, or go-nogo thread gauges), you can determine whether your thead will fit into a given "nut" if you don't have that "nut" on hand. So for instance, you have to make a special part that has a male thread that has to be attached to another part in Guatemala. And the blue prints calls for that thread to be 1/2"-20 UNF-3A, you can make that part knowing that if you get the proper pitch diameter specified in the drawings, it will fit that part in Guatemala.
 
Another question I have tried to figure out to no avail is what is the importance/significance to the last column Pitch Diameter-OD(06495P) in your chart from what I think I understand its the imaginary dimension of a certain part of the thread but I just don't see the the advantage or use for it??

PD (pitch diameter) is very important because it has to fall within a certain range which defines how it fits to a established standards. If PD is loose, it will have excessive axial play or lash & the opposite if too tight to the extent threads may not engage. PD is what a thread micrometer or wire method is measuring. Not to say we can disregard OD or thread depth as unimportant because they have min & max & profiles too, but those are broadly speaking 'clearances' not really fit. You can have 2 identical PD fasteners with different major/minor diameters.

I like this online calculator because it provides a lot of information about a thread. Standard threads are important when you are trying to match some established size. But the calculator also allows you to override & input a user defined OD. Like if you have a 0.800" shaft that requires 20 TPI, there is no standard fastener to look up, but its a perfectly legitimate part as long as its machined to the specs.

 
Back
Top