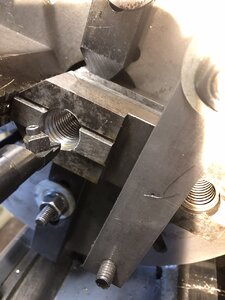
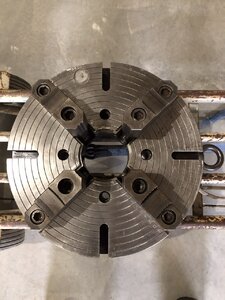
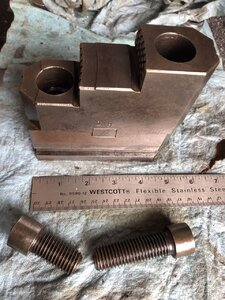
A new to me 16” 4J chuck has Master and Top jaws. The chuck is a Pratt, Steel Body, made in England sometime between 1962 and 2002 (based on the serial number). It is in overall very good condition with little to no wear. The metal surfaces have some staining, which could be polished out.
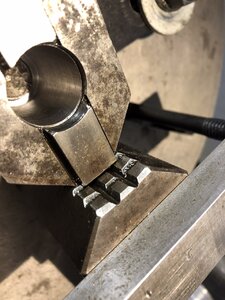
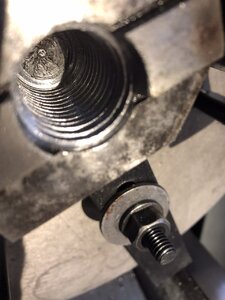
There is one big problem: on the #4 Master Jaw, the inner hold down thread is stripped. The 3/4-10 SHCS has no more threads to grab onto and slides in and out with little to no resistance.

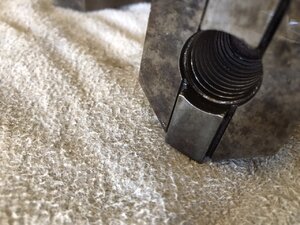
The stripped thread

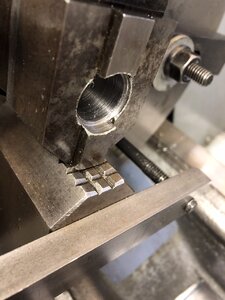
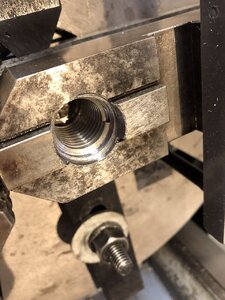
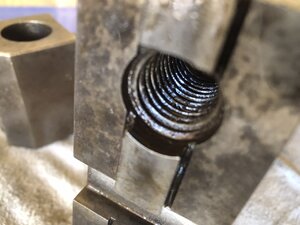
What it should look like (still need to clean the threads better)

I consulted with a member here and discussed some options:
a) keep doing what previous users have done - turn the master jaw around and use the good (outside) thread to hold the top jaw. The stripped thread will be outside now and since it is not under tension, use the chuck that way. Very sketchy using only one of the two hold down bolts.
b) fill the hole with weld, rebore and thread 3/4-10. The heat from welding could distort the jaw.
c) over bore the thread using the same 10 TPI. This will require two custom bolts - one long one and one short one depending which way around the top jaw is mounted to the master. Can be done with an oversized SHCS turned down and threaded 10 tpi to fit the oversized master thread. Would be fiddly as there is no real accurate way to measure the new internal thread.
Option c) got me thinking: if I am going to over bore and thread, why not use an insert after to bring the size back down to nominal 3/4-10? That’s when I decided on the HeliCoil approach.

The jaws are hardened. So not sure if the HeliCoil tap will work as it is “only“ HSS.
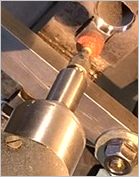
To have the best chance of success, I am using the lathe. The mill would work if I were certain that the tap will cut the new threads - I am not.
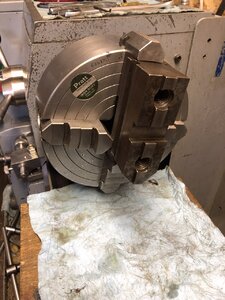
Work holding was the next challenge. I have a 8” 4J for the 13” lathes. So I tried it. Too sketchy as the bottom of the master jaw sits only on one, turned around, jaw pad. Also the 4J only grips the bottom 1/4” of the master jaw.

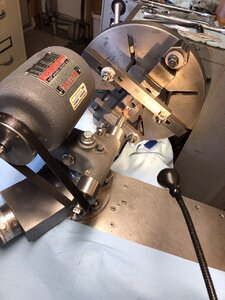
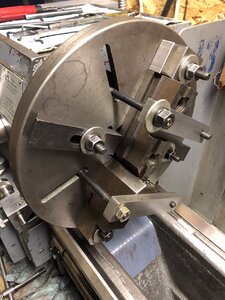
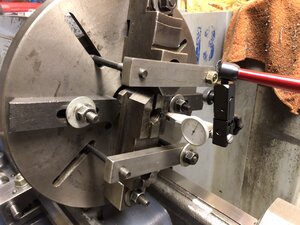
So I got out the 12” face plate and “blocked” the master in using strap clamps, the top jaw (also as counter balance), and some cold rolled stock.


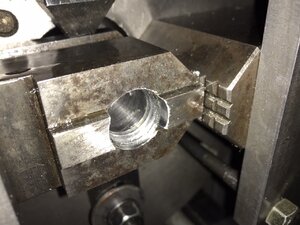
There is a short counter bore above the original threads. I am using it to indicate the center of the stripped threads.

The next step is to use carbide tooling to bore the hole to 25/32” (0.7813”) for the HeliCoil tap. Then I plan on using an internal threading bar to cut the 10 tpi threads. I will use the included tap as a thread gage - and to clean up the threads before inserting the HeliCoil.
To be continued....
There is one big problem: on the #4 Master Jaw, the inner hold down thread is stripped. The 3/4-10 SHCS has no more threads to grab onto and slides in and out with little to no resistance.
The stripped thread
What it should look like (still need to clean the threads better)
I consulted with a member here and discussed some options:
a) keep doing what previous users have done - turn the master jaw around and use the good (outside) thread to hold the top jaw. The stripped thread will be outside now and since it is not under tension, use the chuck that way. Very sketchy using only one of the two hold down bolts.
b) fill the hole with weld, rebore and thread 3/4-10. The heat from welding could distort the jaw.
c) over bore the thread using the same 10 TPI. This will require two custom bolts - one long one and one short one depending which way around the top jaw is mounted to the master. Can be done with an oversized SHCS turned down and threaded 10 tpi to fit the oversized master thread. Would be fiddly as there is no real accurate way to measure the new internal thread.
Option c) got me thinking: if I am going to over bore and thread, why not use an insert after to bring the size back down to nominal 3/4-10? That’s when I decided on the HeliCoil approach.
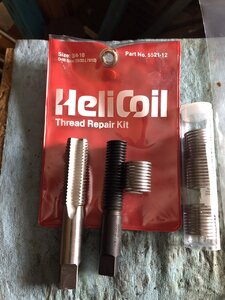
The jaws are hardened. So not sure if the HeliCoil tap will work as it is “only“ HSS.
To have the best chance of success, I am using the lathe. The mill would work if I were certain that the tap will cut the new threads - I am not.
Work holding was the next challenge. I have a 8” 4J for the 13” lathes. So I tried it. Too sketchy as the bottom of the master jaw sits only on one, turned around, jaw pad. Also the 4J only grips the bottom 1/4” of the master jaw.
So I got out the 12” face plate and “blocked” the master in using strap clamps, the top jaw (also as counter balance), and some cold rolled stock.
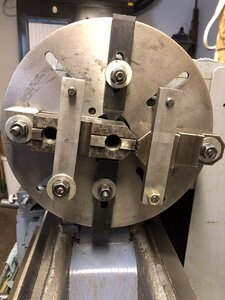
There is a short counter bore above the original threads. I am using it to indicate the center of the stripped threads.
The next step is to use carbide tooling to bore the hole to 25/32” (0.7813”) for the HeliCoil tap. Then I plan on using an internal threading bar to cut the 10 tpi threads. I will use the included tap as a thread gage - and to clean up the threads before inserting the HeliCoil.
To be continued....

