Tobho Mott
Well-Known Member
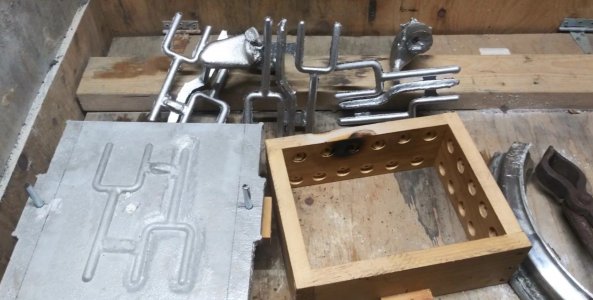
I've seen people cobble together steel spacer frames and backfill the seams with sand and pray to Vulcan for no leakers in order to cast metal match plate patterns before (Mr. Pete has an old series on his youtube channel showing this way), but the hack I came up with to save time and effort is to simply use a spacer made out of a scrap of precut drywall instead. It stands up to the molten aluminum well enough that I've been able to reuse the same frame to cast multiple match plates the same size. As far as I know, using drywall for the spacer is my own original idea; I haven't seen anyone else try this. But it works great for me.
I have a bunch of nice light 6.5" x 8.5" flasks I really like using, and a 12x12 flask is big enough to cast matchplates for those.
Here's how it works.
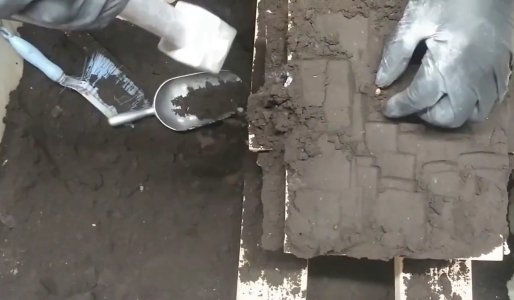
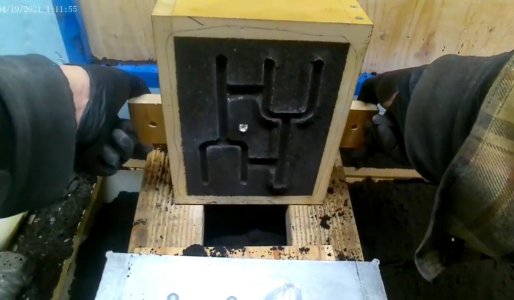
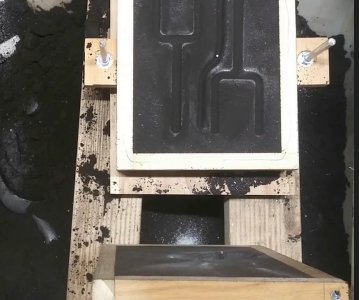
I ram the parts up. In this case it was my split pattern for casting pattern rappers, and a cast copy of it since there's room in the flask for two. It was much faster to simply cope down on the cast copy and use it as a pattern rather than print out a second split pattern.
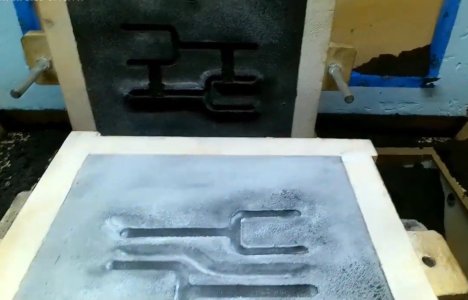
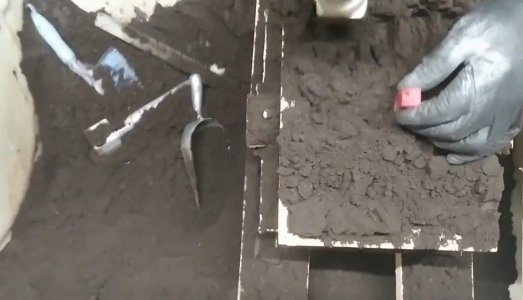
Then I place the spacer. Obviously, the patterns have to be positioned very carefully to make sure they'll be cast with the right clearances from the edges of the matchplate and from the smaller flask walls. So they were traced out on the molding board before I began.
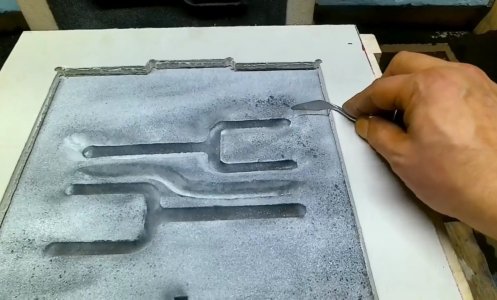
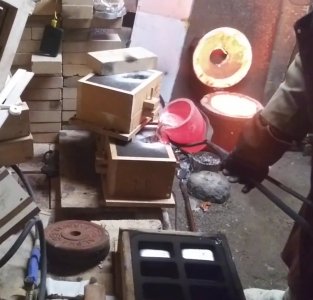
Then I place the cope on top of the spacer and pour, simple as that.
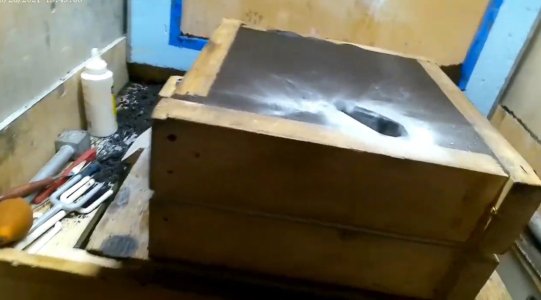
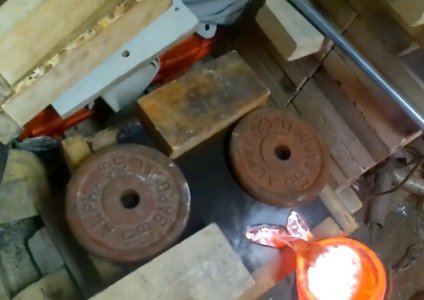
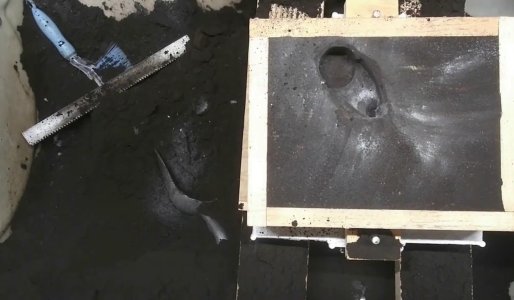
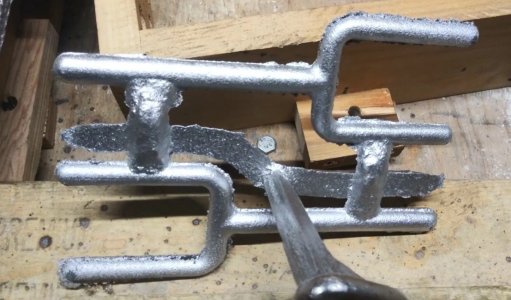
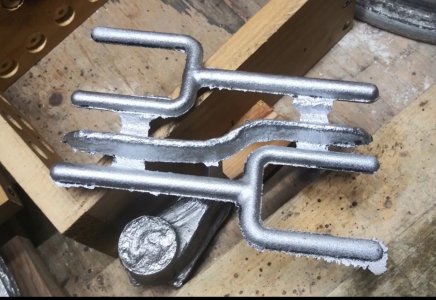
Once it cools off, the mold is opened and the spacer carefully removed to reveal the raw matchplate casting.
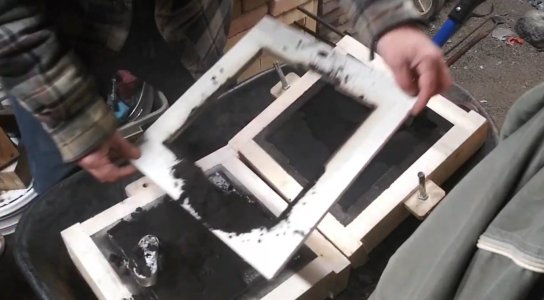
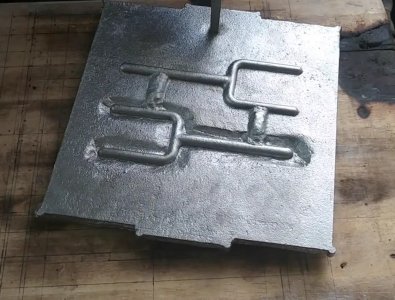
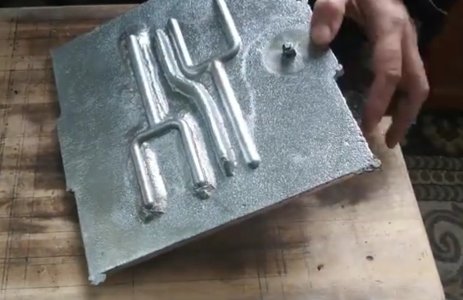
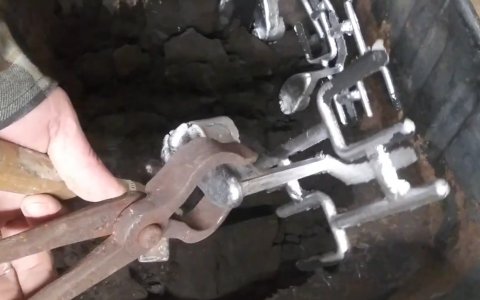
Runner in the drag, gates in the cope. All that remains is to cut off the sprue and drill the holes for the alignment pins. Then I can start cranking out castings much faster than molding loose patterns one at a time.
I drill a small hole through the matchplate from the underside of the runner where I want to sprue down from above, to show me where to drill a bigger hole in the cope side to fit my sprue pin in the right place
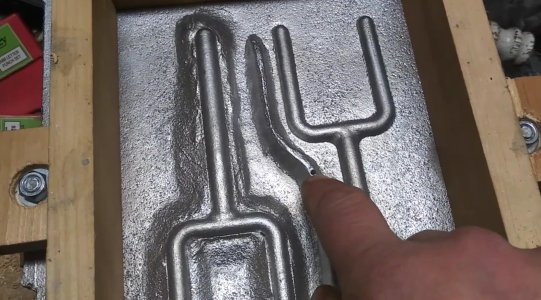
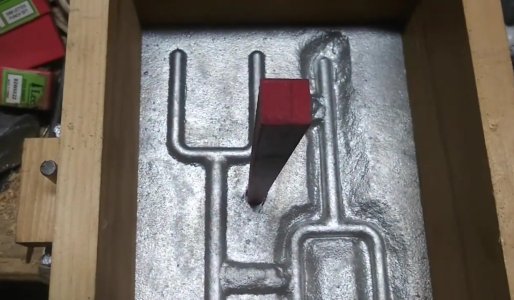
All done, ready to ram up. Next post will show it in use.
I have a few videos on this process if anyone found this interesting. This one is about 20 minutes-ish long, but these pix are all screenshots from it, so if you give it a pass you're really not missing anything.
Jeff
I have a bunch of nice light 6.5" x 8.5" flasks I really like using, and a 12x12 flask is big enough to cast matchplates for those.
Here's how it works.
I ram the parts up. In this case it was my split pattern for casting pattern rappers, and a cast copy of it since there's room in the flask for two. It was much faster to simply cope down on the cast copy and use it as a pattern rather than print out a second split pattern.

Then I place the spacer. Obviously, the patterns have to be positioned very carefully to make sure they'll be cast with the right clearances from the edges of the matchplate and from the smaller flask walls. So they were traced out on the molding board before I began.

Then I place the cope on top of the spacer and pour, simple as that.


Once it cools off, the mold is opened and the spacer carefully removed to reveal the raw matchplate casting.


Runner in the drag, gates in the cope. All that remains is to cut off the sprue and drill the holes for the alignment pins. Then I can start cranking out castings much faster than molding loose patterns one at a time.
I drill a small hole through the matchplate from the underside of the runner where I want to sprue down from above, to show me where to drill a bigger hole in the cope side to fit my sprue pin in the right place


All done, ready to ram up. Next post will show it in use.
I have a few videos on this process if anyone found this interesting. This one is about 20 minutes-ish long, but these pix are all screenshots from it, so if you give it a pass you're really not missing anything.
Jeff

