Dan Dubeau
Ultra Member
Well, I finally am getting to the last of my "winter" shop projects. There's still some snow in the bush, so it still counts....Even if it was 22* out today 😀
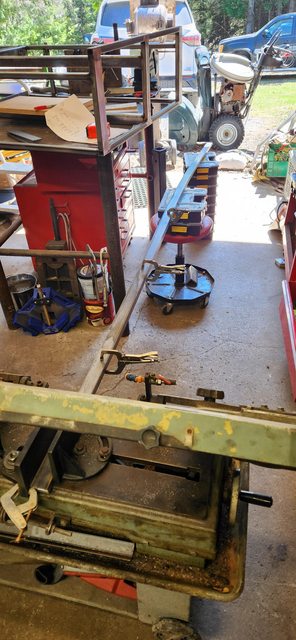
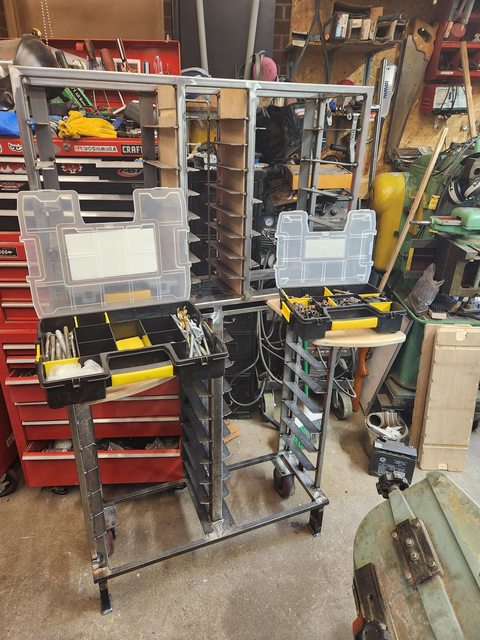
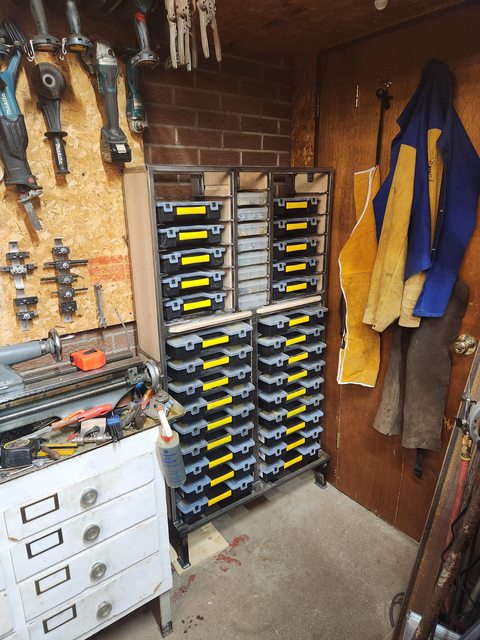
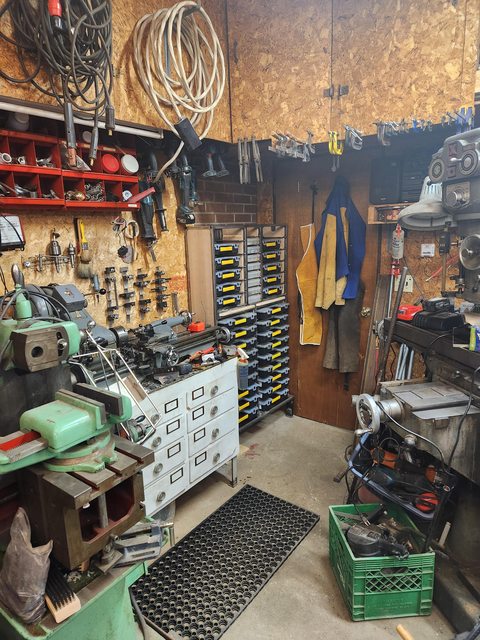
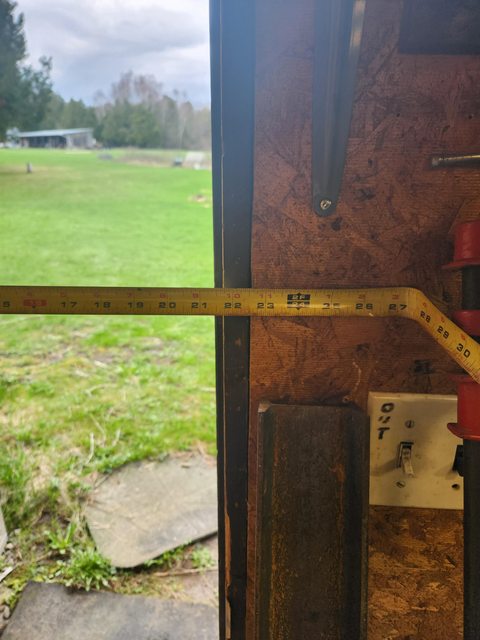
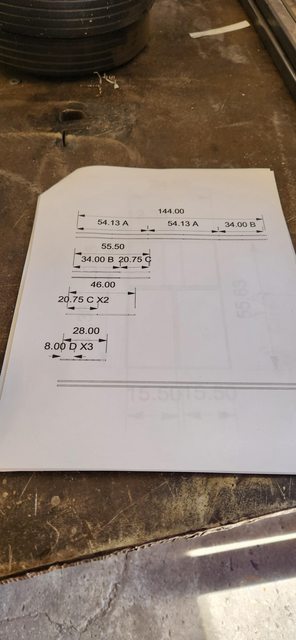
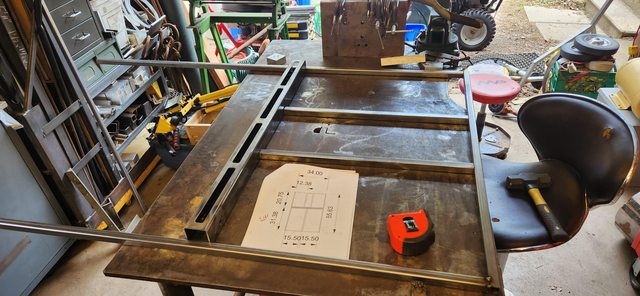
Here's the design I came up with that fits the space I have, and will hold all my sortmasters full of screws, bolts, etc....Right now they're here there and everywhere and need a home. They will live behind the back door, next to the lathe.

Picked up some new steel on Thursday, so it was time to get to it. Actually rummaged through my stock rack once I got home and found a bunch of leftover 3/4" square I was able to use up, so I can save 2 of the new 12' sticks I bought for something else.
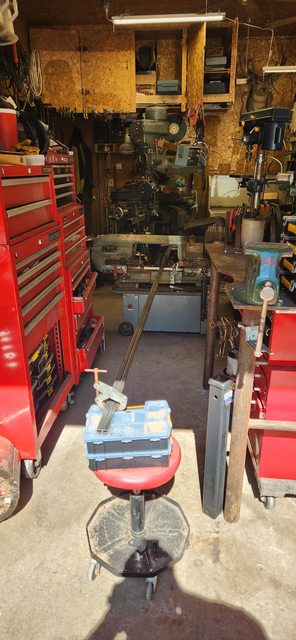
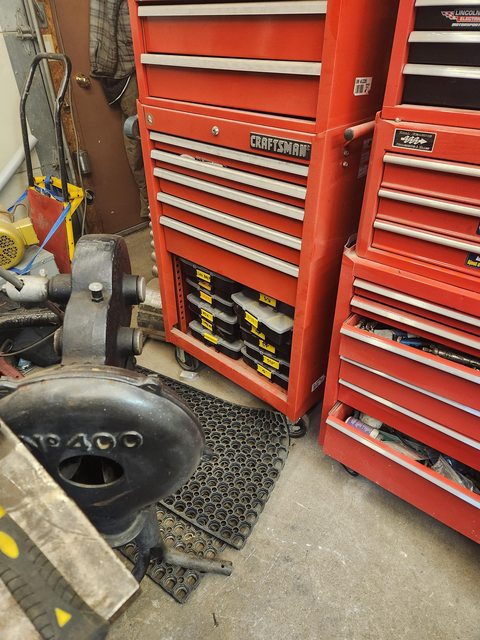
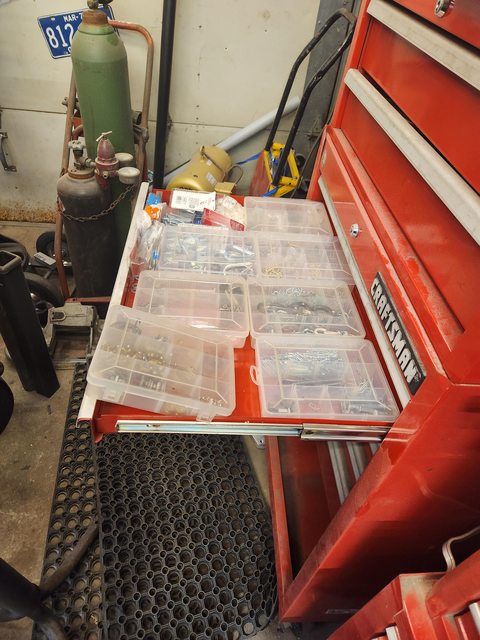
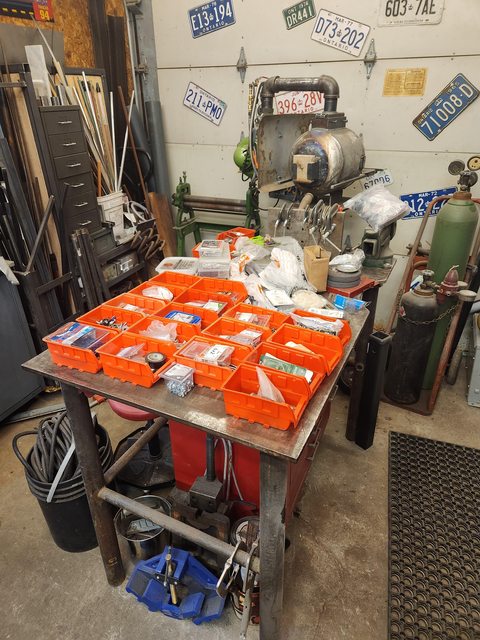
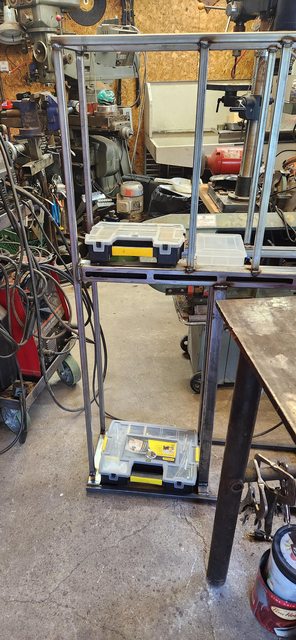
You can see where some of them currently live in that red bottom box on the left there. Once this is done, I will be able to get rid of one of those.
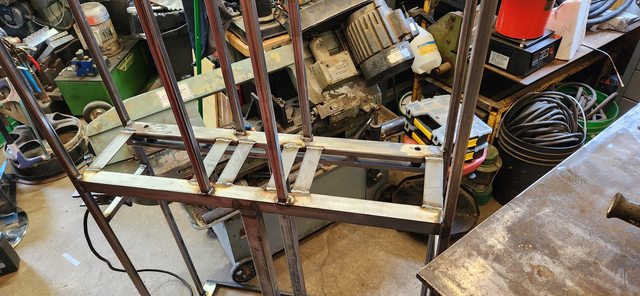
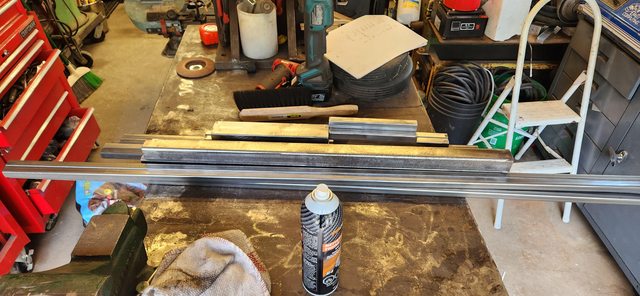
All the pieces cut deburred, and cleaned for paint. Yeah, I'm going to paint this.....
I had some help with the deburring....
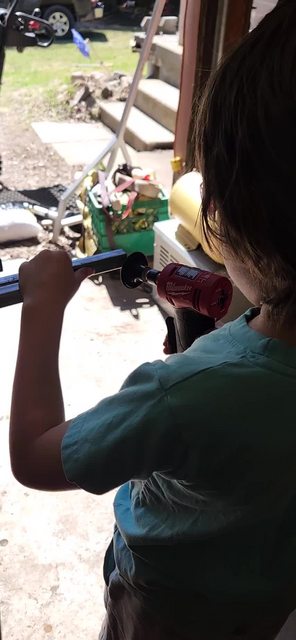
He did great, and actually enjoyed it. That little 1/4" M12 angle die grinder with a Roloc disc is a perfect tool to exploit child labour 😀. Also my new favourite tool. Kid is so lucky, back in my day all I had was a rusty file......
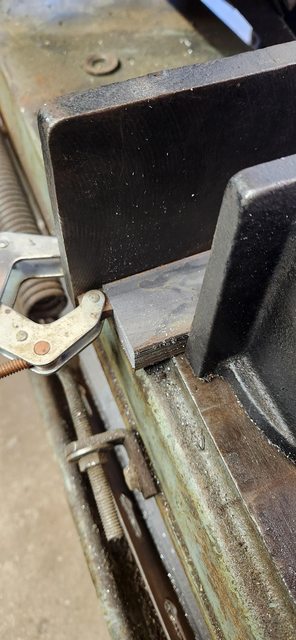
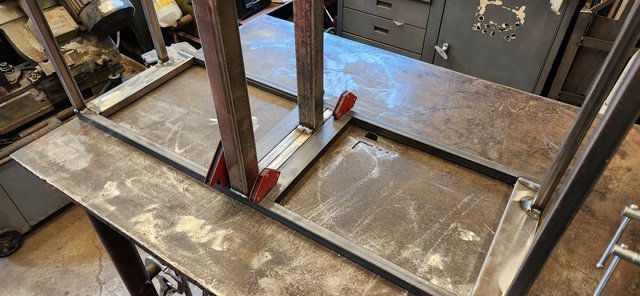
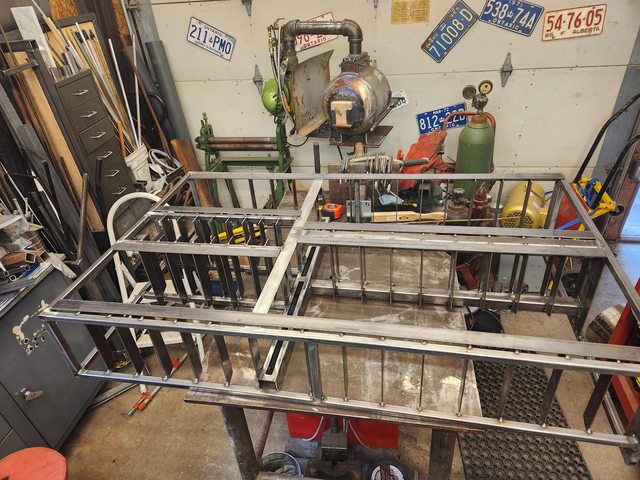
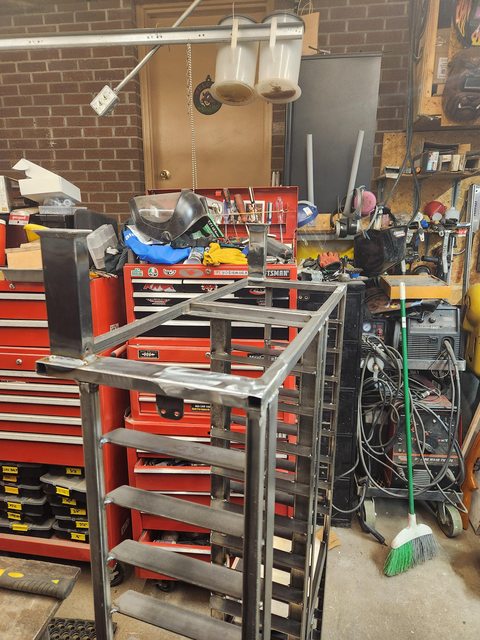
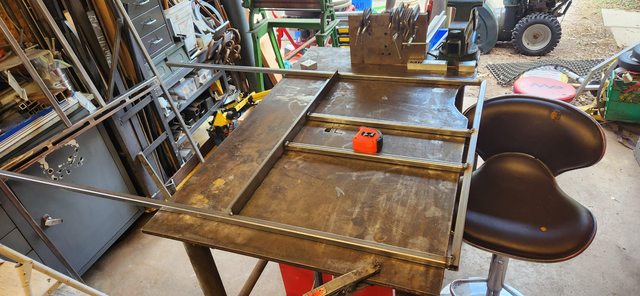
From here out it's a pretty standard weldment, and went pretty quick. Welded (tacked) the front and back frames up individually, then the bottom frame, and finally joined them together with the spacers.
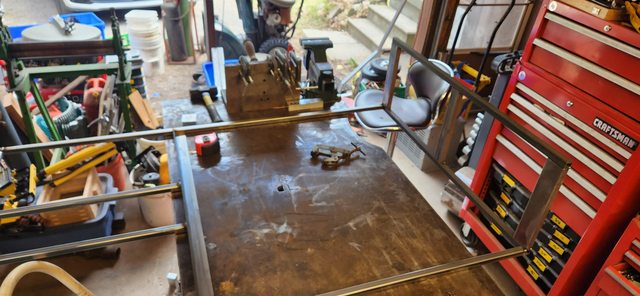
I cut another spacer for the sides, but never got a pic of it welded in. They did warp inwards a bit, so it was needed to space them back out again. I "just" had enough without having to cut into the fresh sticks.
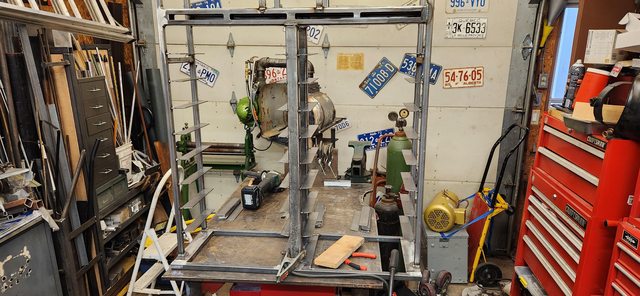
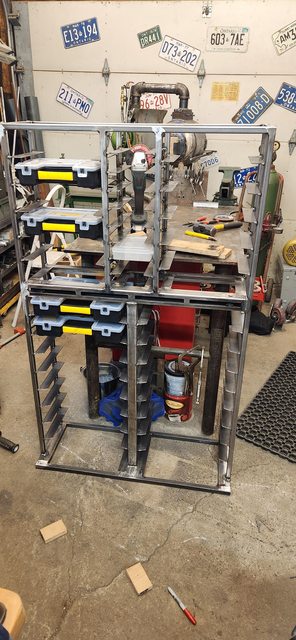
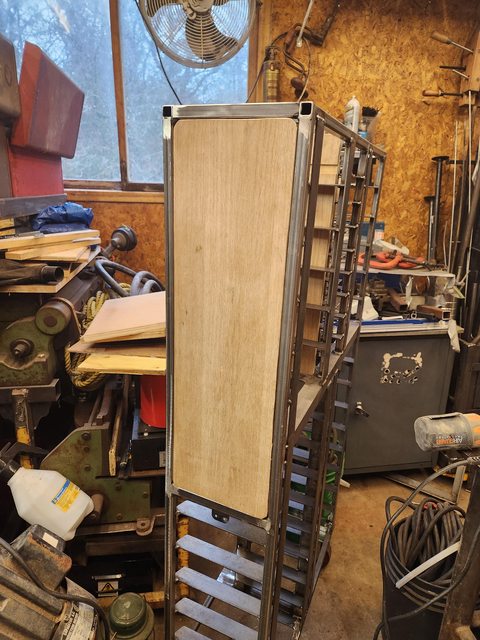
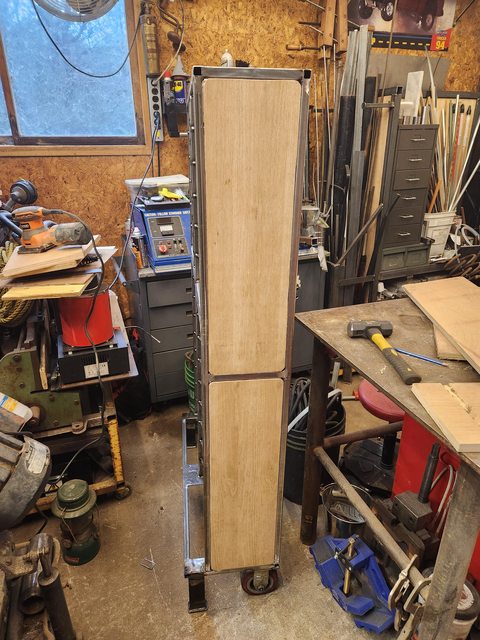
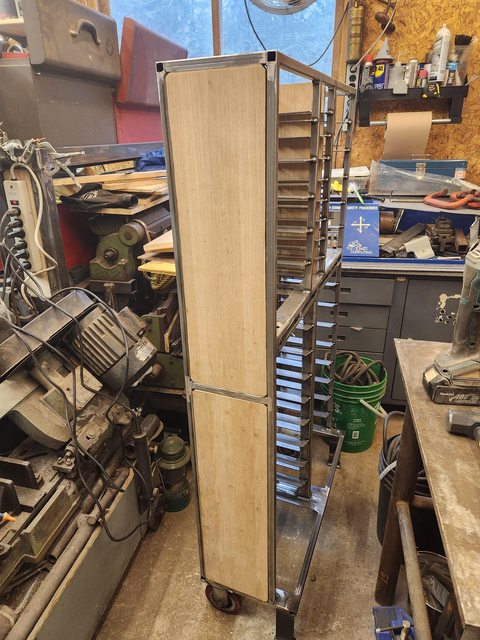
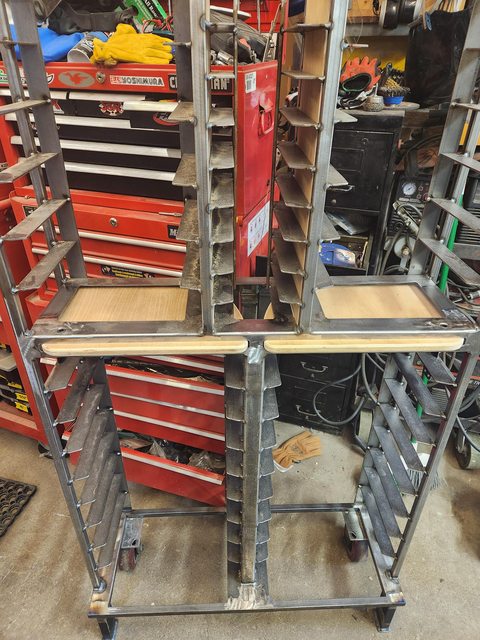
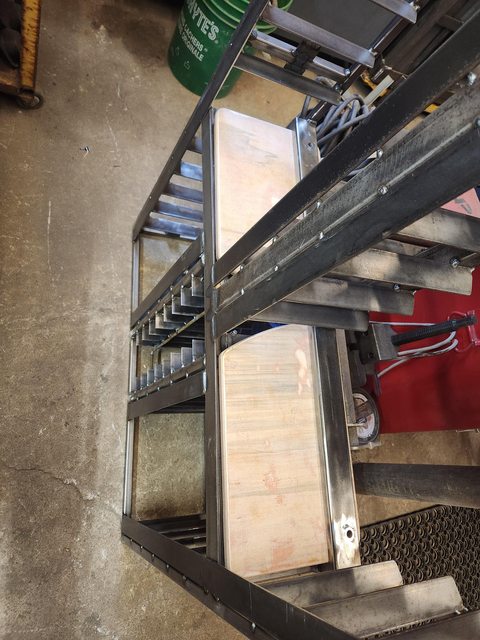
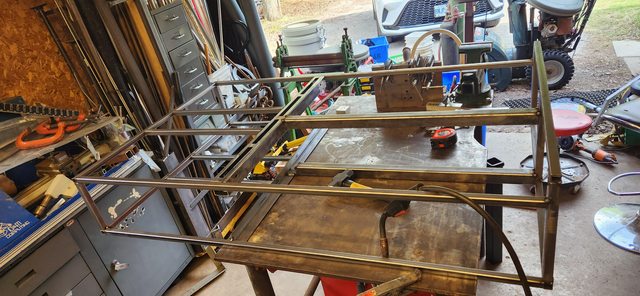
Couldn't resist standing it up, to give it a try.
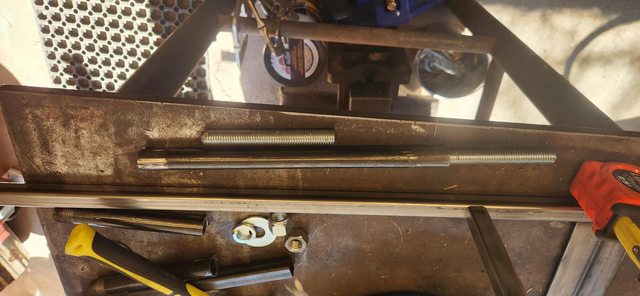
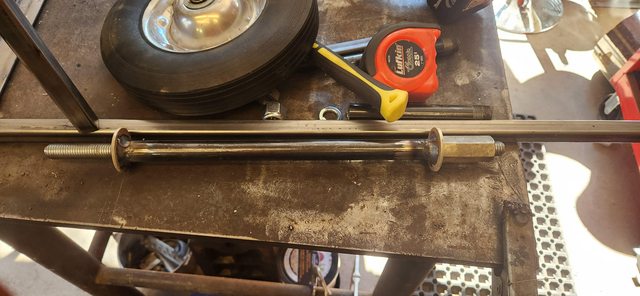
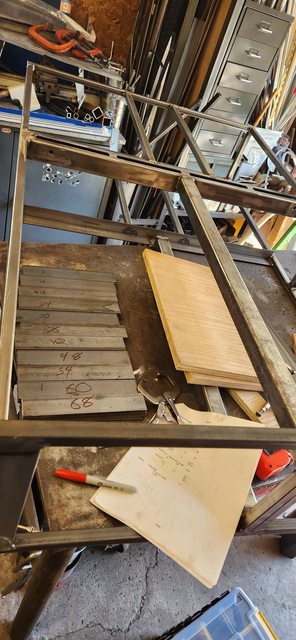
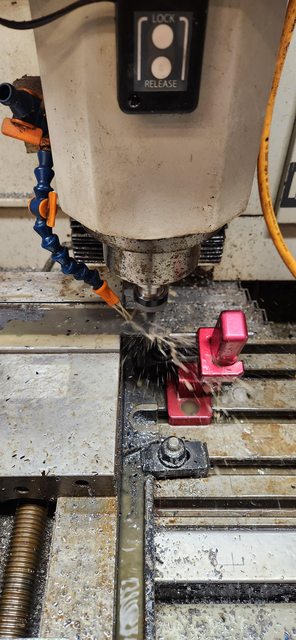
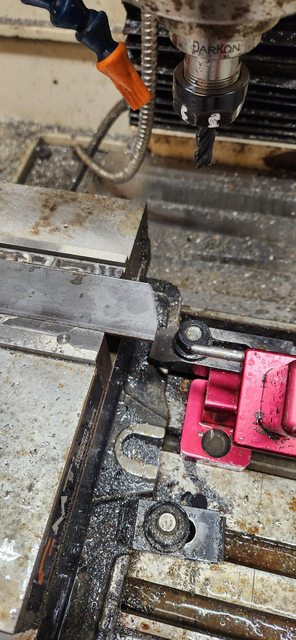
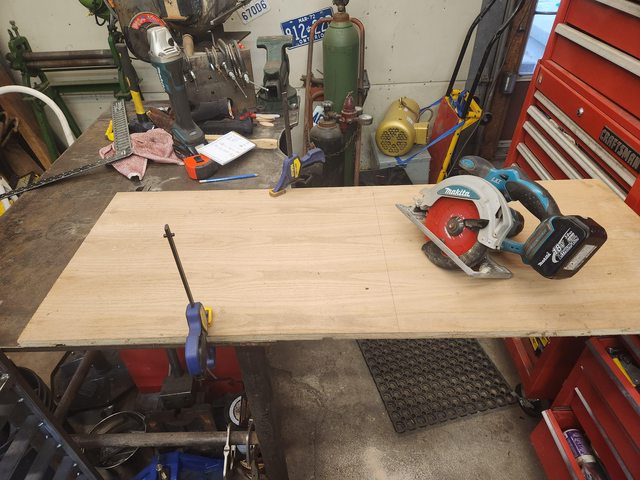
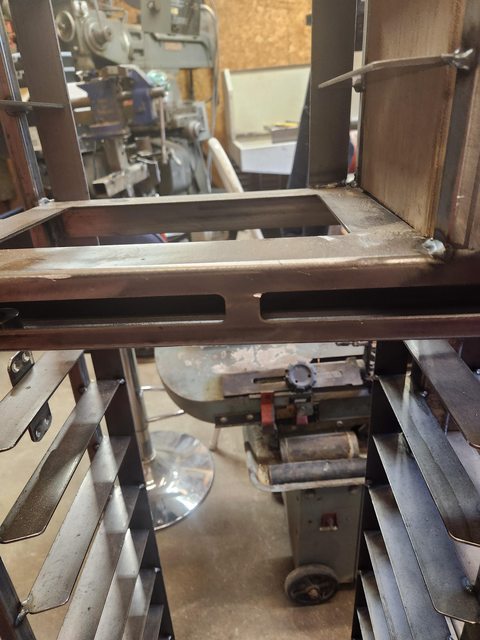
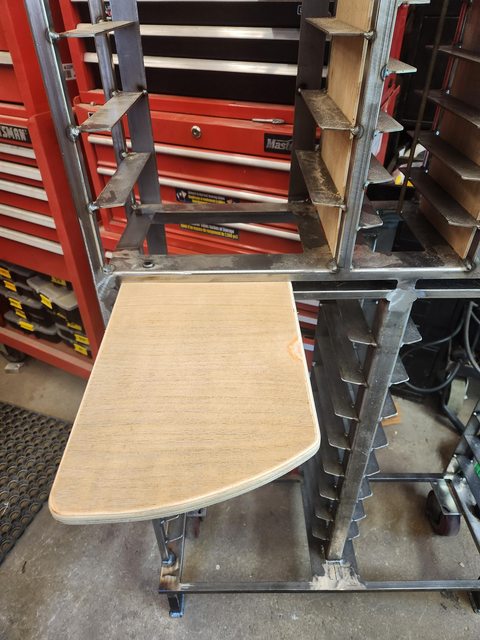
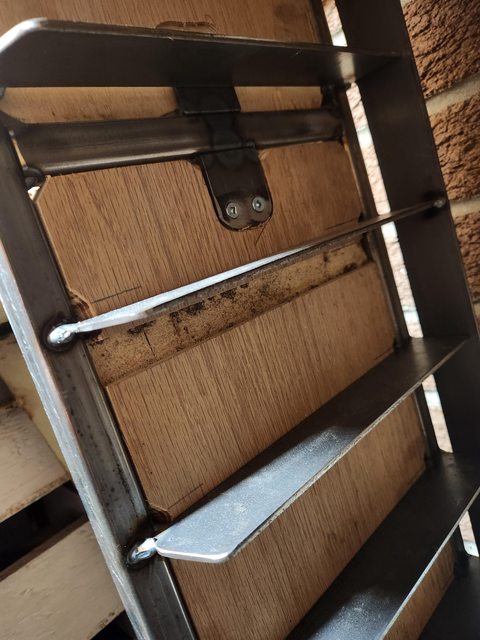
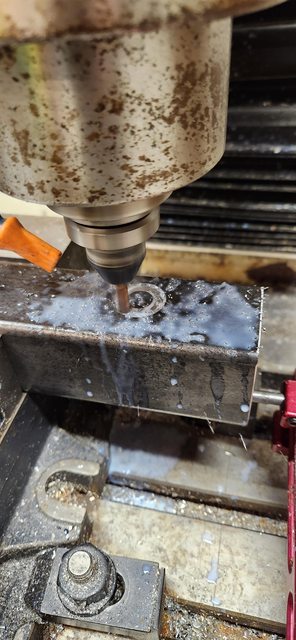
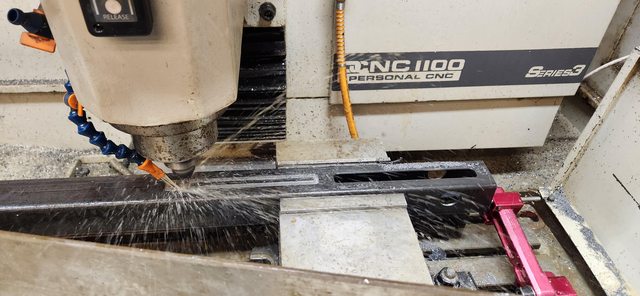
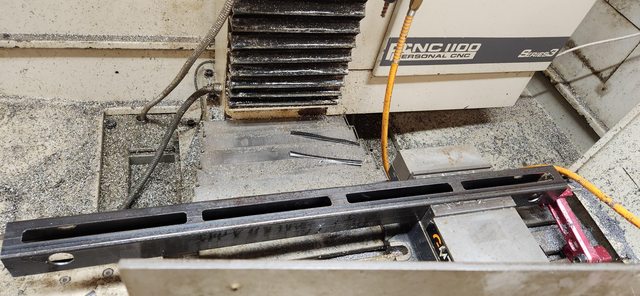
If you're wondering about the weird middle section with the slots, it's for swing out shelves, so I can pull a bin and set it there while I get hardware from it. Took some head scratching to come up with that, and keep it "simple" but it was fun to make. I cut the slots in the 2" sq tubing on the CNC last night, while I was turning the bushings in the lathe. Travel wasn't long enough, so I did it in 2 half's, as well as interpolate the bushing holes. 6 ops, all programmed using the same setup, just flip to the right side and run the right program ***......
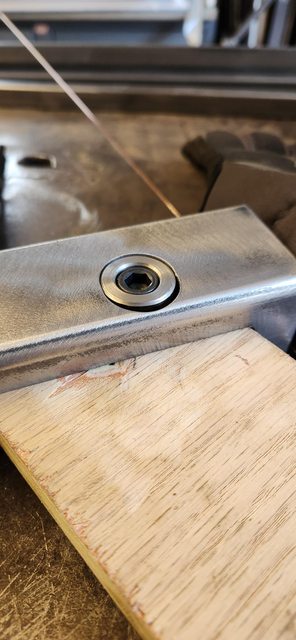
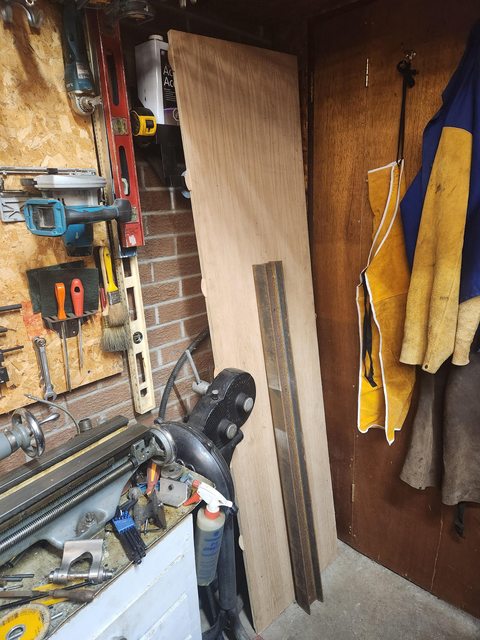
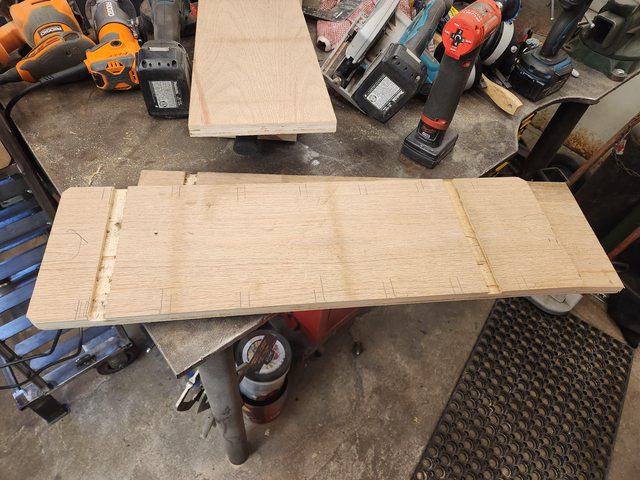
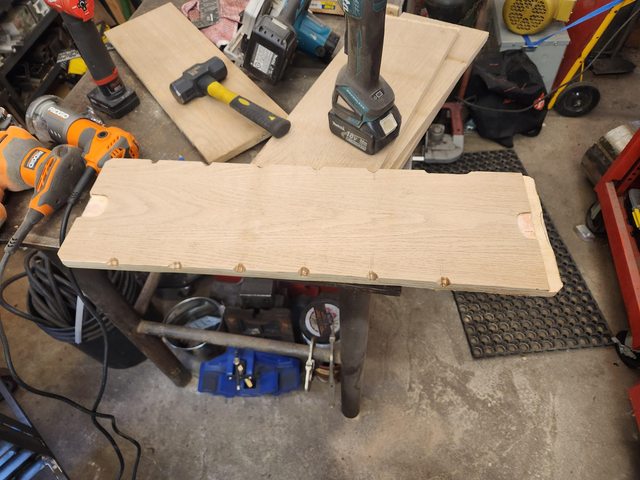
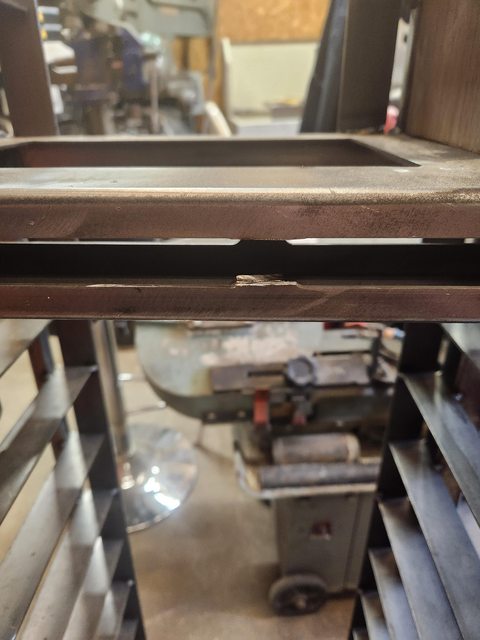
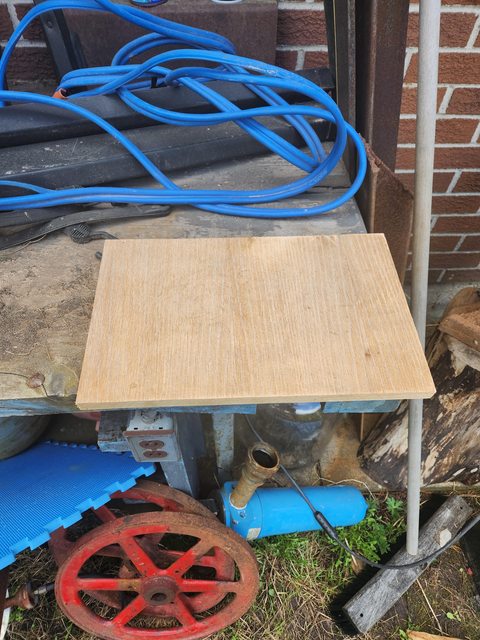
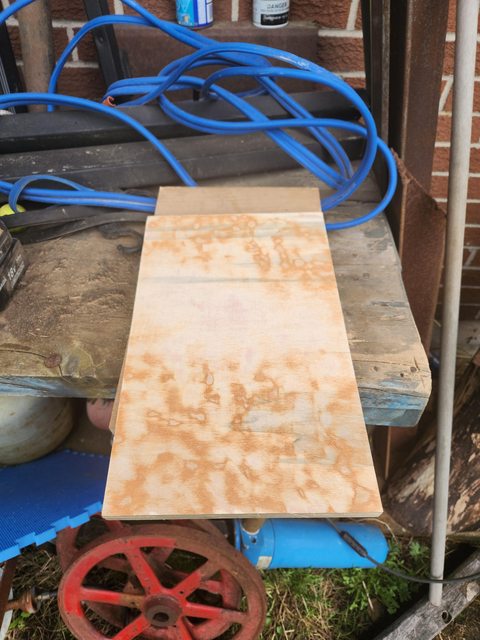
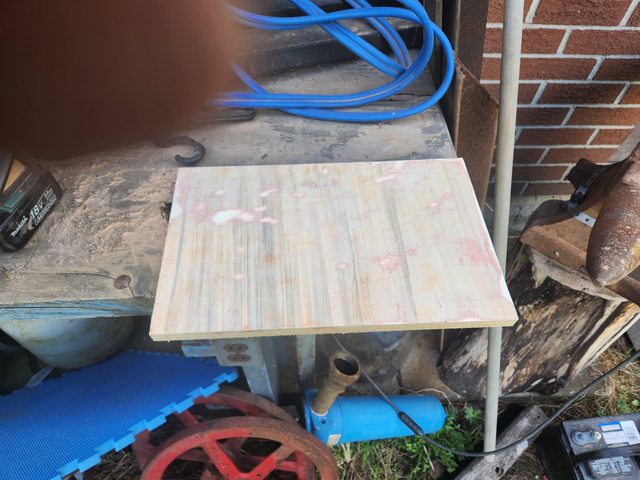
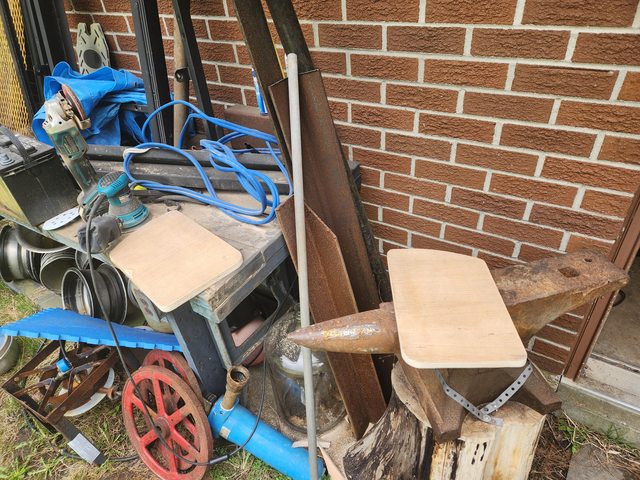
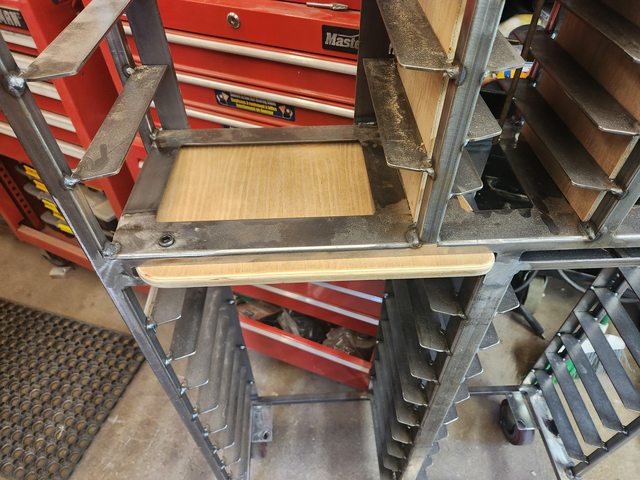
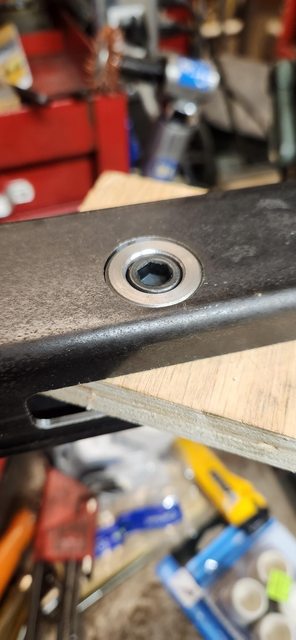
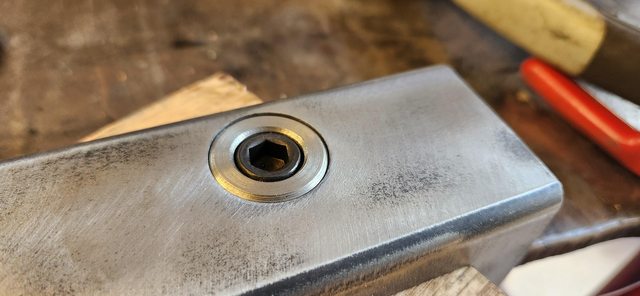
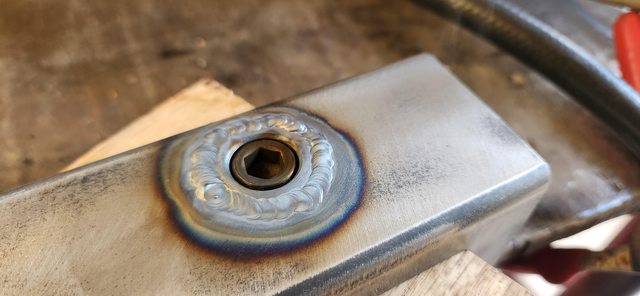
The top one has a counterbore for a 3/8" SHCS, and the bottom is tapped. Once welded in they will be the pivot point for the swingout 18mm plywood shelf's. The slots are cut 0.720" (18mm is 0.708) so there is a bit of clearance, but they will hold the plywood when it's swung out. Should be good enough to hold a loaded sortmaster. We shall find out....First trial fit went good 😀
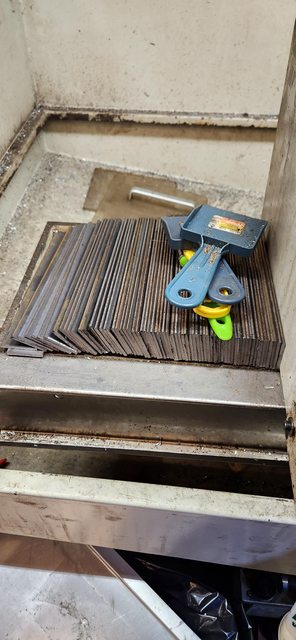
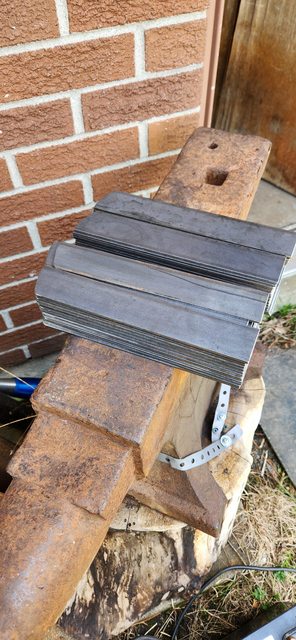
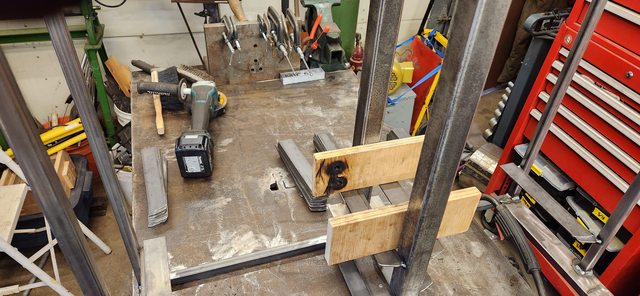
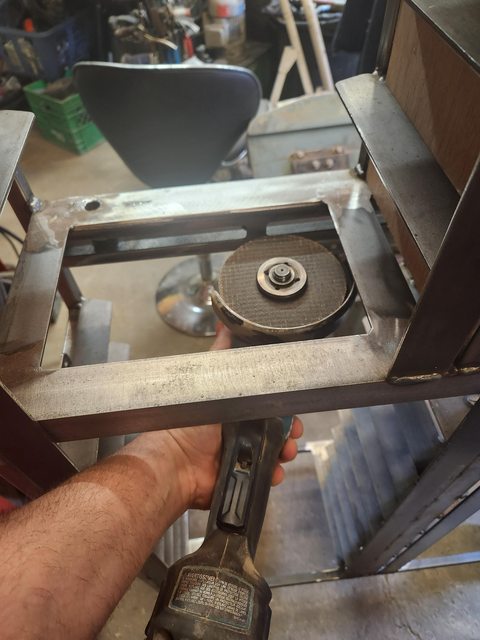
All cleaned up ready for welding. I sandwiched a scrap piece of ply between them during welding to hold them in place. I can't remember the last time I tigged anything, it's been a while. I need to do this more as I forgot how much I love it.
There will only be 2 shelves, but I left some holding meat in the middle of the slots to cut away after welding up the fram because I didn't want it to warp on me. I'll cut those tabs out when it's all done and it's time to fit the shelves.
That's where I am at the moment. I might get back at it tomorrow to cut the drawer slides from 1/8"x1.5" flat bar. All 78 of them.....Or I might not. Busy day tomorrow with other things, and my Wife also informed me this afternoon that she got 12 laying hens we need to pickup next weekend (for free). Which means I have from now until then to figure out a home for them.....Or else we're having a chicken BBQ next weekend 😀. Might not get to finish this winter project before the last of the snow melts in the bush. Could be another couple weeks....Stay tuned.....
Here's the design I came up with that fits the space I have, and will hold all my sortmasters full of screws, bolts, etc....Right now they're here there and everywhere and need a home. They will live behind the back door, next to the lathe.
Picked up some new steel on Thursday, so it was time to get to it. Actually rummaged through my stock rack once I got home and found a bunch of leftover 3/4" square I was able to use up, so I can save 2 of the new 12' sticks I bought for something else.
You can see where some of them currently live in that red bottom box on the left there. Once this is done, I will be able to get rid of one of those.
All the pieces cut deburred, and cleaned for paint. Yeah, I'm going to paint this.....
I had some help with the deburring....
He did great, and actually enjoyed it. That little 1/4" M12 angle die grinder with a Roloc disc is a perfect tool to exploit child labour 😀. Also my new favourite tool. Kid is so lucky, back in my day all I had was a rusty file......
From here out it's a pretty standard weldment, and went pretty quick. Welded (tacked) the front and back frames up individually, then the bottom frame, and finally joined them together with the spacers.
I cut another spacer for the sides, but never got a pic of it welded in. They did warp inwards a bit, so it was needed to space them back out again. I "just" had enough without having to cut into the fresh sticks.
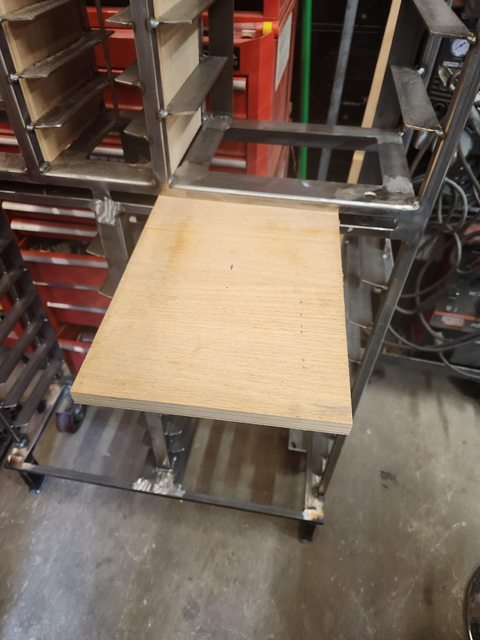
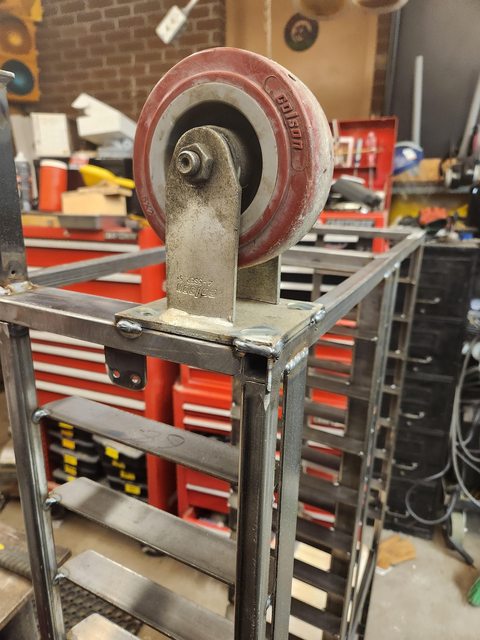
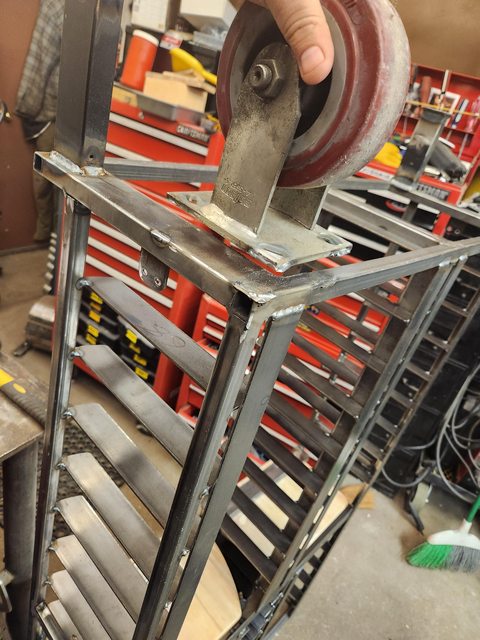
Couldn't resist standing it up, to give it a try.
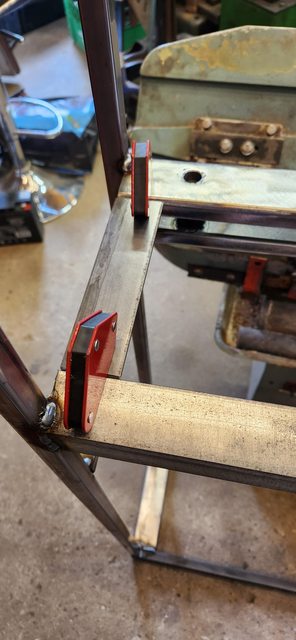
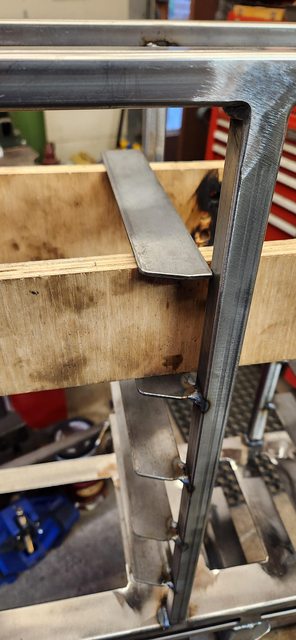
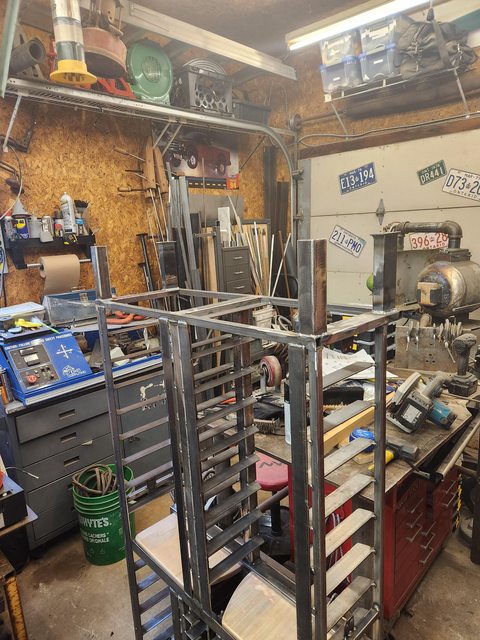
If you're wondering about the weird middle section with the slots, it's for swing out shelves, so I can pull a bin and set it there while I get hardware from it. Took some head scratching to come up with that, and keep it "simple" but it was fun to make. I cut the slots in the 2" sq tubing on the CNC last night, while I was turning the bushings in the lathe. Travel wasn't long enough, so I did it in 2 half's, as well as interpolate the bushing holes. 6 ops, all programmed using the same setup, just flip to the right side and run the right program ***......
The top one has a counterbore for a 3/8" SHCS, and the bottom is tapped. Once welded in they will be the pivot point for the swingout 18mm plywood shelf's. The slots are cut 0.720" (18mm is 0.708) so there is a bit of clearance, but they will hold the plywood when it's swung out. Should be good enough to hold a loaded sortmaster. We shall find out....First trial fit went good 😀
All cleaned up ready for welding. I sandwiched a scrap piece of ply between them during welding to hold them in place. I can't remember the last time I tigged anything, it's been a while. I need to do this more as I forgot how much I love it.
There will only be 2 shelves, but I left some holding meat in the middle of the slots to cut away after welding up the fram because I didn't want it to warp on me. I'll cut those tabs out when it's all done and it's time to fit the shelves.
That's where I am at the moment. I might get back at it tomorrow to cut the drawer slides from 1/8"x1.5" flat bar. All 78 of them.....Or I might not. Busy day tomorrow with other things, and my Wife also informed me this afternoon that she got 12 laying hens we need to pickup next weekend (for free). Which means I have from now until then to figure out a home for them.....Or else we're having a chicken BBQ next weekend 😀. Might not get to finish this winter project before the last of the snow melts in the bush. Could be another couple weeks....Stay tuned.....