trlvn
Ultra Member
I got a little shop time over the past couple of days and made a slitting saw arbor:

It is a 3/4 inch arbor as several of the saws I picked up in an auction lot need that size. A number of Youtube videos all used basically the same design so I did too.
Here are the parts:

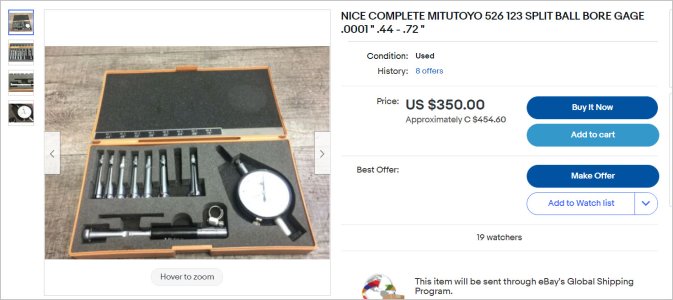
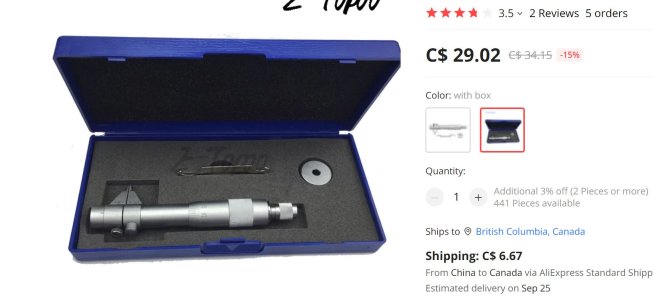
Both the cap and the bore in the main body need to be a good fit to the hole in the saw blades. To do the bore, I used a tool that I picked up a few months ago: a round-pin, inside micrometer:

It took a little practise to get accustomed to it. I didn't realize the knurled knob on the head locks it. It was dragging and it seemed hard to use. Duh! But after I got that figured out, it really is nice and accurate. The bore came out at about 0.7505--exactly what I wanted!
I also used a kind of funny tool for the boring which is shown at left in the above picture. The head is stout enough to hold a 1/4" HSS cutter but the shank fits in a basic '102' style tool holder. My bore only needed to be 0.5" deep so I had just enough room get inside. I've used it a couple of times now for shallow recesses and the like. Works well; no flex.
So, does the arbor work? Here is an aluminum offcut from my first test:

There is some texture left after the cut. I think there are two issues. First, I used a 36 tooth saw blade (3" diameter) for the cut. I think that may have been too many teeth and swarf was getting jammed in the gullets. Also, I know the tram on my mill needs more work. Acceptable, nonetheless.
Finally, here is a shot with a bigger cutter installed:

I haven't tried a test cut with this one, which is a 1/4" staggered tooth slotter(?). Not sure how well it will work. I may not be able to get the cap tight enough with the 1/4-20 screw I'm using. The cutter also has a provision for a key which isn't possible with this arbor design.
I think I'm going to add wrench flats to the arbor body. That'll give me a chance to have a go with my 5C collet blocks that have been sitting unused for an age!
Craig
It is a 3/4 inch arbor as several of the saws I picked up in an auction lot need that size. A number of Youtube videos all used basically the same design so I did too.
Here are the parts:
Both the cap and the bore in the main body need to be a good fit to the hole in the saw blades. To do the bore, I used a tool that I picked up a few months ago: a round-pin, inside micrometer:
It took a little practise to get accustomed to it. I didn't realize the knurled knob on the head locks it. It was dragging and it seemed hard to use. Duh! But after I got that figured out, it really is nice and accurate. The bore came out at about 0.7505--exactly what I wanted!
I also used a kind of funny tool for the boring which is shown at left in the above picture. The head is stout enough to hold a 1/4" HSS cutter but the shank fits in a basic '102' style tool holder. My bore only needed to be 0.5" deep so I had just enough room get inside. I've used it a couple of times now for shallow recesses and the like. Works well; no flex.
So, does the arbor work? Here is an aluminum offcut from my first test:
There is some texture left after the cut. I think there are two issues. First, I used a 36 tooth saw blade (3" diameter) for the cut. I think that may have been too many teeth and swarf was getting jammed in the gullets. Also, I know the tram on my mill needs more work. Acceptable, nonetheless.
Finally, here is a shot with a bigger cutter installed:
I haven't tried a test cut with this one, which is a 1/4" staggered tooth slotter(?). Not sure how well it will work. I may not be able to get the cap tight enough with the 1/4-20 screw I'm using. The cutter also has a provision for a key which isn't possible with this arbor design.
I think I'm going to add wrench flats to the arbor body. That'll give me a chance to have a go with my 5C collet blocks that have been sitting unused for an age!
Craig