• Scam Alert. Members are reminded to NOT send money to buy anything. Don't buy things remote and have it shipped - go get it yourself, pay in person, and take your equipment with you. Scammers have burned people on this forum. Urgency, secrecy, excuses, selling for friend, newish members, FUD, are RED FLAGS. A video conference call is not adequate assurance. Face to face interactions are required. Please report suspicions to the forum admins. Stay Safe - anyone can get scammed.
  • Several Regions have held meetups already, but others are being planned or are evaluating the interest. The Calgary Area Meetup is set for Saturday July 12th at 10am. The signup thread is here! Arbutus has also explored interest in a Fraser Valley meetup but it seems members either missed his thread or had other plans. Let him know if you are interested in a meetup later in the year by posting here! Slowpoke is trying to pull together an Ottawa area meetup later this summer. No date has been selected yet, so let him know if you are interested here! We are not aware of any other meetups being planned this year. If you are interested in doing something in your area, let everyone know and make it happen! Meetups are a great way to make new machining friends and get hands on help in your area. Don’t be shy, sign up and come, or plan your own meetup!

New Vevor 6 Jaw

Photo not copied

Peter, what you sketched is more or less what I have. The shoulder in the longer hole is slightly higher than the shorter one. The two holes in the bottom jaw appear to be identical. I tried a 25mm screw in the shorter hole and it fits fine bottoming out on the shoulder not the bottom of the hole. That makes sense because the difference in the shoulder height measures 4.9mm. That tells me that I can clean up the female threads with a bottoming tap and then use 30mm and 25mm screws to hold the jaws together.

I might also make tension buttons with longer screws like I use on my 3 jaw.
20250827_190702.jpg

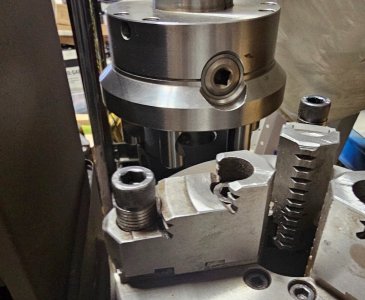
It is basically a set of sleeves that spac up the screw head so they can be used as expansion jaws when the jaws are set for OD clamping on a delicate part.

Some day, I'd also like to grind pillars to put on those 6 inside screws to act as chuck stops for squaring up stock held away from the chuck face. The screws are screaming at me to be used that way.
 
Robin Renzetti has an excellent video on this chuck aspect where he retrofits.

I think I posted that video earlier in this thread. Might have been a different thread though.

If you tested runout at a different diameter or a different temperature or a different clamping force, big changes can and do happen.

I wasn't really expecting miracles from SetTru anyway. It was just a musing based on the assumption that Vevor's runout was virtually guaranteed to suck. But this thing actually looks pretty darn good, so I'm gunna see what the chuck does without it first.
 
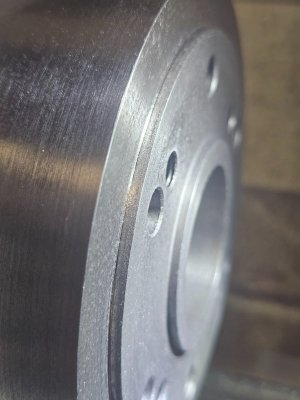
Backplate came. It is cast steel instead of cast iron. I'm ok with that but am wondering if this a really a good use of such a nice backplate. Need to clean the surface before cutting, but looks good so far. Hope the 4 pre-drilled mounting screw holes don't get in the way. Easy to check. But didn't do it yet.

20250828_174020.jpg
 
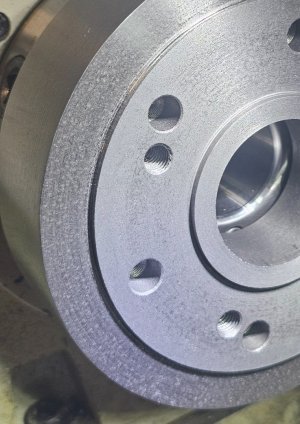
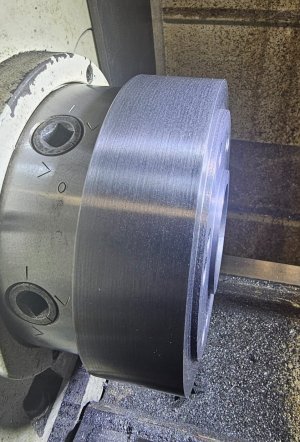
I decided against using the cast steel backplate. I have a regular cast iron back plate that is thicker than a normal backplate. Since the cast steel is also thick, I decided to use the thick cast iron instead. It is all machined and ready to drill for the backplate screws.

20250829_131312.jpg20250829_131251.jpg
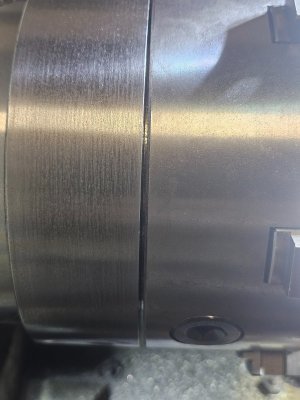
Here it is with test fit with the chuck. Won't go on by hand but will with the screws pulling it in.

20250829_131402.jpg

The chuck only has 3 screws in it. I will change that to 6. For now, it's time to spend time with my grandsons who are here for a long weekend.
 
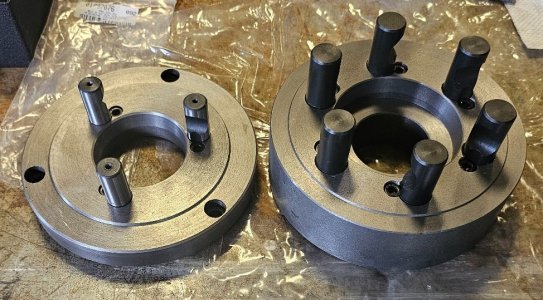
For anyone who is interested, here is a visual comparison between the D1-4 and the D1-5 backplates. (4 on the left)

20250829_121430.jpg
 
Another photo, turned to a tight fit. Just needs screw holes.

20250829_140125.jpg

I will put a very small mark on it to indicate original indexing, but I will wait till I have the chuck mounted so I can dial it in by rotating the indexing before punching in the permanent index mark.

I'd guess where it is now will be best because the plate was turned at this location. But that assumes the chuck itself was built on its own center perfectly. While that might be true, it isn't guaranteed. Therefore, it is good to have a little wiggle room just in case. One way to get that wiggle room is to rotate the backplate on its own center. Quite frankly, I don't expect it to matter on my lathe because it's runout is so low as is, but I want to try it.
 
Back
Top