• Scam Alert. Members are reminded to NOT send money to buy anything. Don't buy things remote and have it shipped - go get it yourself, pay in person, and take your equipment with you. Scammers have burned people on this forum. Urgency, secrecy, excuses, selling for friend, newish members, FUD, are RED FLAGS. A video conference call is not adequate assurance. Face to face interactions are required. Please report suspicions to the forum admins. Stay Safe - anyone can get scammed.
  • The 2026 Calgary Area Meetup is set for Saturday May 30th at 10am. The signup thread is here! Robinhood has graciously offered to host the meetup again this year. Please note that you MUST RSVP to the notice linked above if you wish to come.

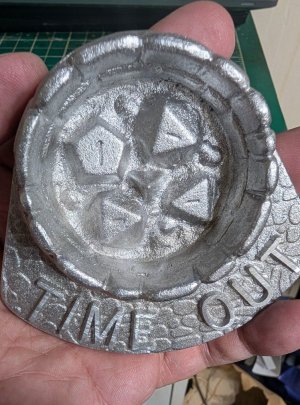
New patternmaking and sand casting project: Dice Dungeon

Tobho Mott

Ultra Member
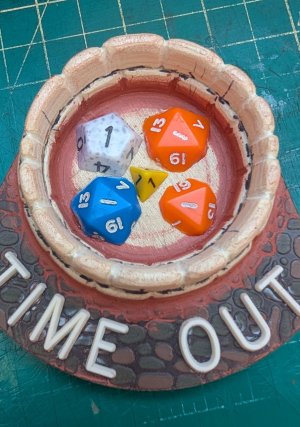
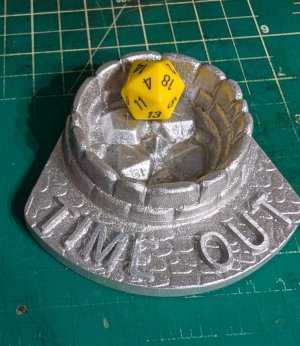
In Dungeons & Dragons, rolling a natural 20 on an attack roll with the 20 sided die (d20) is an automatic hit that deals double damage. A natural 1 is an automatic miss. We call them critical hits and critical misses, respectively.

Some nights things just don't go well. Clearly this is the result of cursed or unruly dice, couldn't possibly just be luck or karma. Critical hits on the other hand are generally blamed on pure skill. Last week I rolled 2 critical misses in a row and decided it was past time I put that particular d20 on time out. But where?

And so I got to patternmaking...
PXL_20260706_125819576.MP_copy_1106x1194.jpg

PXL_20260706_125825653.MP_copy_2268x3226_copy_907x1290.jpg

PXL_20260706_132004370.MP_copy_1134x1052.jpg

Not much to tell. That's why this would probably have gone in my "today in my foundry" thread. But in light of recent threads, I'm making an effort to try and treat it like it deserves its own dedicated project thread instead, so the people who only want to see machining related posts can be sure what they're skipping is really something they aren't interested in. 🙂

Kidding aside, if there's anything that anyone wants clarified, just ask. I'll update the thread when there's more done, and try to explain anything that isn't too obvious. Obvious to me at least. Do please ask if something isn't obvious to you.

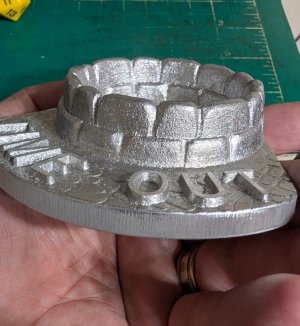
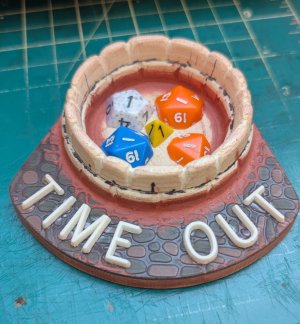
Let's see.... Ok, I guess the most interesting part of the pattern making process so far here that isn't 100% self evident was using a 1/4" spacer between the rows of "bricks" while using my disc and spindle sanders to put pattern draft on the outside/inside of both rows at the same time. Removing the spacer layer after sanding this taper made the bottom of the top course narrower than the top of the bottom course, creating a small shoulder that gives the appearance of the separation between brick layers, but without creating any undercuts.

I made sure not to round off the top of the lower course or file the spaces between individual bricks farther in than the depth of that shoulder, as that would also create undercuts.

The plastic cobblestone texture is a piece I cut off a roll we picked up in Michaels' Christmas village decoration aisle a few years ago. Plus, in no particular order, there's also wood, plastic sign board letters, and a few ground down plastic polyhedra.

To build the pattern so far I've used dividers, a straight edge, pencil, sharpie, scroll saw, band saw, oscillating spindle sander, disc sander, white glue for wood on wood, CA glue for the plastics, spot/glazing putty, sandpaper, and files. I think I remembered everything. Oh and clamps! Of course, a bunch of spring clamps for gluing up.

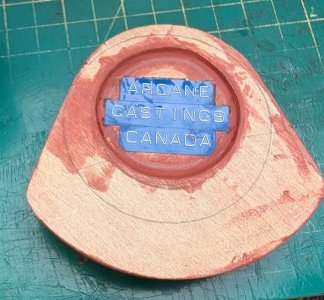
Other than that there's not much to say about this one. At least not yet. It's a fairly simple flat back pattern. There is actually a recess on the bottom I suppose. But it should still mold up exactly the same as any flat back pattern, so that's what I consider it to be.

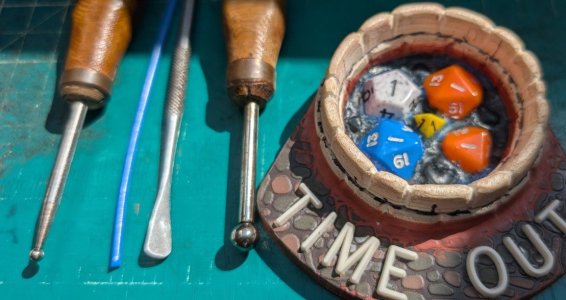
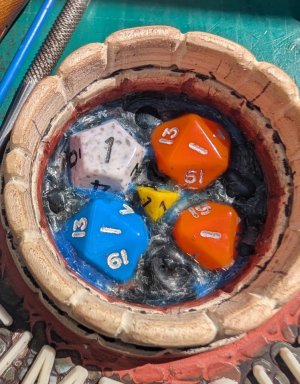
I still have to get out my wax rods and fillet irons to create some "harmful liquid" texture around the melting repeat offender dice who got the death penalty. Whoever ends up with each casting will get to pick whether that is lava or acid, if they choose to paint it like a game terrain model. I added the top of a d12 and a d4 (aka carpet caltrop) as well as a few d20's, just for some variety. Oddly, different coloured dice make different bad smells when you grind most of them away on a disc sander.

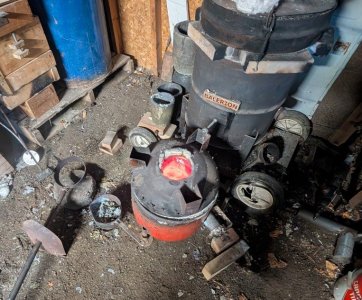
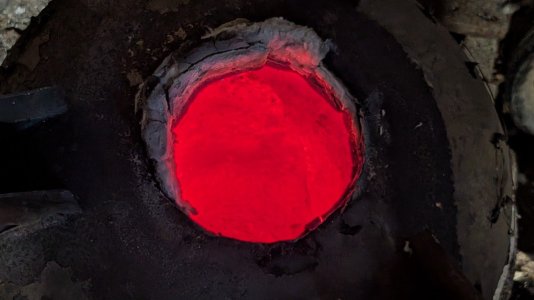
Eventually, I promise there will be.some working with metal involved.

Jeff
 
This is a wonderful project! My own luck with dice rolling is either high or low - the middle numbers seem to rarely come up! I have a friend or two who might like these as gifts, if you're interested in making more.
 
Thanks Squought.

Interested enough to have already been thinking about casting 4ish copies (if 4 will fit in a 12x12 flask, and after I get one for myself) to use as production patterns...

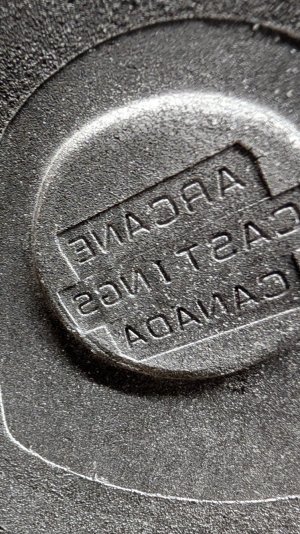
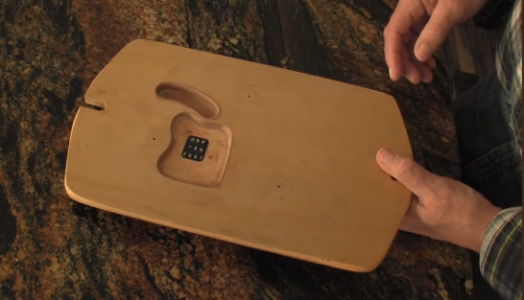
I do need a project to learn how to inset copies of recessed pattern details (like the back of this pattern where the dymo tape is stuck) into a matchplate board, old timey patternmaker style. Like this matchplate seen on Roscoe Pattern Works' YouTube:

Screenshot_20260706-143857_copy_546x313.png

But that's the sort of thing that takes me a while to work up to, and I don't want to hold this project up while I ponder it over and do all the research and ruin a couple practice pieces.

The most fun alternative is casting the whole matchplate, where the hard part isn't technique and/or knowledge so much as lifting a heavier box of sand than what I'm used to. I have a separate thread explaining how I cast matchplate patterns here at: https://canadianhobbymetalworkers.c...minum-match-plate-patterns.14644/#post-192537

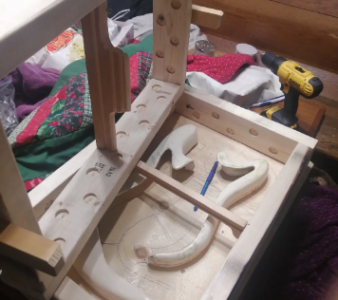
I'm pretty sure the flask I built to make parts for a lady's stained glass guitar build a year or 2 ago is big enough to mold a matchplate that fits a 12x12 flask...

Screenshot_20260706-143435_copy_356x316.png

The other alternative is simply molding the patterns loose They shouldn't be much trouble to demold individually, unless I really screwed up. Probably best to try them loose once or twice before committing to an unproven gating strategy permanently anyway.

Jeff
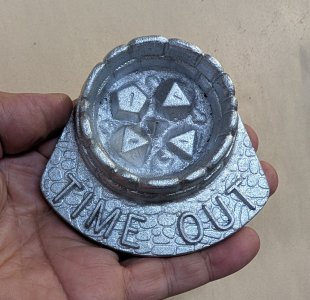
 
Bubbling lava. Or acid. Whatever sort of dangerous and probably foul-smelling dice-melting liquid it is depends entirely on the paint job someone gives the casting.

PXL_20260707_141855409.MP_copy_1109x588.jpg

PXL_20260707_142033593.MP_copy_748x957.jpg

I have no training and hardly any experience in sculpting, so it doesn't look as good this close up as I hoped, but in hand IRL where you can't zoom in on the ~2" pit of doom, I think it'll work ok. And I know I'm at the point of diminishing returns where putting in more time refining it won't improve things enough to be worthwhile. If the dice more or less look like they're melting into a frothing pool of doom, I'm satisfied.

It was fun playing with hot steel balls and wax for a while, but the stuff is a little frustrating to get used to pushing around, then before you know it the ball cools off a bit too much and you do something rough looking that you have then go back and fix. Arrgh. The guys who do lost wax casting by sculpting the wax patterns directly... boggles my mind.

I don't expect the wax to hold up for a ton of molds, experience using it for making fillets on patterns tells me it's a little soft, and ramming the sand into it will take a toll. But it ought to last long enough to cast a few copies to use as patterns.

I thought about sculpting the lava in (friendlier) polymer clay instead, onto a lava-free casting. Then I could stick the whole pattern in the toaster oven to harden the Sculpy without burning the original wood and plastic pattern, and cast my permanent patterns from that. But using the wax will work, and this way the final castings will just be copies of copies, not copies of copies of copies.

Jeff
 
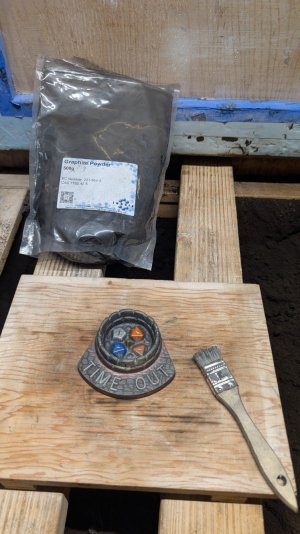
I like to use graphite powder to prepare new patterns. Not just dusted on, I gave a brush a short haircut and use that to somewhat aggressively scrub the graphite in. Not one pattern letter popped off! Used CA to attach them basically permanently this time.

The.grapbite scrub gives the pattern a silvery sheen like it's been coloured in with a pencil (if I may state the obvious). I also counted on the brush to polish the wax a bit, smooth out any rough spots in the hard to reach nooks and crannies.

PXL_20260707_170744920.MP_copy_748x1330.jpg

Got 2 rammed up this afternoon before I had to leave to pick up my daughter. Took a few pictures as I went...

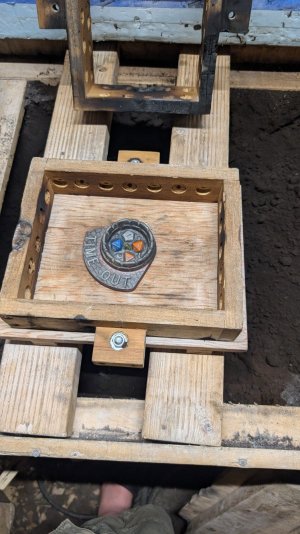
Positioning pattern in drag side of the smallest flask that still leaves room for a runner and in-gate:
PXL_20260707_171014397.MP_copy_748x1330.jpg

Gratuitous pouring basin:
PXL_20260707_172603322.MP_copy_748x1330.jpg

(Mostly) Finished mold:
PXL_20260707_173441369.MP_copy_748x1330.jpg

Just needed the sharp corners at sprue base and end of in-gate radiused off a bit here.

Close-up of Dymo tape label impression:
PXL_20260707_173449187_copy_748x1330.jpg

I very much want to try (again) to cast individual bondo pattern letters using embossed dymo tape as a mold sometime. My first attempt failed miserably, but I've gotten some good tips since then from a fellow who did manage it once...

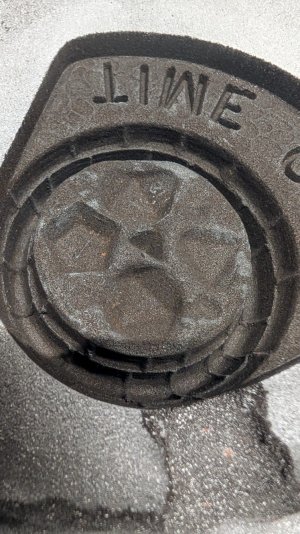
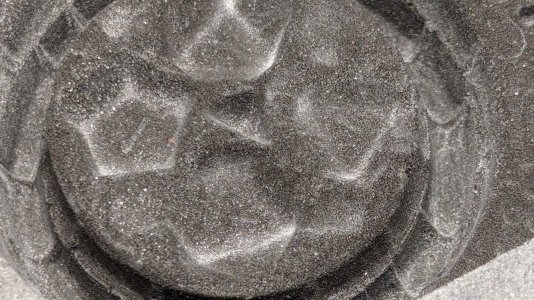
Close-ups of dice and lava impressions:
PXL_20260707_173501721.MP_copy_748x1330.jpg

Added a bit of parting; makes it easier to see the details. The 1's on the dice are just barely visible. I hope they cast out well...
PXL_20260707_173711066_copy_1330x748.jpg

Additional details of cobblestones, text etc.:
PXL_20260707_173737042.MP_copy_748x1330.jpg

Mold #2 rammed up:
PXL_20260707_175916893.MP_copy_748x1330.jpg

PXL_20260707_180039784_copy_1330x748.jpg

If I could, I'd wait to pour these until I have my 4 pattern copies rammed up.

If I could, I'd also make one extra mold and pour a copy of the "home sweet dungeon" plaque in Al too while I'm at it, to keep for a pattern. So as to free up its cast background and my plastic pattern letters for other jobs. Because this was always the plan for that pattern, those letters were just white glued on, for easy soaking back off of the aluminum background.

Friday is game night and I do plan to have at least one Dice Dungeon cast in time to bring with me.

But I also have a dinner thing on Thursday, and an early Friday morning. So depending on real life intervening or not, I might have to just bang out whatever I can have ready for tomorrow after dinner instead of pouring all 5 molds in one heat. Time will tell.

Jeff
 
I poured just the two I had already molded.

PXL_20260709_000026079.MP_copy_851x598.jpg

PXL_20260708_235532025.MP_copy_763x633.jpg

PXL_20260708_235523774_copy_1330x748.jpg

Woohoo! Happy to see all the details came through.

PXL_20260709_001143544_copy_1330x748.jpg

PXL_20260709_001152689.MP_copy_1330x748.jpg

PXL_20260709_001158883.MP_copy_1330x748.jpg

PXL_20260709_001226487.MP_copy_1330x748.jpg

PXL_20260709_001231237.MP_copy_1330x748.jpg

PXL_20260709_001235211.MP_copy_1330x748.jpg

🙂

Just have to brush off the sand, cut off and grind down the in-gate on one of them, and it'll be ready for the game table on Friday.night. Unpainted. I don't have the eyes for that anymore.

Jeff
 
I should have gated into the flat back that gets sanded smooth anyway. Gating in from the side required more grinding off of sand cast texture than I want to live with...
PXL_20260710_010905266.MP_copy_1134x932.jpg

PXL_20260710_010328944.MP_copy_748x859.jpg

So the first 2 probably won't actually be useful as patterns. But I did get one playtest-ready for tonight's game session...

PXL_20260710_010243513.MP_copy_748x1009.jpg

PXL_20260710_010309157.MP_copy_748x811.jpg

PXL_20260710_010221742.MP_copy_748x862.jpg

Jeff
 
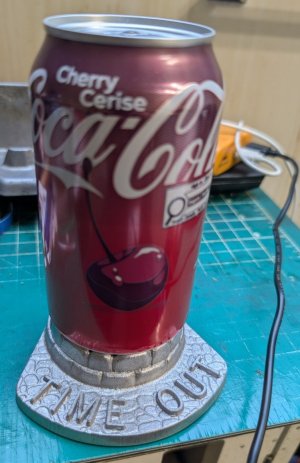
Cool idea. Maybe a little too small, but hey the inside doesn't need a flat bottom if I use it as a can coaster. It kinda looks like it wants someone to knock it over though.

PXL_20260710_212225037.MP_copy_748x1152.jpg

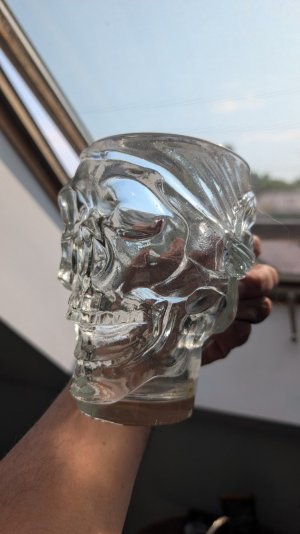
I don't think my D&D night mug is gonna fit... 🙁

PXL_20260710_205111324.MP_copy_748x1330.jpg

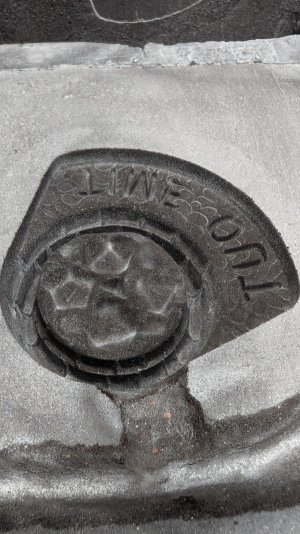
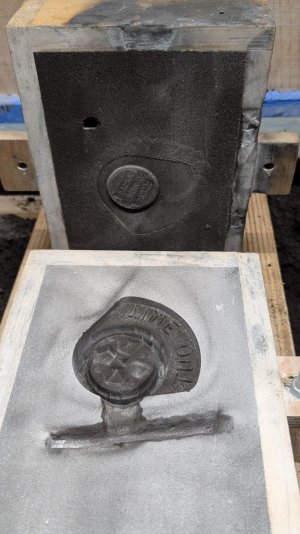
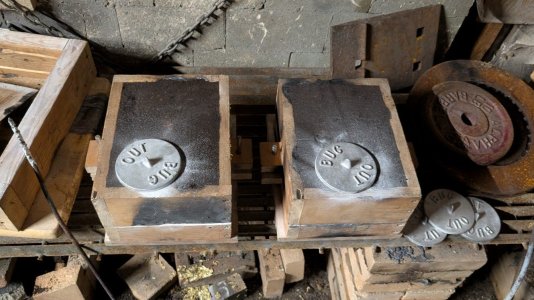
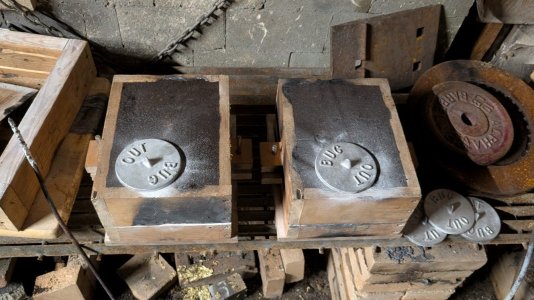
Along similar lines, I always thought my "bug out" castings could keep wasps out of a beer just as well as they keep spiders out of a sprue. 🙂

PXL_20260707_180039784_copy_1330x748.jpg

Jeff
 
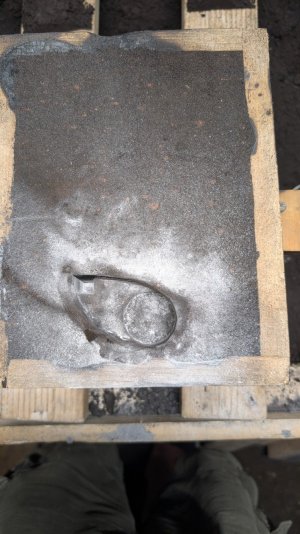
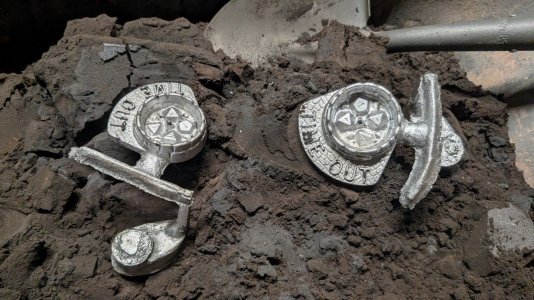
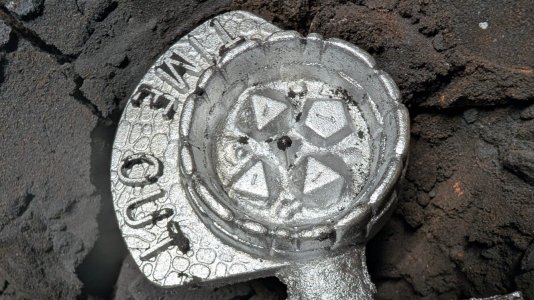
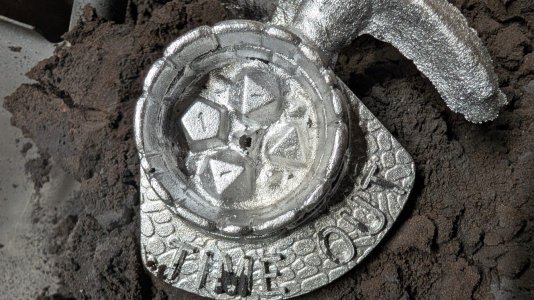
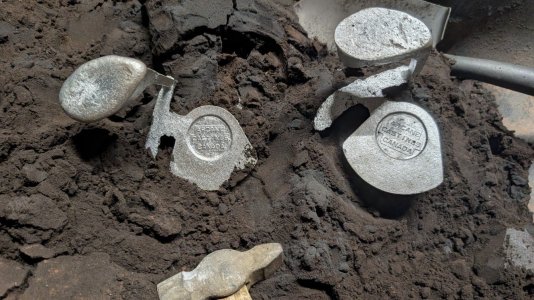
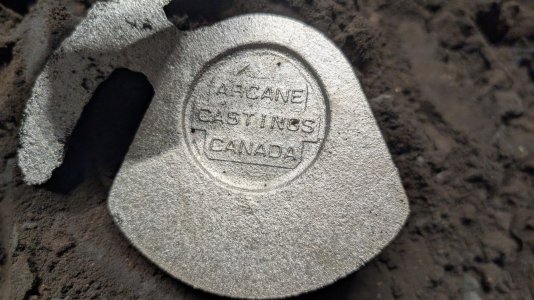
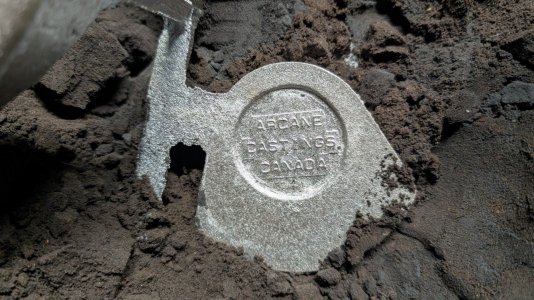
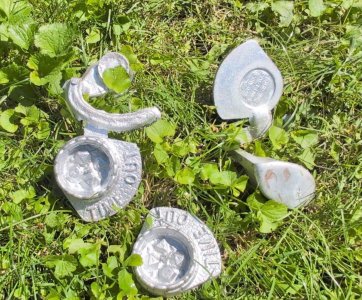
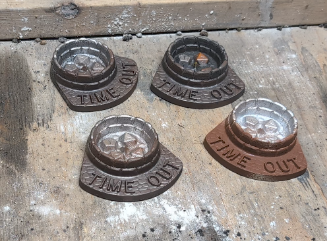
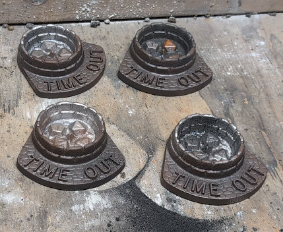
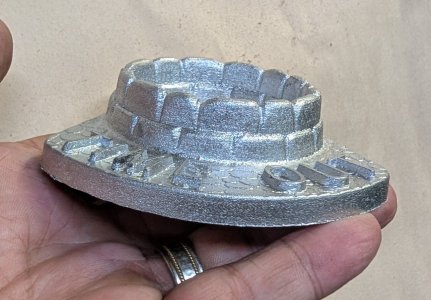
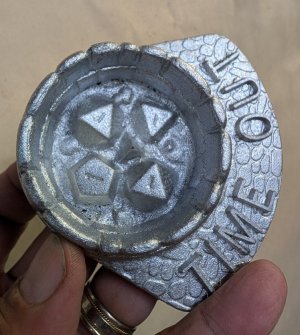
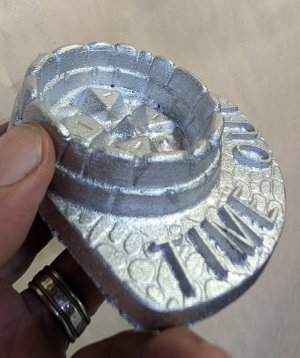
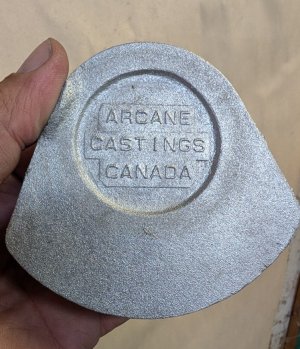
Got 3 more copies cast. Poured them a little hotter than I needed to so there's a little more sand texture showing than they had to have. But with a little touching up they'll make decent patterns. Gating on the flat back this time for easy cleanup, I'll just have to remove a tiny bit of flashing and sand the flat back smooth after cutting the gate off - everything visible when It's sitting on the tabletop will retain the as-cast texture.

edited_d108cd6c-5eef-4040-b641-5b569fb1cbcd13240749986410869479_copy_1300x1080.jpg

PXL_20260805_151803665_copy_1281x1242.jpg

PXL_20260805_151807394_copy_1287x897.jpg

PXL_20260805_151812277_copy_748x835.jpg

PXL_20260805_151815801_copy_1020x1214.jpg

PXL_20260805_151822879_copy_748x869.jpg

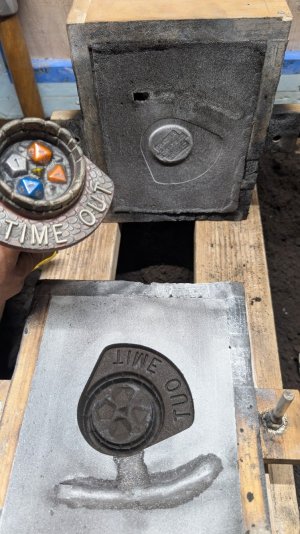
Most of the steps in the molding and casting process are shown here, plus a little about about how I made the pattern.


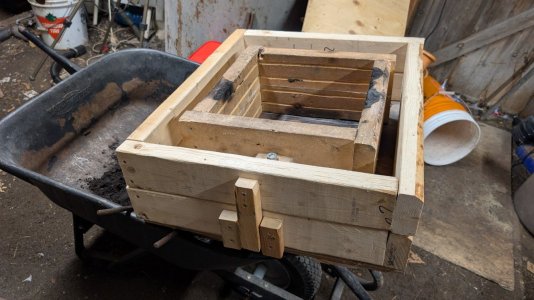
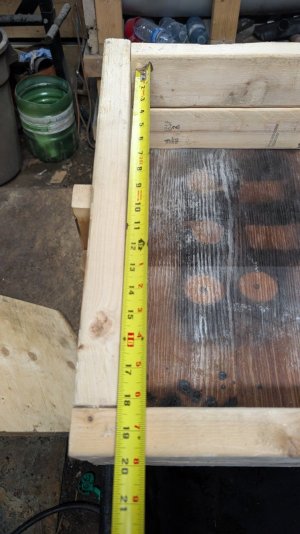
These 3 new castings plus the original pattern will be molded up together in an oversized flask, and from that I'll cast an aluminum matchplate pattern sized to fit my 12x12" flasks. I thought I had a flask more than big enough, but it turns out my biggest is longer than I need but a little bit too narrow. I'll have to build a new one that I can use to cast the matchplate. And any other matchplates I might need for my 12x12's...

Then I'll be able to make up a mold and cast 4 pieces at a time really fast and easy, since much of the hand work that goes into making these molds will already be locked in place on the matchplate. With 4 per mold I'll be able to make ie. a dozen dice dungeons (3 molds, for the sake of comparison) in perhaps half to 3/4 of the time it took me to ram up and pour the 3 smaller individual molds these new castings came from.

Jeff
 
After a nice week off spent out west with my parents in West Kelowna BC, I'm back home and able to get back to work.

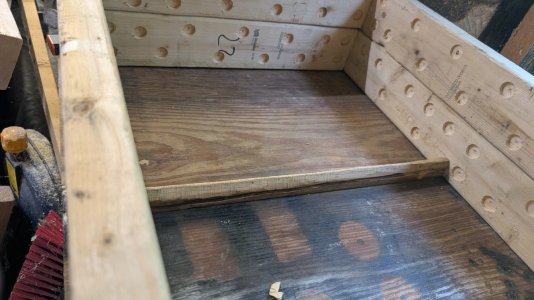
Next step: Build a new flask big enough to mold and cast the aluminum matchplate fitting my 12x12" flasks. And a bottom board for it.

PXL_20260907_215634834.MP_copy_910x673.jpg

PXL_20260907_215653757.MP_copy_1330x748.jpg

PXL_20260907_215724629.MP_copy_891x748.jpg

PXL_20260907_215826601.MP_copy_1330x748.jpg

PXL_20260907_215838087.MP_copy_748x1330.jpg

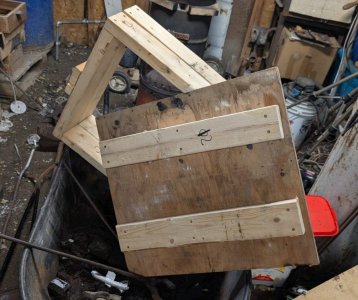
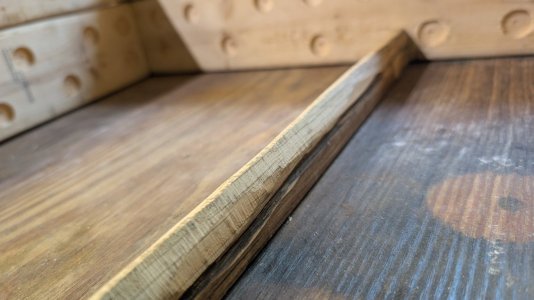
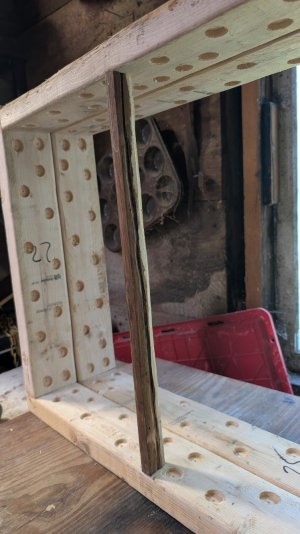
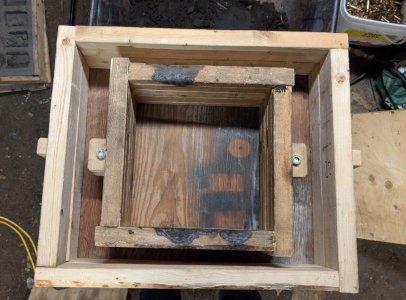
It is big enough that I should probably add a crossbar to the cope, to prevent it from spreading if the long sides try to flex outward. The drag could get one also, I suppose. I also need to add some sand retention recesses to the inside face of both flask halves.

I plan to use the method described here to cast the matchplate with 4 pieces on it: 'Super easy durable cast aluminum match plate patterns'.

I haven't cast a matchplate this size before, but smaller ones with max. 2 pieces per mold have come out great, so I don't anticipate trouble. And now that I have this flask that is custom sized for it, making more cast matchplates for my 12x12's won't seem so daunting. Although this will be quite a heavy mold to ram up and manhandle around the shop...

Jeff
 
Got 3 more copies cast. Poured them a little hotter than I needed to so there's a little more sand texture showing than they had to have. But with a little touching up they'll make decent patterns. Gating on the flat back this time for easy cleanup, I'll just have to remove a tiny bit of flashing and sand the flat back smooth after cutting the gate off - everything visible when It's sitting on the tabletop will retain the as-cast texture.

View attachment 85262

View attachment 85261

View attachment 85260

View attachment 85259

View attachment 85258

View attachment 85257
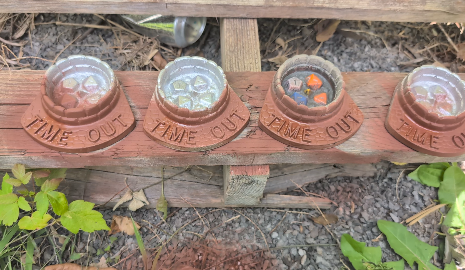
That "Time Out" piece...is that for @Chicken lights?

Btw, very nice work!
 
The flask is now finished. Sand retaining features were added to the inside walls of the flask, as well as a crossbar for the cope to help support the wide expanse of rammed sand when the cope is lifted off the drag.

PXL_20260913_172828821.MP_copy_1330x748.jpg

PXL_20260913_172835200.MP_copy_1330x748.jpg

PXL_20260913_172847304.MP_copy_748x1330.jpg

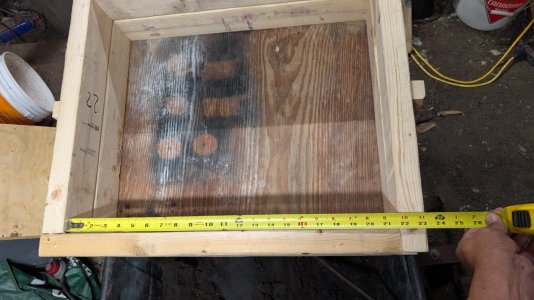
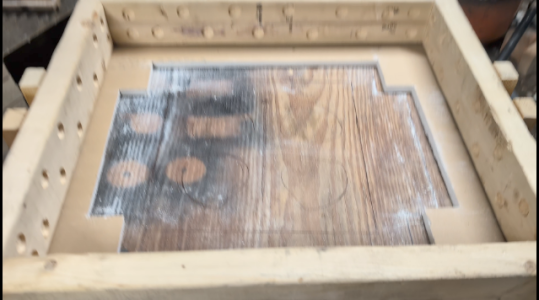
I also measured and cut out the drywall spacer that will form the plate portion of the matchplate pattern. The cutout in the center will fill with aluminum to form the plate between the cope and drag features. Maybe you can see that I've also traced out where the patterns will be located when I ram this mold up.

Screenshot_20260915-091650_copy_639x356.png

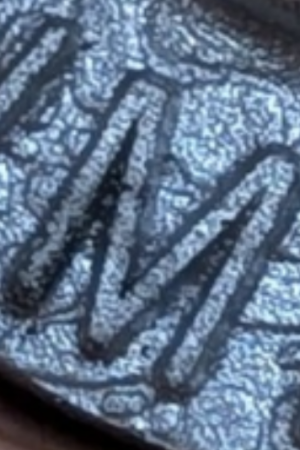
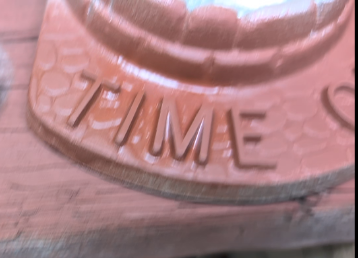
I've never been 100% happy with the M's from my smallest pattern letter font (which were actually meant to be sign board letters). The inside corners under the peaks of the M are too thin and sharp to cast as well as I'd like. They come out a little rough looking for my taste.

Screenshot_20260915-091444_copy_356x534.png

So, I've been trying to soften those deep narrow sharp corners with some 2X build spray paint. The tricky part is to not fill in all the cobblestone texture while I'm at it. I think it should help, but I may have to repeat this on the cast matchplate too. We'll see.

Screenshot_20260915-091050_copy_358x258.png

Screenshot_20260915-091150_copy_465x270.png

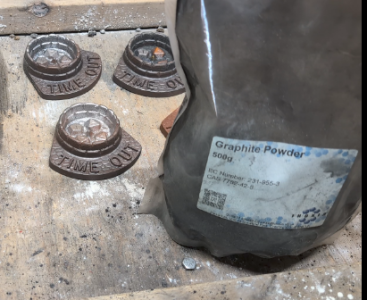
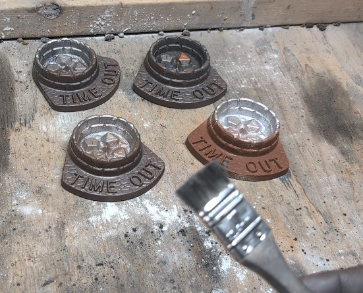
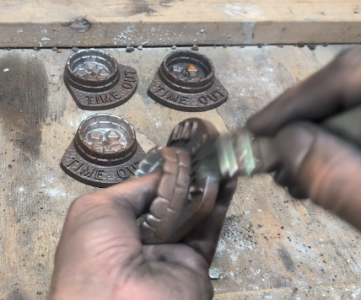
Next step once fully dry is to give them a good scrub with a coarse haired paintbrush that I gave a very short haircut, loaded with graphite powder. This covers the pattern in a thin film of graphite, the scrubbing acts sort of like colouring it all in with a pencil, and makes for extra easy de-molding). Then I can start ramming up the big mold. Not sure when I'll find time for that, but hopefully this week...

I also need to chop up a few more of the scrap cast aluminum worn out corn harvester parts I got from the repair shop down the road. Seems to be good cast aluminum, probably A356. Even with some embeded steel bits, they're still easier to process for adding to a crucible than the car wheels I have been using for years. Plus they're within walking distance. 🙂

Jeff
 
A good scrub in graphite powder using a bristle brush cut short leaves a slick silvery sheen on the patterns that will last several uses, making the patterns easier to draw from the sand mold.

Screenshot_20260918-153917_copy_327x241.png

Screenshot_20260918-153950_copy_411x336.png

Screenshot_20260918-154002_copy_363x293.png

Screenshot_20260918-154054_copy_428x356.png

Screenshot_20260918-154142_copy_283x232.png

Jeff
 
Back
Top