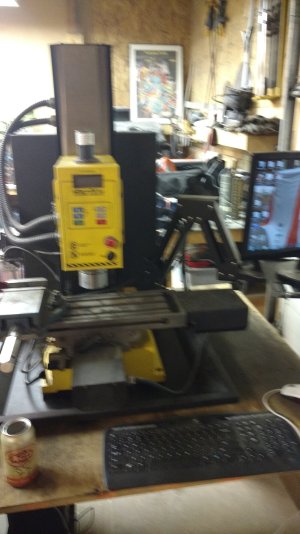
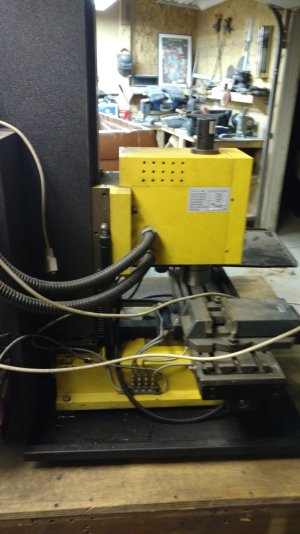
Hi. I just picked up this sweet little syil X4 mini. I havent been able to do much with it yet. But looking forward to making some parts. I think ill be asking around for help with the Mach 3 operating system. This is alot smaller machine then I am used to .
-
Scam Alert. Members are reminded to NOT send money to buy anything. Don't buy things remote and have it shipped - go get it yourself, pay in person, and take your equipment with you. Scammers have burned people on this forum. Urgency, secrecy, excuses, selling for friend, newish members, FUD, are RED FLAGS. A video conference call is not adequate assurance. Face to face interactions are required. Please report suspicions to the forum admins. Stay Safe - anyone can get scammed.
-
Several Regions have held meetups already, but others are being planned or are evaluating the interest. The Calgary Area Meetup is set for Saturday July 12th at 10am. The signup thread is here! Arbutus has also explored interest in a Fraser Valley meetup but it seems members either missed his thread or had other plans. Let him know if you are interested in a meetup later in the year by posting here! Slowpoke is trying to pull together an Ottawa area meetup later this summer. No date has been selected yet, so let him know if you are interested here! We are not aware of any other meetups being planned this year. If you are interested in doing something in your area, let everyone know and make it happen! Meetups are a great way to make new machining friends and get hands on help in your area. Don’t be shy, sign up and come, or plan your own meetup!
You are using an out of date browser. It may not display this or other websites correctly.
You should upgrade or use an alternative browser.
You should upgrade or use an alternative browser.
New mini mill
- Thread starter Morris
- Start date
Spindle controll in the program should be easy. Just punch in S1000 m3 or m4 is reverse. Calculate your surface feet if you want but for what you are doing I would just listen to what it what it sounds like in the cut and go from there. I find in milling the chip load per tooth is much more important than surface feet per min. And on a small hobby machine you may not have the ability to push the surface feet rate into the ideal range with that given healthy chip load. The material removal rate will simply be to high for the machine to handle in many cases. The single block on my machine works ok. If i hit it mid program it may take 2 or 3 lines to take affect. After it is active i just click cycle start to execute each line. With a small 1/4 -.5 endmill start out at .002 chipload per tooth.
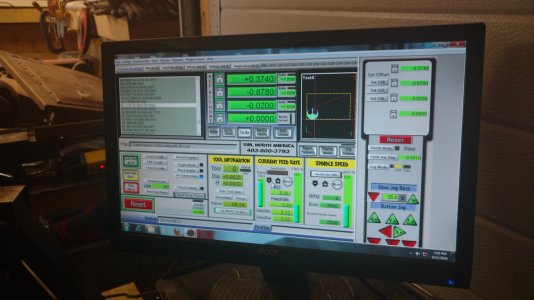
Made some chips! Ran a one inch face mill over about five inches of aluminium and played around with the engraving wizard. works great. still lots to learn about the control, tool touch off, and setting up my work position (G54) . But as for simple use like you would a manual milling machine it is great. I will upload some pictures and videos soon.

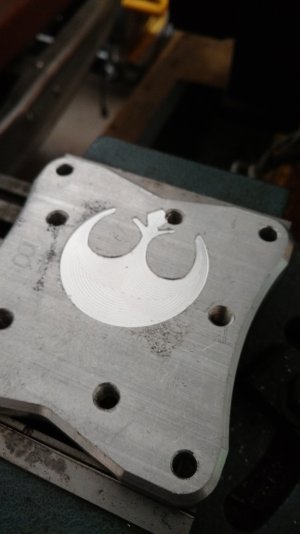
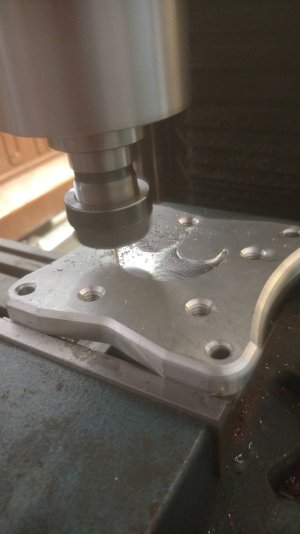
Long time no post. I have been having some fun with the mini mill and recently downloaded Fusion 360 and was able to draw some pockets and post some code. As a bit of a nerd first program was the Rebel symbol from star wars. I also used some of the wizards built into mac 3 and did some custom engraving that some one is selling at a craft market(not me!)
Attachments

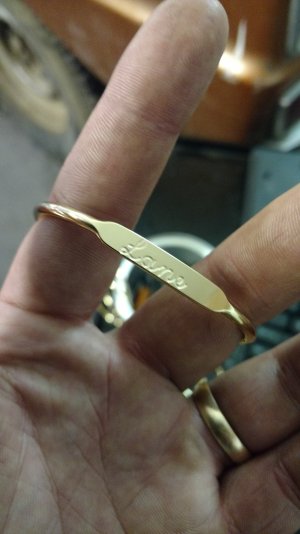
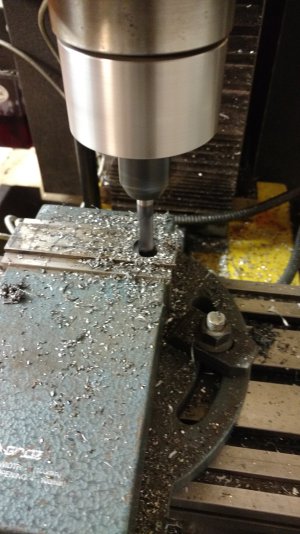
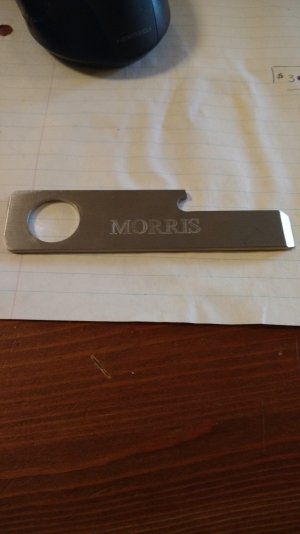
Hello. I have been doing some more engraving with my mini mill. using fushion 360 to lay out the original picture then just drawing lines over it and posting out the code it has been pretty easy. first part with lots of detail took about ten minutes to machine and im not sure how long to draw out but it took some time. if i worked on the program a little more i am sure i could get the time down to a minute or two. I used a 0 centre drill running about 3000 rpm and feeding at about 24inch a minute. I have included the original picture as well as one while i was running the part and the finished part after i machined the out side to about the size of a belt buckle.
Attachments
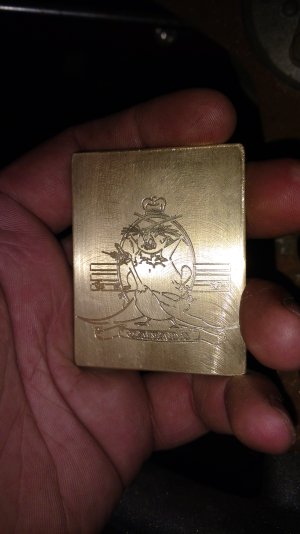
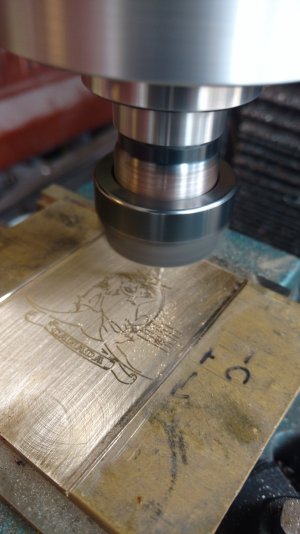

That is rights all i did was draw lines on top of the imported picture then delete the picture. If you use the trace function when picking tool paths you can choose axial depth. i went with -.001 but because of the tool and the amount of detail i tried to put in there some of it didn't turn out.