• Scam Alert. Members are reminded to NOT send money to buy anything. Don't buy things remote and have it shipped - go get it yourself, pay in person, and take your equipment with you. Scammers have burned people on this forum. Urgency, secrecy, excuses, selling for friend, newish members, FUD, are RED FLAGS. A video conference call is not adequate assurance. Face to face interactions are required. Please report suspicions to the forum admins. Stay Safe - anyone can get scammed.

Micrometer stand

Just throwing it out there. How about using a small angle vise as a mike stand?
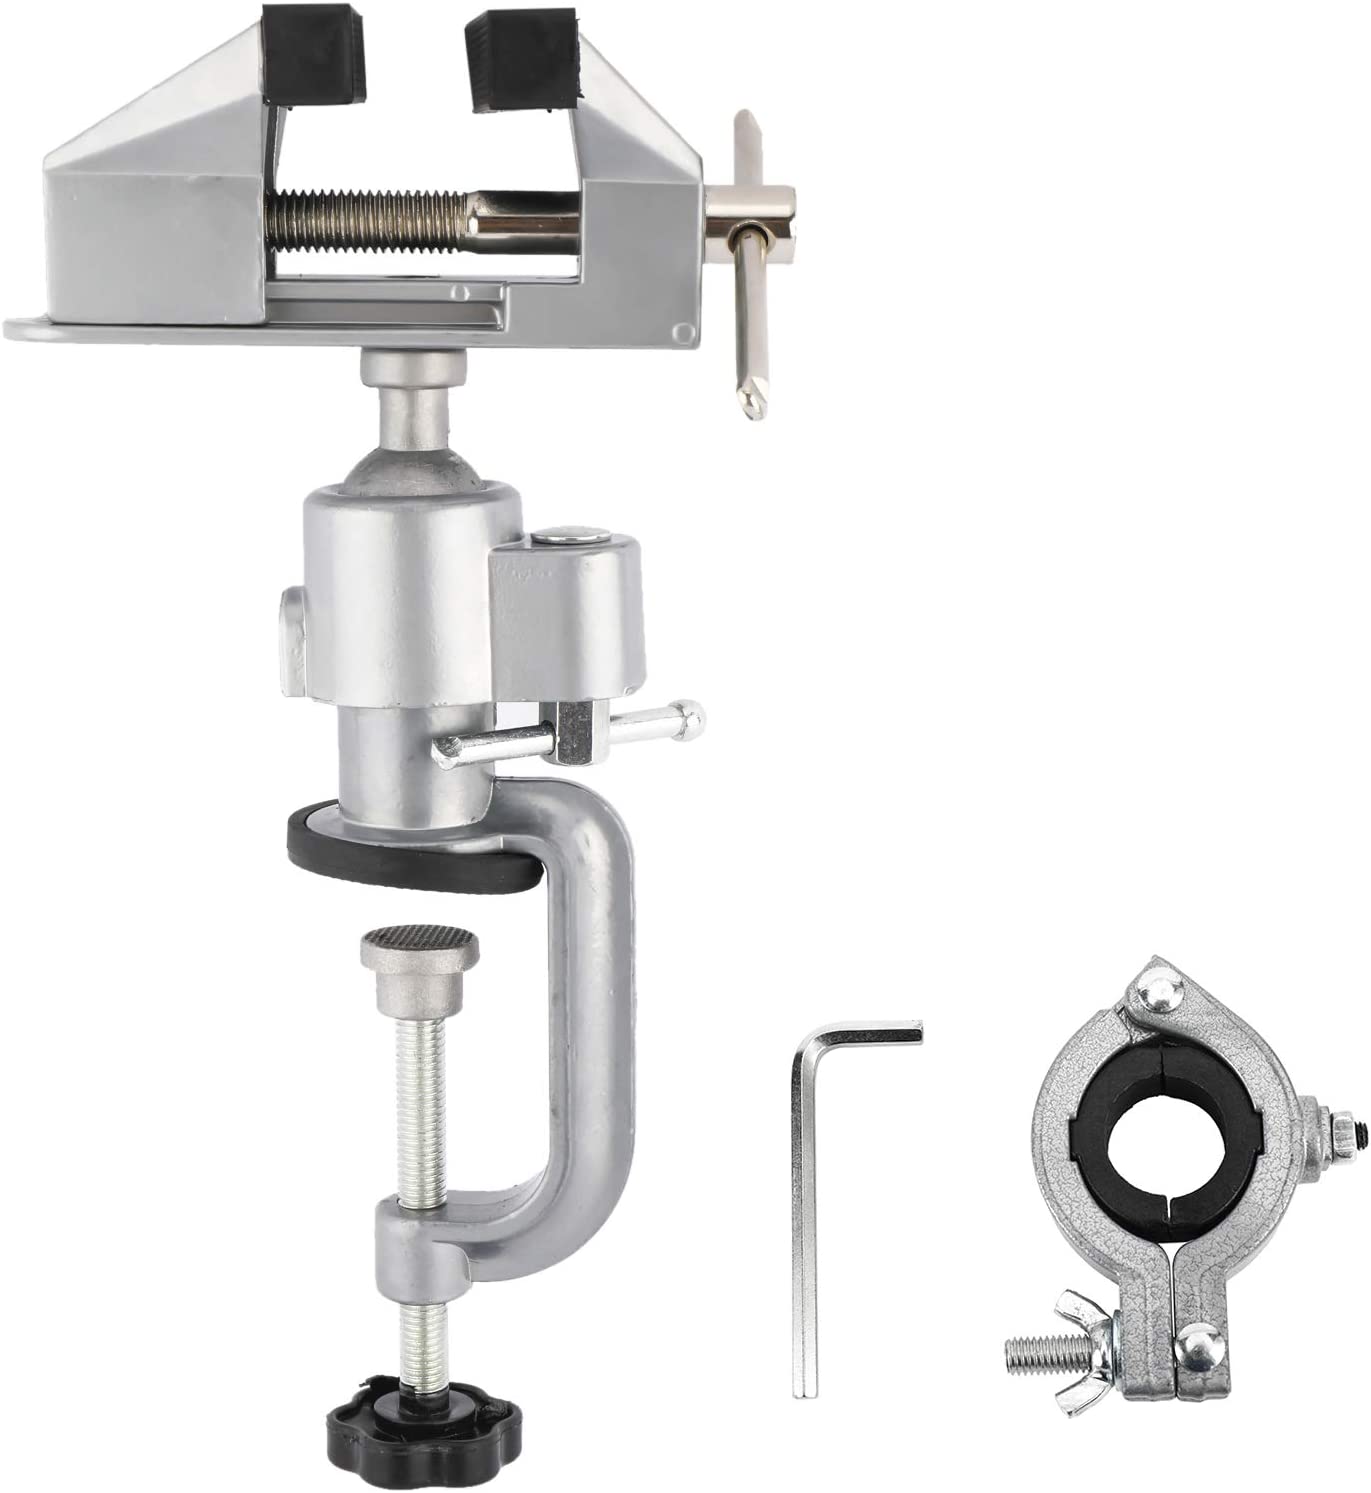
That was my first thought too - Good secondary use for a Panavise or similar small swivel head vise.

61jSi9aMVqL._AC_SL1500_.jpg
 
Okay I'm taking one for the team. Yes it's probably garbage as is but it might be useable or made to be useable. Too cheap not to gamble. I've ordered and I'll report back when I get it.

LuckyHigh Precision Micrometer Holder Stand Cast Iron Base Rubber Lined Jaws Inspection Fixture https://a.co/d/aCZnthE

Now on the other hand I imagine the Mitutoyo stand is well made and functions as it should. But holy cow $143! I'll let someone else order this one and we can compare notes. Peter??

Mitutoyo 156-101-10 Micrometer Stand for Micrometers Upto 4" https://a.co/d/eb5MlaD
Ok I recieved my $19 micrometer stand today so here are a few pictures and comments.

So as expected, this is not a well finished thing of beauty. The paint is poor and casting is rough in spots.

The weight is not excessive but I think perfectly adequate to hole a large micrometer. It only about 3-4" high so the centre of gravity is low. The base has 3 rubber pads and because of that configuration it sit flat and does not rock or wobble.

The clamp is made of aluminum and although I assumed it would also be cast iron, I suspect it really doesn't matter. The clamp seems to function ok and holds a micrometer firmly. The bolt used for the clamp pivot is excessively longer than it needs to be and I will likely trim it. The bushing for that same bolt bobbles around in the casting hole but again it doesn't seem to negatively affect the function in anyway.

I likely reaping the thing just for fun but for $19 I think it is adequate. I can't imagine how a Mitutoyo stand could be $125 better, but as I always say...ignorance is bliss.
20221215_141010.jpg
20221215_141019.jpg
20221215_141551.jpg
20221215_141640.jpg
 
Ok I recieved my $19 micrometer stand today so here are a few pictures and comments.

Someplace I have a Sinclair holder that I have not used in years. I'll have to dig it out and give it a whirl again.
 
Looks like a Mitutoyo knock off? One thing I realized after posting about my accusize stand is that mine only only has one knob to turn as opposed to the two knobs on the Mit. I'm wondering if that wouldn't make the accusize stand easier to use? Are the Mit style stands awkward to use with two knobs???
 
@DPittman , you did take one for the team, hats off to you. Just wondering, how does the bottom jaw work? is it hinged to the upper jaw or is it basically a flat piece with a threaded hole through it? My idea is to make the moveable jaw on a hinge, possibly with a spring to hold it open when not in use.
 
Last edited:
There is another Mit micrometer holder with an even lower center of gravity. An interesting design if you are looking for ideas for your own build.

Wow...... $92 bucks for a holder.....

Easy to see why you describe it as an "idea for your own build."

I found the one I have. It grabs the spindle.

20221215_201105.jpg
 
@DPittman , you did take one for the team, hats off to you. Just wondering, how does the bottom jaw work? is it hinged to the upper jaw or is it basically a flat piece with a threaded hole through it? My idea is to make the moveable jaw on a hinge, possibly with a spring to hold it open when not in use.
Bottom jaw threaded to move up to the stationary top jaw as you thought.
16711582195851505002902266339532.jpg
16711582494218337978172048700035.jpg
16711582852714897670374130634410.jpg

Smoothed out the spot on the base mount where the jaws pivot against just to make a better contact surface. Instead of cutting off the extra leth of the bolt I made a new longer better fitting bushing which brings the knob further away from the base which makes it a tiny bit more convenient. And while I'm at it I'm sanding down the rough spot in the cast and will give it a repaint. Nothing I'm doing is going to make it perform better, it will just make me feel better when I look at it.
 
When I pulled this base out of the junk I figured it would be good for a stand, still a work in progress deciding on an easy way of securing it, the "S" in the rod gives it a lot of maneuverability.
 

Attachments

  • IMG_5562.JPG
    IMG_5562.JPG
    414.4 KB · Views: 8
Bottom jaw threaded to move up to the stationary top jaw as you thought.
View attachment 28971View attachment 28972View attachment 28973
Smoothed out the spot on the base mount where the jaws pivot against just to make a better contact surface. Instead of cutting off the extra leth of the bolt I made a new longer better fitting bushing which brings the knob further away from the base which makes it a tiny bit more convenient. And while I'm at it I'm sanding down the rough spot in the cast and will give it a repaint. Nothing I'm doing is going to make it perform better, it will just make me feel better when I look at it.
Some new wrinkle paint and fine tuning and now she looks pretty good. Ya I think it wasn't too bad of a buy for $19.
20221217_082134.jpg
 
@DPittman I've been meaning to try wrinkle paint for certain applications like that. What brand/type is it? What I bought a while back is quite rubbery. Not sure if by design or a dud. I wanted it to be harder like a regular paint but textured like your picture
 
@DPittman I've been meaning to try wrinkle paint for certain applications like that. What brand/type is it? What I bought a while back is quite rubbery. Not sure if by design or a dud. I wanted it to be harder like a regular paint but textured like your picture
It's a little finicky getting it on right and when I can, I bake it to cure it up faster (as per directions) but it is definitely not rubbery at all and can provide a nice finish for some stuff.

Here is a level I redid awhile ago that I was pleased with the finish as I thought it looked appropriate for the vintage and application.
20221217_103900.jpg
20221217_103929.jpg
 
Is baking a requirement to proper curing, or just to speed it up?
Well the instructions on the can state "to cure paint, bake..."
I didn't bake the clamps on the micrometer stand as they have rubber pads glued on them and I just let them air dry. I can't tell the difference in finish but I haven't tested that area for durability. My sense is that it is likely harder/better finish when baked. Now to think of it, I repainted some racks on a quad/atv a few years ago and did not bake then due to the size. The finish was not as hard/durable as the factory finish that looked about the same. Whether or not my paint job would have been better with baking I'm not sure but I suspect so.
 
That might explain my results although usually I'm pretty good for reading the fine print. Next time at my favorite auto paint store I'll inquire. I know I've seen this finish in other applications where baking would be impractical if not impossible. Some of the spray bomb 'high temp' paints do require post cure to achieve the temp ratings, maybe what you have is high temp (first priority) and wrinkle finish (secondary effect) vs a product that is wrinkle but not intended for heat etc.
 
Back
Top