Hello team.
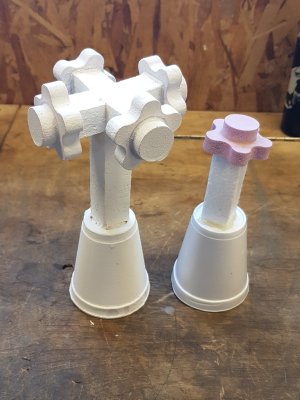
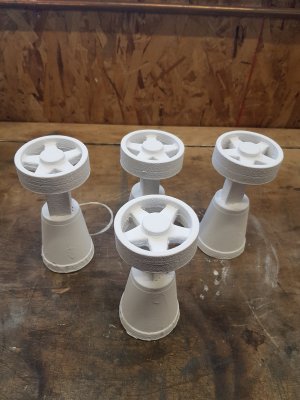
I wanted to give it a try to lost foam casting. I've watched several youtube videos and read quite a lot of articles - seems quite simple? Not really 🙂
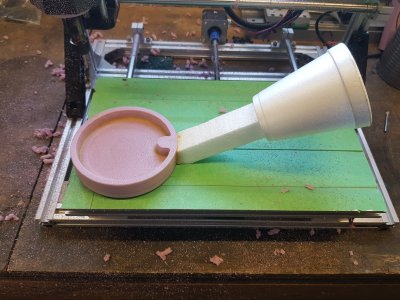
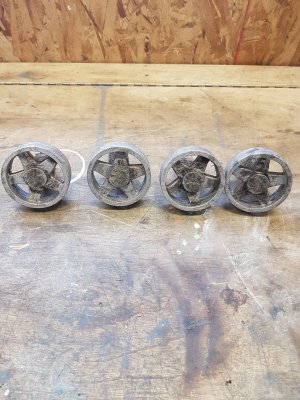
First - faces of the part are extremely rough
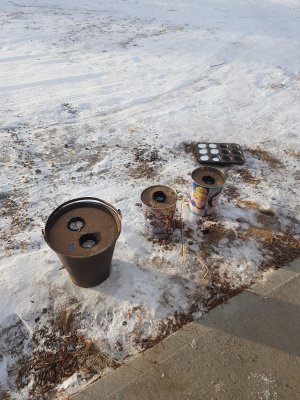
Second - bigger problem - sand often is collapsing making cast completely ruined.
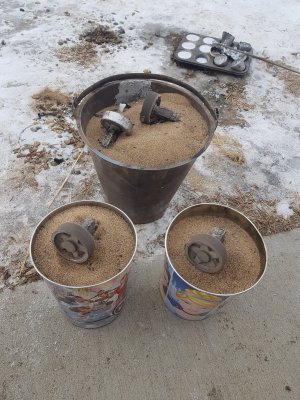
So here are few questions - sand is really dry, should I wet it a bit to prevent collapsing? Should I use a refractory coating - I've. seen many guys are using drywall compound to preserve sand from collapsing,
I wanted to give it a try to lost foam casting. I've watched several youtube videos and read quite a lot of articles - seems quite simple? Not really 🙂
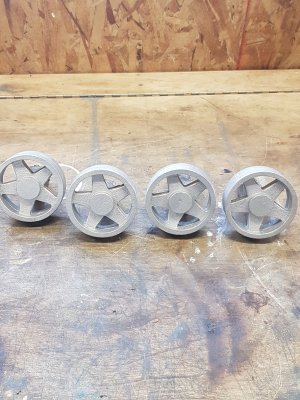
First - faces of the part are extremely rough
Second - bigger problem - sand often is collapsing making cast completely ruined.
So here are few questions - sand is really dry, should I wet it a bit to prevent collapsing? Should I use a refractory coating - I've. seen many guys are using drywall compound to preserve sand from collapsing,