• Scam Alert. Members are reminded to NOT send money to buy anything. Don't buy things remote and have it shipped - go get it yourself, pay in person, and take your equipment with you. Scammers have burned people on this forum. Urgency, secrecy, excuses, selling for friend, newish members, FUD, are RED FLAGS. A video conference call is not adequate assurance. Face to face interactions are required. Please report suspicions to the forum admins. Stay Safe - anyone can get scammed.

Integral labeling

What is your favourite

  • Sunken with contract colour flush

    Votes: 0 0.0%
  • Sunken with contract colour flush against build plate

    Votes: 0 0.0%
  • Raised same colour

    Votes: 0 0.0%

  • Total voters
    6

Dan Dubeau

Ultra Member
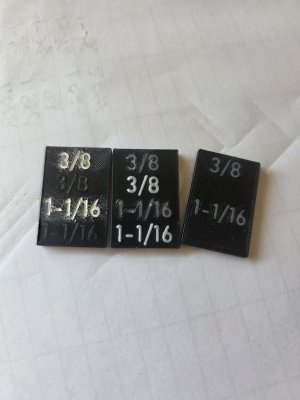
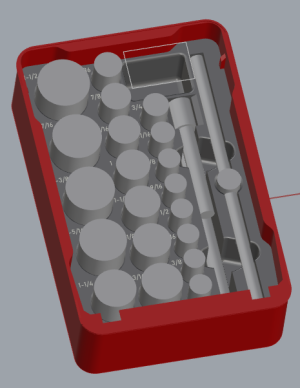
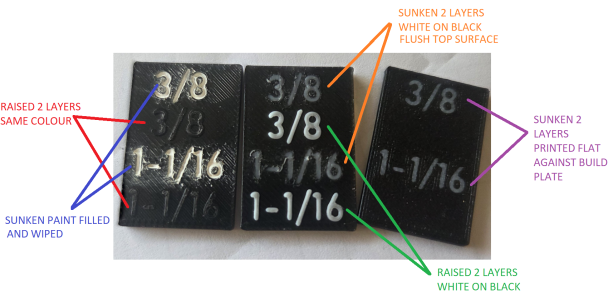
Working on a tool storage project that requires some labeling and I just printed a quick test to see how I wanted to go about it. Below you'll see a mixture of the different ways I thought to accomplish this. If anyone has other ideas, I'm all ears. #'s are 5mm high, ~0.7mm section width. Sunlu PETG white and black. 0.4mm nozzle p2s.
1794409009373.png

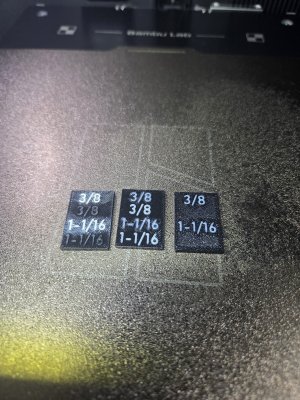
And here's some shots in various light conditions.
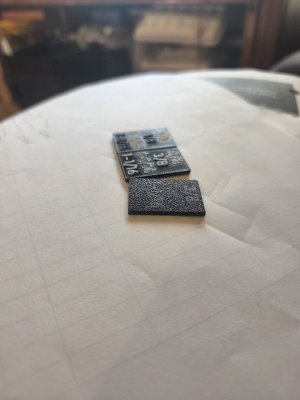
20261111_094356.jpg20261111_094050.jpg20261111_093944.jpg

One option I just thought of was paint filled printed against build plate, as that might give a smoother surface for wiping and prevent the bleed shown.

Personally I really like the raised contract colour, especially visible from different angles, but the sunken one against build plate is a close second because it's so smooth and clean. For the various applications I need this for I might mix and match. My big concern with the raised one is durability, and having the #'s knocked clean off.

Opinions?
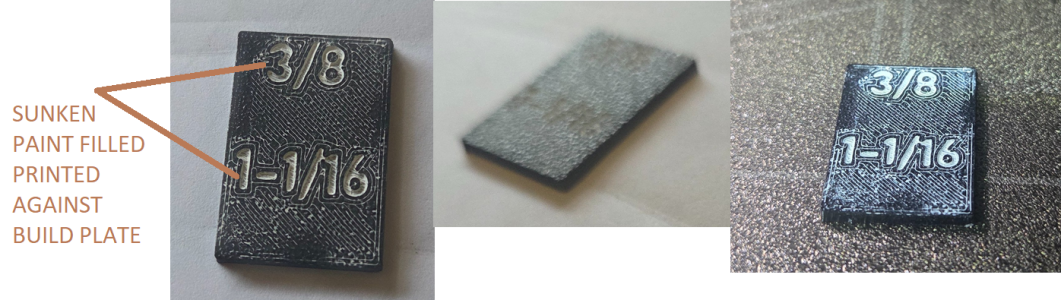
 
Ok, I was curious enough about painted filled printed against build plate so I made one
1794411078788.png

Same bleed issue into surrounding surfaces, but produces a slightly more unique outline effect which is kinda neat. I do like it better than paint fille right side up though, but might not always be possible depending on geometry.
 
There was a discussion here last year.
 
Yep, I remember that thread. Some good ideas in there.

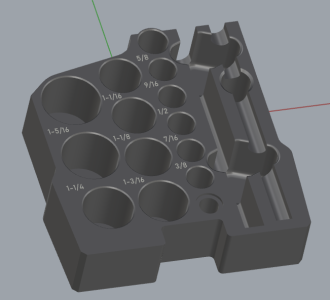
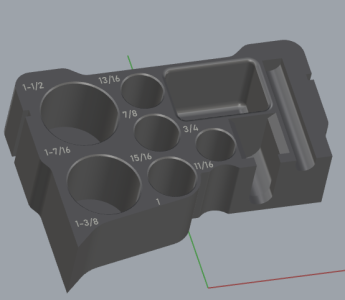
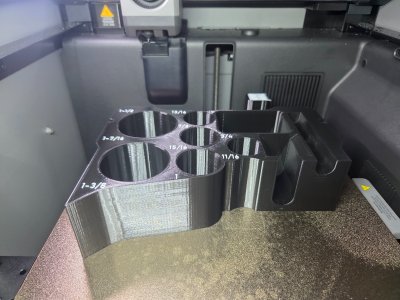
I've settled on the raised white letters against a black background for this print. We'll see how they turn out tomorrow afternoon. If all goes to plan, I'll be able to get the bigger one printing before bed, and when I come home tomorrow afternoon the 2nd will be done.....

1794416623505.png
1794416659052.png

1794416794827.png
 
Depending how much effort you want to put into the labels, you could get a thicker paint and needle it into the cavities. That way there's no overspill bleeding into the top surface. Nail polish works well - it's a good consistency, opaque, wear resistant, pretty cheap and easily available. I'd also go for a slightly bolder font too but that's personal preference.
 
3d print wise. The easy way to make contrasting raised lettering is to use the pause at height function in the slicer and then change filament color. You can also do this for sunken lettering as well you just have the lettering as a cut out and pause before the cutout and then pause again after the cutout changing colors at each point. This can be done simply with a single color printer. If you have a multicolor printer then you can basically do everything at the same height. Before printing a large print it is best to do some trial prints and calibrate the color changing. I have used the single color print method a lot before I got a multi color printer.

If that is not what you want, I think Sqought has a great idea of using the cutout method and using thicker paint. This works for exposing hammered lettering. I have used it to expose the motor tag info that the paint was long gone. I also like the paint on the raised lettering. I use a very hard brush, and very carefully layer the paint on. Also really like paint pens for this. Did this with an old model T we had to recolor the raised lettering on the build plate.
 
I've done paint fills a lot on steel/aluminum in engraved, or stamped details. My favourite method was paint sticks, but pens work too, and I've needled paint in before also. It's a whole lot easier to get really nice results with a smooth surface though. I'm going to try a paint stick on the print and see how that looks. I'm going to guess there will still be surface bleed due to the porous nature of printing, even flat off the build plate is a sponge, but might not be as bad with the thicker paint stick. Not that it really matters at all for this application, it's just tools, but I like to play around with different ways to do stuff, and certain applications might warrant different methods someday.

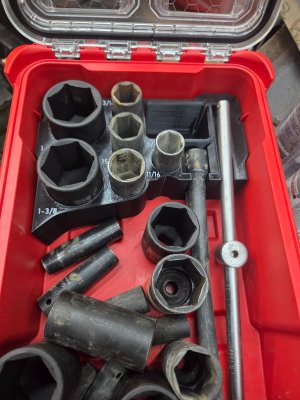
For this go round I settled on the raised letters, because I thought it looked the best and brightest, with the thought that if they fall off, or get knocked off someday It'll most likely not be all of them, and it's not mission critical. Using tools daily, you get a feel for what is where, and it's not likely all of them will be wiped out either. Deduction takes the reins in that case.....It's just a socket set.
 
James has several YT videos that explore alternatives for creating labels on panels and parts; this most recent one explores using different nozzle sizes (he got a new printer that has tool changing):

 
1st print came out great. Better than expected actually. Realized the box of 4 rolls of Sunlu filament I thought were black PETG, were actually Mixed colour TPU.....I don't have enough Black PETG left on my last roll to print the 2nd half. And I don't want a multi colour masterpiece here, so it's patience time....
20261111_194021.jpg
20261111_194251.jpg

I have another one to make for my 1/2" drive metric impacts as well.
 
Back
Top