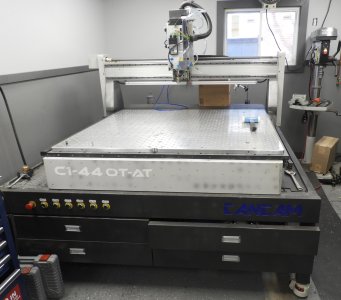
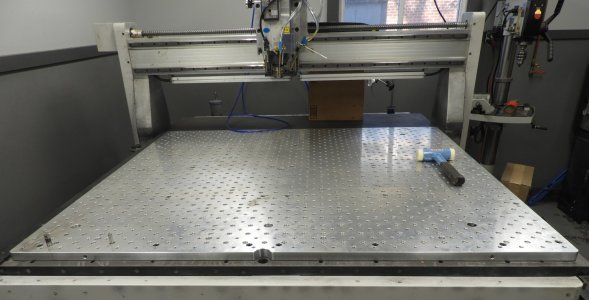
This is a C1-OTAT. I upgraded from the 2.2 kw motor to 5.5 kw. The one shown is the video below is their standard that is mainly sold to schools. My spindle takes ISO-30 toolholders rather than the smaller ones. I also had the Gantry increased to 12 inches from 8 inches. Their standard dust boot in numatic. It is not removable, and so not good for aluminum. I did not opt for the dust boot or the vacuum. The machine is still wired to receive a vacuum system if so, chose later. Also putting their dust boot on would make less Z travel. I insisted on having the spindle bottom just below the LED lights.
Wait time was extreme due to many uncontrolled events. Covid, Shipping Backlog, Rail washout, many orders in front of mine, when they finally received the frame. Total time from order to delivery was about 9 months.
I have been to ASA in Mississauga one time. It was enormous. For convenience's sake, I deal with Essex Metals down here.
See below video for Base model C1-OTAT
")