• Scam Alert. Members are reminded to NOT send money to buy anything. Don't buy things remote and have it shipped - go get it yourself, pay in person, and take your equipment with you. Scammers have burned people on this forum. Urgency, secrecy, excuses, selling for friend, newish members, FUD, are RED FLAGS. A video conference call is not adequate assurance. Face to face interactions are required. Please report suspicions to the forum admins. Stay Safe - anyone can get scammed.

Tips/Techniques Fixing a Philips Hue Lamp

Tips/Techniques

jcdammeyer

John
Premium Member
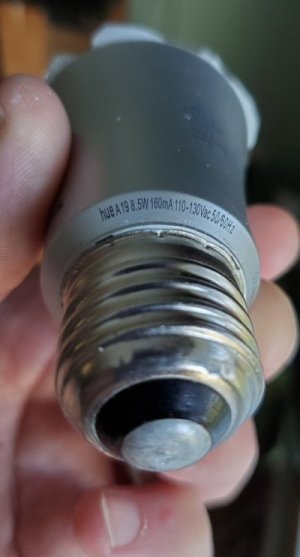
OK. So this Hue bulb and Table lamp decided to go on a journey to the floor. The glass part of the bulb shattered but testing the broken bulb showed it still worked.
I forgot to take a photo of the LED section but this gives an idea of what is left.
BrokenHueLamp.jpg

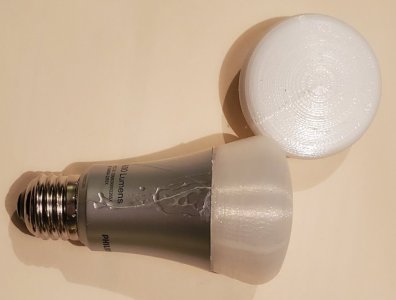
As I've said before, having a 3D printer is all about knowing how to draw things with CAD. I first used white filament but it blocked too much light. Then clear filament worked better. Epoxy to seal up the cracked base. Some hot melt to hold the lens in place.
Epoxy3DPrint.jpg
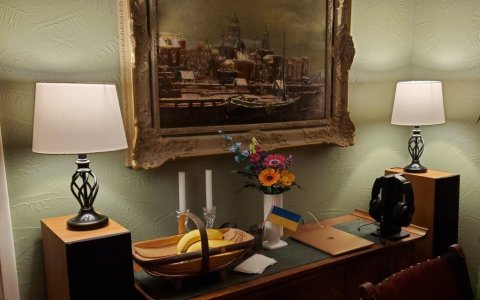
The end result. Which one was repaired?
RepaiedHueLamp.jpg
 
OK. So this Hue bulb and Table lamp decided to go on a journey to the floor. The glass part of the bulb shattered but testing the broken bulb showed it still worked.
I forgot to take a photo of the LED section but this gives an idea of what is left.
View attachment 52365

As I've said before, having a 3D printer is all about knowing how to draw things with CAD. I first used white filament but it blocked too much light. Then clear filament worked better. Epoxy to seal up the cracked base. Some hot melt to hold the lens in place.
View attachment 52366
The end result. Which one was repaired?
View attachment 52367
Will the heat from the led be enough to cause the print to droop over time?
What filament did you use?
 
Will the heat from the led be enough to cause the print to droop over time?
What filament did you use?
At midnight, before it switches off automatically (switches on at 4PM) I can still handle the bulb. Not hot enough to damage the PLA nor the hot melt.
 
Last edited:
Left one.
Nope. I moved them around because it was so dark when the one on the left took that tumble. So the repaired one went to the right side. With the Philips HUE coloured lamps it's possible to adjust the colour temperature of the lamp so even if my clear filament (not really completely clear) made the light a bit off I could correct it to match the original.
 
Oh and to at least add an informational aspect to this lamp rebuild here's the sketch.

1727826996400.png

Which was revolved around the Z axis.
1727827079118.png

Then the shell feature to create 1.6mm thick walls
1727827143636.png

And finally once I was sure things would line up I created a small adapter ring that fit into the slot between the lamp PC board and the outside plastic and glued that to the inside of the above shell with epoxy at the same time that I repaired the crack.

1727827258071.png
 
Back
Top