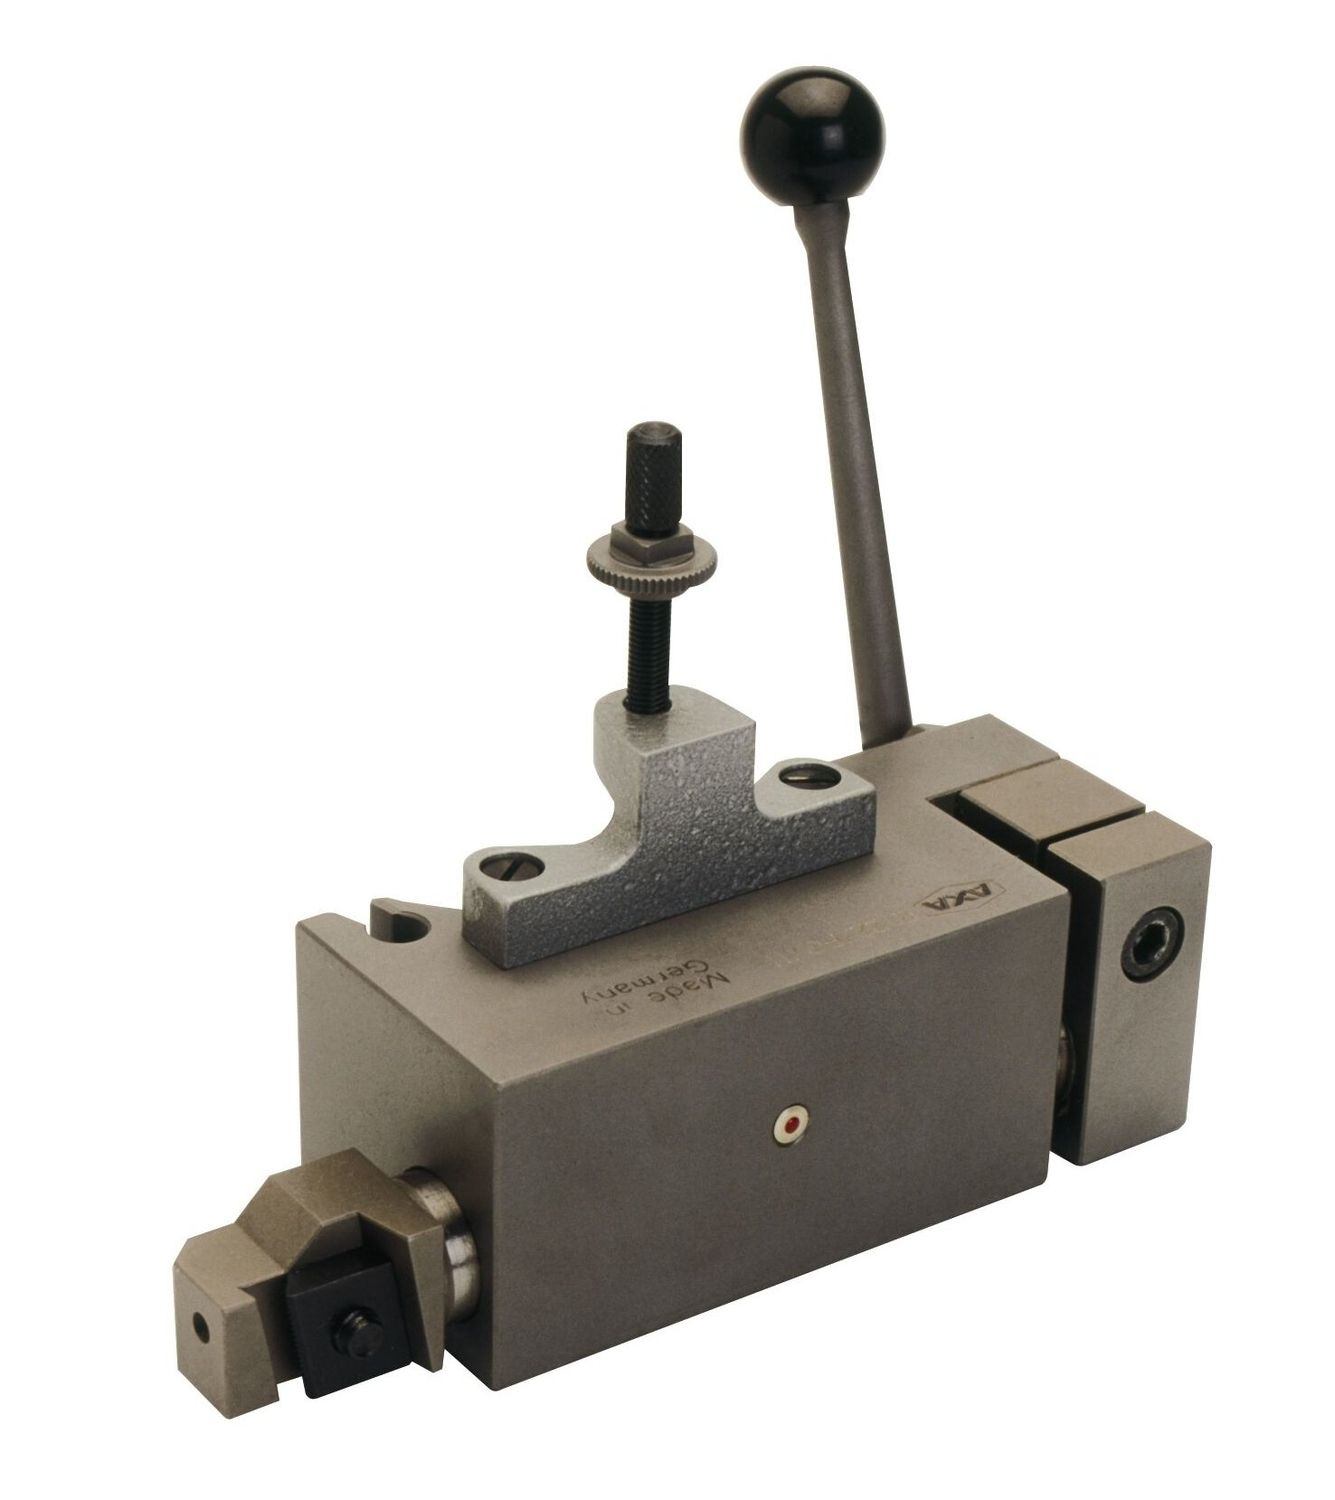
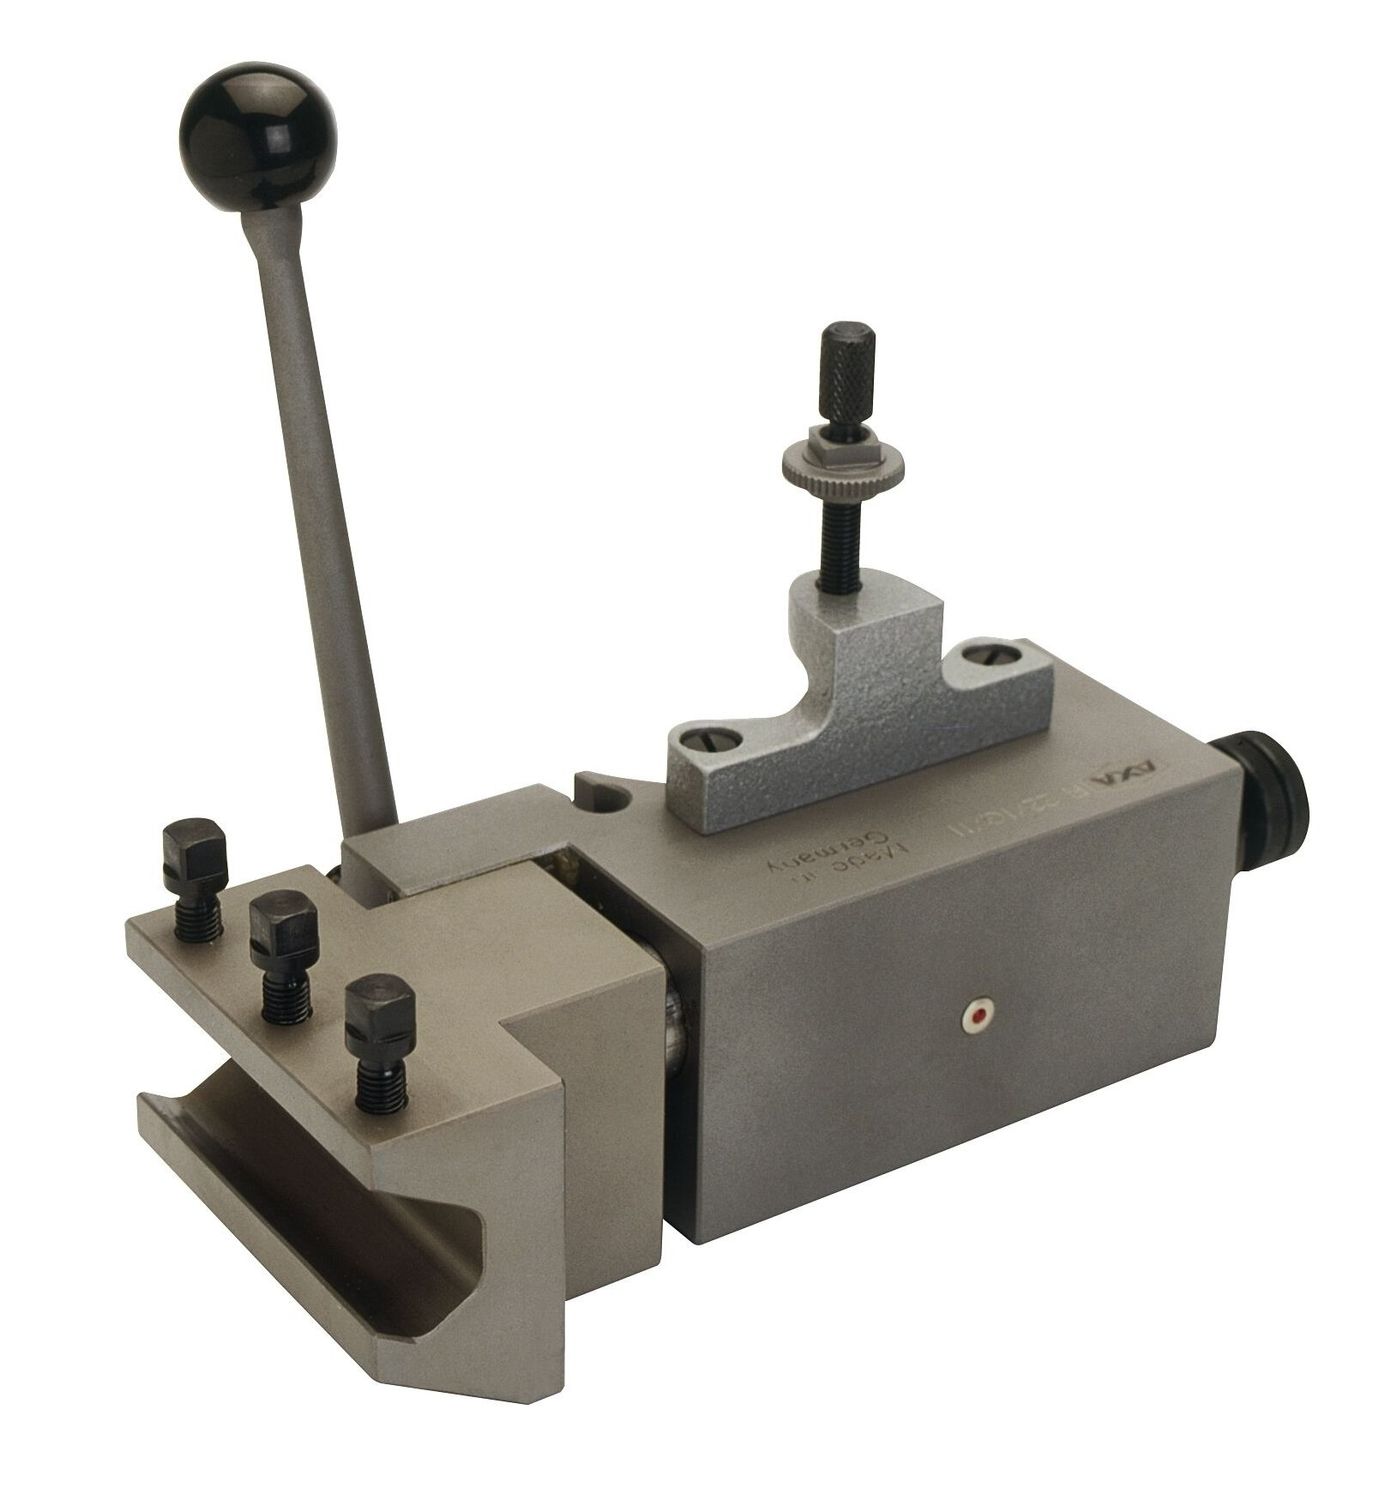
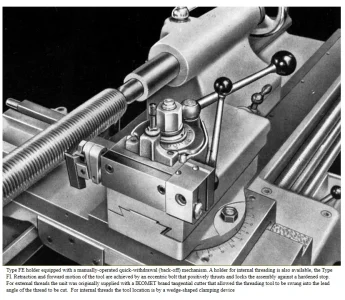
A good fit in the slide and the threading tool spring loaded so it stays in place until the "leash" becomes taut ensures a good thread can be cut.
-
Scam Alert. Members are reminded to NOT send money to buy anything. Don't buy things remote and have it shipped - go get it yourself, pay in person, and take your equipment with you. Scammers have burned people on this forum. Urgency, secrecy, excuses, selling for friend, newish members, FUD, are RED FLAGS. A video conference call is not adequate assurance. Face to face interactions are required. Please report suspicions to the forum admins. Stay Safe - anyone can get scammed.
-
Several Regions have held meetups already, but others are being planned or are evaluating the interest. The Calgary Area Meetup is set for Saturday July 12th at 10am. The signup thread is here! Arbutus has also explored interest in a Fraser Valley meetup but it seems members either missed his thread or had other plans. Let him know if you are interested in a meetup later in the year by posting here! Slowpoke is trying to pull together an Ottawa area meetup later this summer. No date has been selected yet, so let him know if you are interested here! We are not aware of any other meetups being planned this year. If you are interested in doing something in your area, let everyone know and make it happen! Meetups are a great way to make new machining friends and get hands on help in your area. Don’t be shy, sign up and come, or plan your own meetup!
You are using an out of date browser. It may not display this or other websites correctly.
You should upgrade or use an alternative browser.
You should upgrade or use an alternative browser.
cutting internal threads to a shoulder
- Thread starter curmudgeon
- Start date
I have a pdf on it's construction.
I have a pdf on it's construction.
Please post that PDF...
A good fit in the slide and the threading tool spring loaded so it stays in place until the "leash" becomes taut ensures a good thread can be cut.
Knowing you, I believe that. Thanks for the assurance.
I have a pdf on it's construction.
I confess that this gizmo of yours has me feeling about as dumb as I ever have. As hard as I might try, I just can't seem to visualize how it actually works. I get the "leash" and for that matter most of the function. But the actual execution eludes me.
So ya, I can't wait to see that pdf! I'm guessing all my questions will be answered there.
I can't post it but I can PM it to those interested.
Yes please!I can't post it but I can PM it to those interested.
I can't post it but I can PM it to those interested.
Me to please.....
Also, @Stellrammer mentioned the Snap-Tap Threading Attachment. Google it.
Here's my ELS doing the same thing back in 2008. 455 RPM. Zip ahead to the 4 minute mark to see the actual process. The rest is boring setup info.
I'd love to see the PDF too @johnnielsen
The Hardinge HLV-H has a manual retraction handle for threading and can do both internal and external threads, I have watched a lot of threading videos this to me looks like a very slick setup thus I covet one of these lathes.
I really like your setup John, looks like very little setup time, I am curious how often you use it and if it is your normal method of threading?
I really like your setup John, looks like very little setup time, I am curious how often you use it and if it is your normal method of threading?
The Multifix QC system has something similar, but the tool retraction is right on the holder. They have one unit for external threads and another for internal threading. The internal threading holder will use normal boring bars/threading tools, but the external tool uses special HSS cutters which are darn expensive too.And though I'd love to get them, at $600 Euro each, it won't happen for a while.
Attachments
That video from 2008 was of the Gingery Home Made Lathe from scrap metal and CRS. I don't use it very much anymore. The design is flawed which wasn't obvious until I owned the South Bend. Once you drive a Mercedes it's tough to go back to a Datsun. I even have some box steel tubing and the stuff to remake the ways and bed so it's stiffer. Just never did that after the SB arrived.The Hardinge HLV-H has a manual retraction handle for threading and can do both internal and external threads, I have watched a lot of threading videos this to me looks like a very slick setup thus I covet one of these lathes.
I really like your setup John, looks like very little setup time, I am curious how often you use it and if it is your normal method of threading?
I have only the Z axis controlled on the SB but as a result haven't engaged the gears in more than 10 years. Adding a timing belt and pulley setup to a stepper motor plus a hall sensor to the spindle is vastly easier than the fancy tool bit retraction mechanism. I don't need the tapering that the X axis control would provide since the SB has a taper attachment. Haven't used the micrometer end stop nor the threading dial in over a decade either.
I face the end. Set Z to zero. Enter in the END position for the length (or depth) of cut either metric or imperial. Move to the right to allow for taking up slop in the half nut and getting up to speed and set the BEGIN position. Say 0.2" if I'm working in imperial. Jog back over the work and move X in until it just scratches and set cross slide dial (or X axis on the Gingery) to zero.
Now you see the difference between the Gingery and the South Bend. Tap START and the Gingery withdraws automatically and moves to the BEGIN position goes in and does a turning pass and returns automatically to the end position.
The South Bend does nothing other than tell me on the display to move the cutter manually away from the work. I then press START again and the carriage is moved to the BEGIN position and once again the display tells me to move the tool into the work. I can turn the handle it back to 0.0 and just do a scratch cut to get a feel for how round it is or move in an extra 0.010" Set X to 0 again (like adjusting the dial on the cross slide so I don't forget where it was) and press START. Now it turns to the END position and stops telling me to pull the tool out. I do that, press START and it returns. And so on.
Like all the other videos out there I then check with calipers or micrometer and determine how much to remove. With the Gingery there are several options. With the South Bend I can leave the dial on the X at zero and just do multiple passes until I reach desired depth of cut to reduce the diameter to the target value.
I've slowly moved over to doing a lot more in metric so I thread with either taps/dies or the SB. Depends on the project. I have more than one hammer...
TorontoBuilder
Sapientia et Doctrina Stabilitas
That video from 2008 was of the Gingery Home Made Lathe from scrap metal and CRS. I don't use it very much anymore. The design is flawed which wasn't obvious until I owned the South Bend. Once you drive a Mercedes it's tough to go back to a Datsun.