curmudgeon
(Steve)
thanks for the details - very helpful for meI generally will put a relief groove 0.002"-0.003" deeper than depth of thread at the shoulder for either internal or external threads with a grooving tool. But, if I need a full length thread without a relief cut, I'm ok with that. I just find it looks better with the relief cut, and reduces that pucker factor that @Susquatch mentioned.
I tend to do the chamfer after the thread is cut on an external thread, and before on internal thread (no particular reason though), using the same threading insert that I used to do the threads.
I run the lathe at around 50rpm when threading, and using the dial indicator on my carriage stop, I will hit my mark within 0.005". And usually before, almost never after.

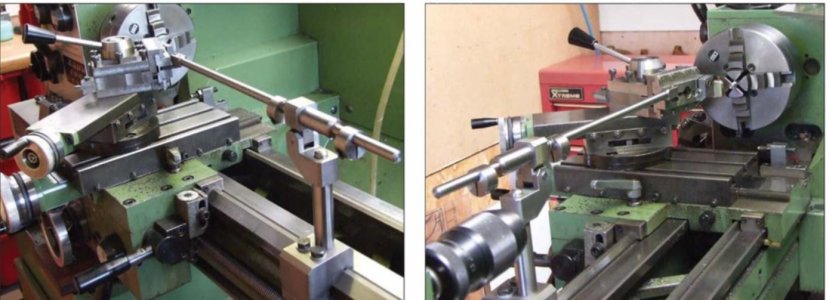
At 50 RPM, your approach sounds much more practical. With a minimum speed of 150 RPM and reflexes slower than those of a @Susquatch, @Tecnico 's spindle crank handle might work better for me.