• Hi - We're having intermittent forum issues. Posts, alerts, and anything involving email like signing up or password changes are having problems but not for everyone or everywhere. Josh is working on it. No ETA right now. Thanks Josh - BTW this is a volunteer forum so SLA's are just best effort. EDIT -> I manually batch updated about 25 people stuck on the email notification. Try logging in now with your password. If you really can't get in contact us on facebook or if you know a forum member get them to ask us.
  • [Ad-Free Experience]
    Register Today, Craft a Post, and Enjoy an No-Advertising Experience.
    Click Here to Register

Coil Springs.

Janger

(John)
Administrator
Premium Member
Try it with the 3D printed parts - I expect it would work. Good project.

you could print with polycarbonate filament for a strength boost.
 

jcdammeyer

John
Premium Member
Try it with the 3D printed parts - I expect it would work. Good project.
you could print with polycarbonate filament for a strength boost.
That would mean I'd have to buy some polycarbonate. And then go through the teething pains to learn optimum values for my printer.
What I've found so far is that with the vibration from the impact wrench that the nut holding the cylinder loosens. I've cranked it down tighter but the plastic tends to deform.

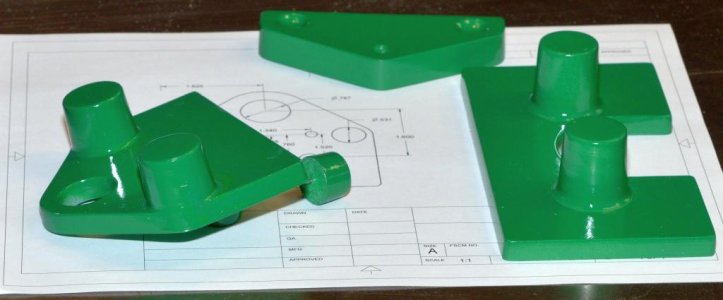
For me, so much easier to use some filler primer, wood body filler and paint on the patterns I've already printed and then cast out of aluminium.
And then when I bore the holes I can use the CNC to ensure that they are in the correct spot to keep the rods parallel.
The patterns should be painted tomorrow.

Meanwhile working on some software to count socket revolutions and set timeouts .
 

jcdammeyer

John
Premium Member
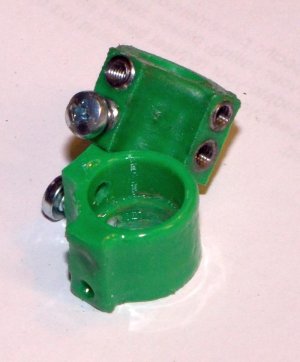
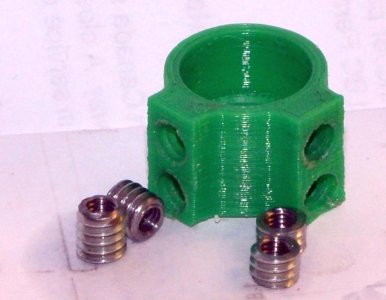
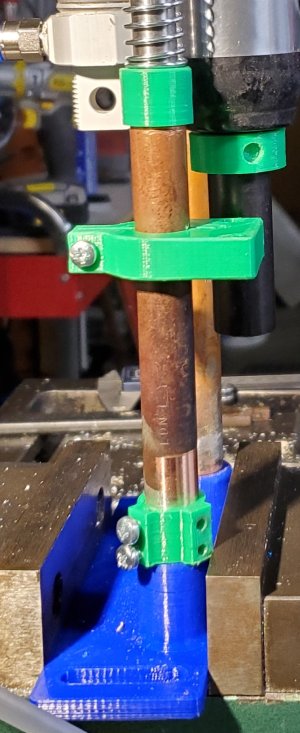
Patterns are done. Realized I had to anchor the copper shaft that holds the sensor bracket to the 1/2" guide shaft so the sensor doesn't twist into the wrench as it descends. Trouble is the first version has the screws stripping because I inadvertently used a tap marked 4-0.75mm. It should have been marked 4.5-0.75mm. Printed another one and this time the screws worked. As did one with 1/4-20.

I didn't have any inserts so I made some using all-thread and both the South Bend and the Unimat DB-200. Bedded and coated in 5min epoxy. Now just need to wait for it to harden a bit more. And it rained today so I might be able to cast tomorrow.
 

Attachments

  • Inserts-2.jpg
    Inserts-2.jpg
    124.7 KB · Views: 8
  • Inserts.jpg
    Inserts.jpg
    113.7 KB · Views: 8
  • TestSetup-5.jpg
    TestSetup-5.jpg
    880.3 KB · Views: 8
  • PatternsReady.jpg
    PatternsReady.jpg
    106.8 KB · Views: 7
Top