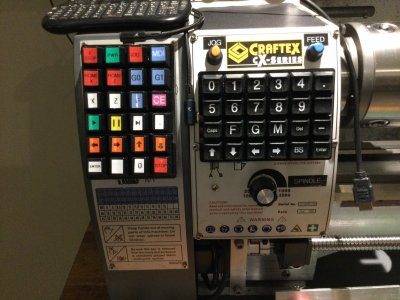
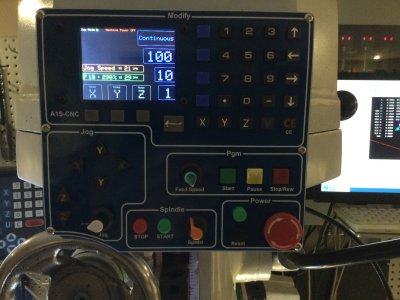
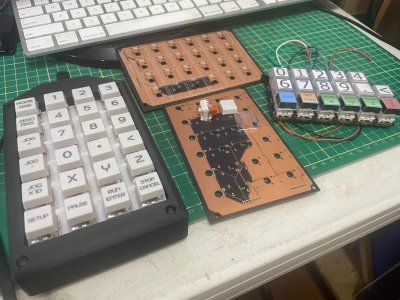
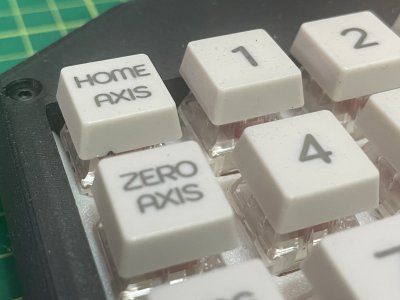
Here's my cheapo pendant for my 2.5-axis CNC engraver. I run a program called Estlcam, and it allows use of a regular keyboard or keypad as a control pendant. It's possible to map the keys to specific actions, so my first try was just a $5 Value Village numeric keypad that I pulled apart and engraved new logos on the keys. Proof of concept.
Keys look like crap, I just filled in the engravings with white paint and didn't spend much time making it pretty.

It works, so time to make one that's rugged enough to survive in the shop. Picked up another keyboard, this time one of those horrible roll-up keyboards, because I could see through the casing and could confirm how the key matrix connects to the keyboard encoder. The fingers on the matrix are 0.010" spacing, same as regular perfboard spacing. This meant I could unsolder the push-fit connector and solder in a terminal strip. Next step was to trace the key matrix and work out the row and column configuration for each key. Buy a bunch of pushbutton switches and wire them to the terminal strip, selecting suitable keys for the desired actions. Stick the whole mess into a decent-sized plastic cabinet, laser engrave a layout panel.


Keys look like crap, I just filled in the engravings with white paint and didn't spend much time making it pretty.
It works, so time to make one that's rugged enough to survive in the shop. Picked up another keyboard, this time one of those horrible roll-up keyboards, because I could see through the casing and could confirm how the key matrix connects to the keyboard encoder. The fingers on the matrix are 0.010" spacing, same as regular perfboard spacing. This meant I could unsolder the push-fit connector and solder in a terminal strip. Next step was to trace the key matrix and work out the row and column configuration for each key. Buy a bunch of pushbutton switches and wire them to the terminal strip, selecting suitable keys for the desired actions. Stick the whole mess into a decent-sized plastic cabinet, laser engrave a layout panel.


