
Tobho Mott
Ultra Member
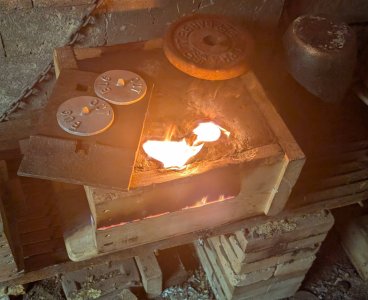
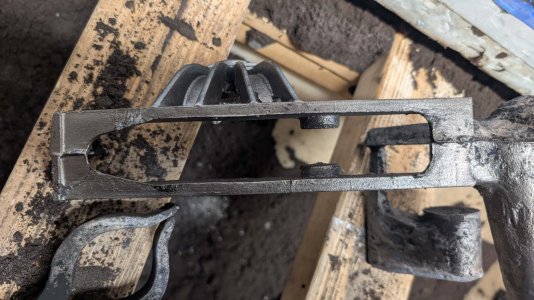
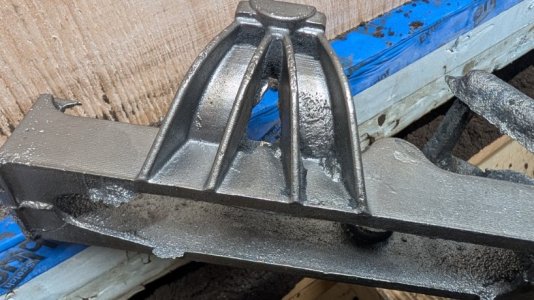
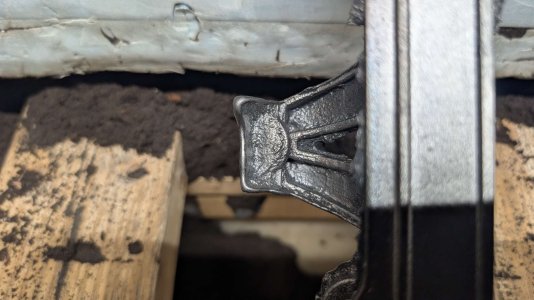
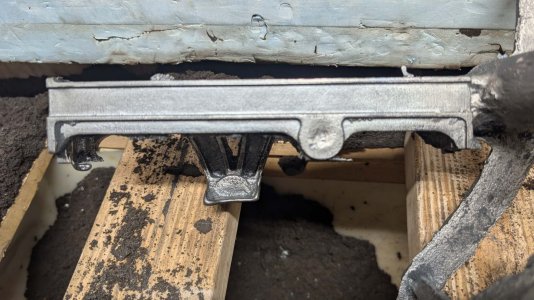
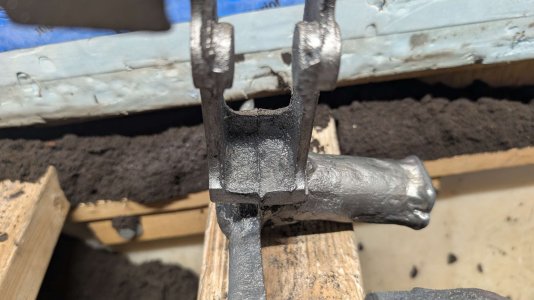
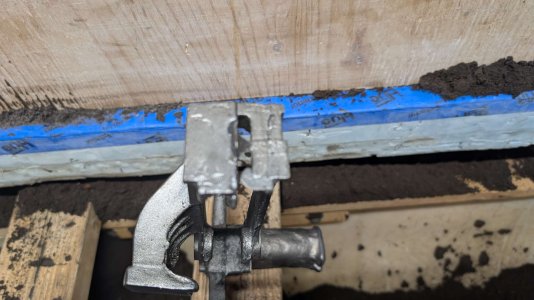
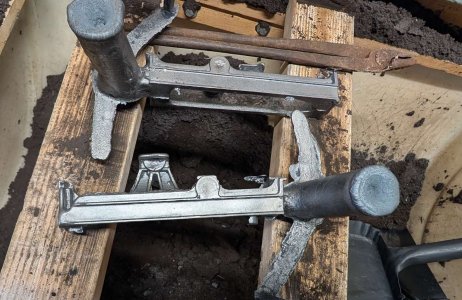
Last casting day we didn't do very well with the locomotive parts. Pictures can be found here.
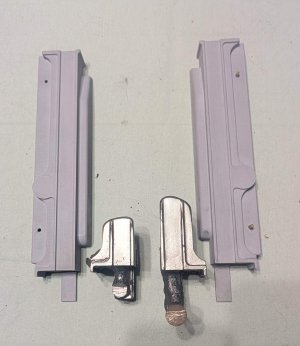
I've been given a shot at molding the parts I now know to be called the Motion Support Frames.
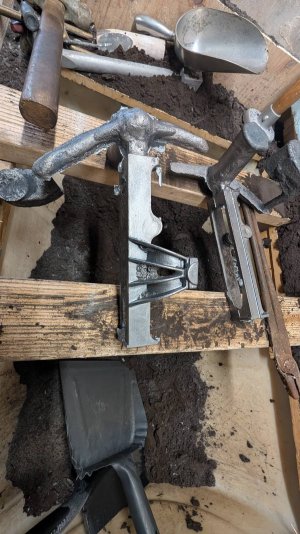
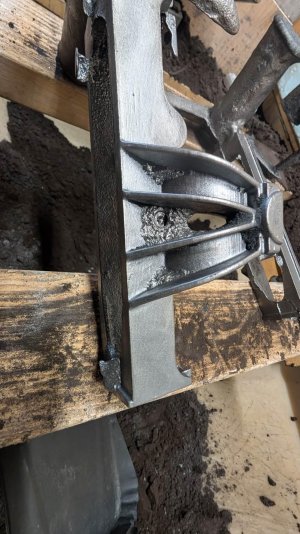
Here are some pictures of the patterns for one of the frames (there is a left and a right one) with the core prints in red and the pattern itself in grey.
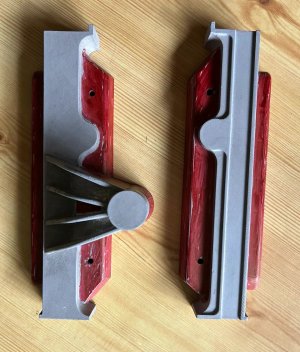
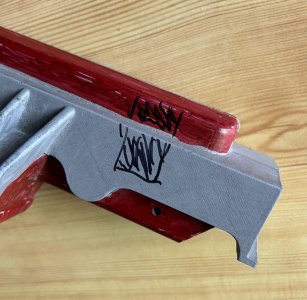
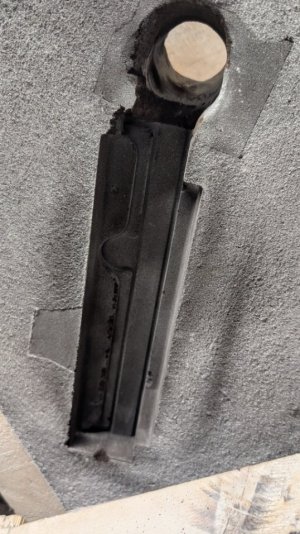
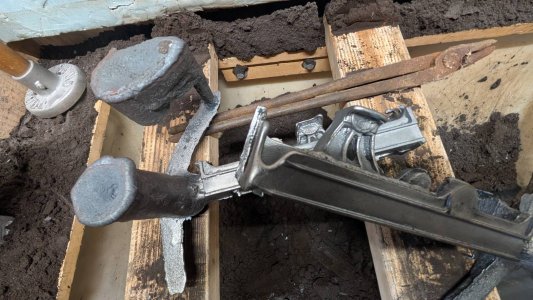
Now here are some.pictures of the patterns he dropped off yesterday. It took me a few confused minutes to realize the paint job isn't the same anymore, one half of the whole split pattern is now red and the other half is grey, rather than the cour being an indication what is pattern and what is core print.
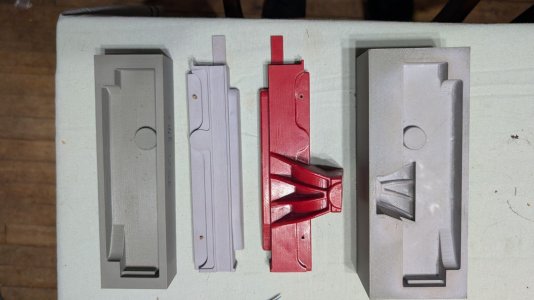
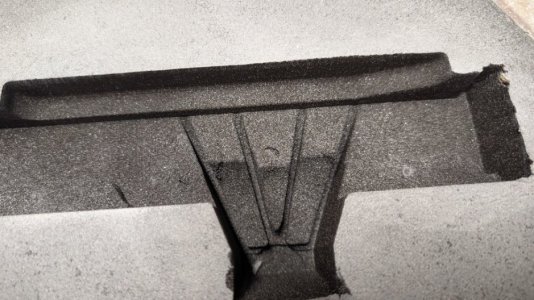
The other split pattern and it's coreboxes are a mirror mirror mage of these. The 2 cores go together sitting one on top of the other in the mold.
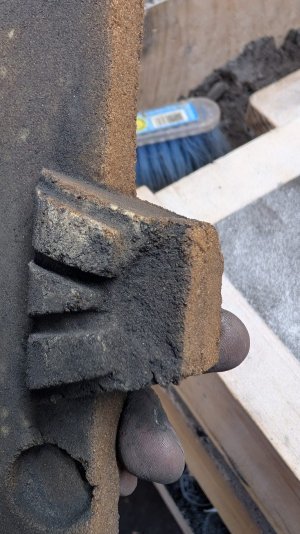
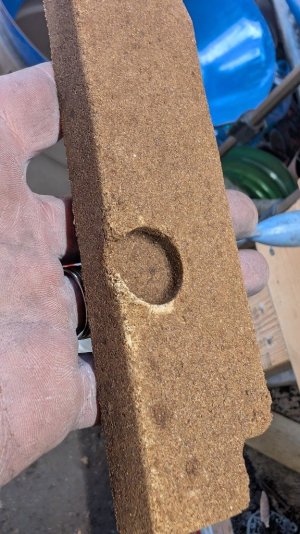
Here are some linseed oil bonded cores, enough of them to try each casting twice if I need to.
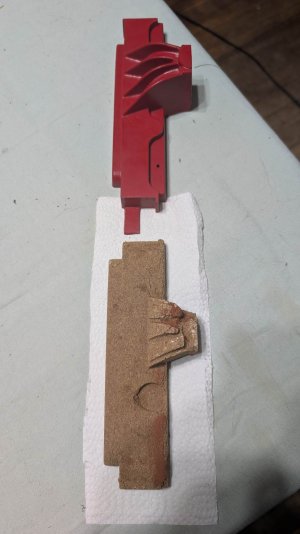
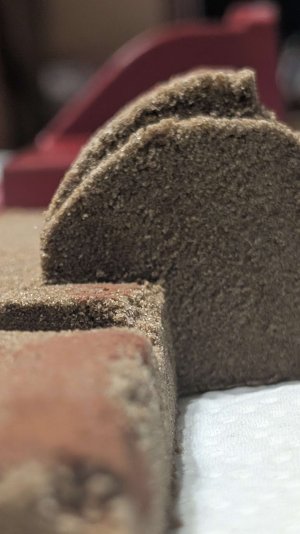
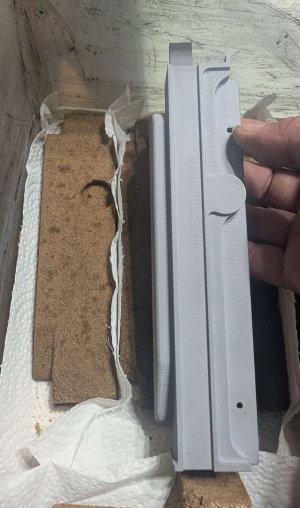
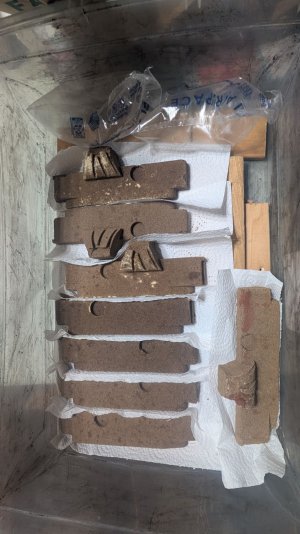
Some of them are a little worse for wear after being driven a couple hours to get them here. I have the coreboxes if I end up needing to make any new ones.
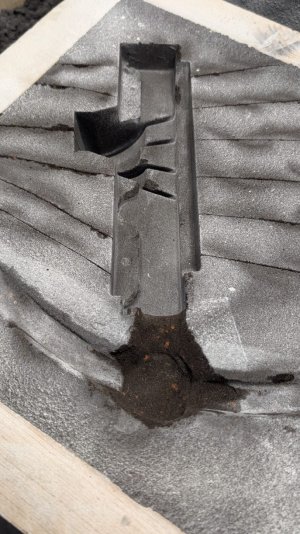
I need to decide how I will do the gating. It's a tricky one with 2 long skinny sections one on top of the other with a core in between, and I am not at all sure what the approach should be. The tiny gate built into the pattern that he had sprued directly down onto didn't work out last time...
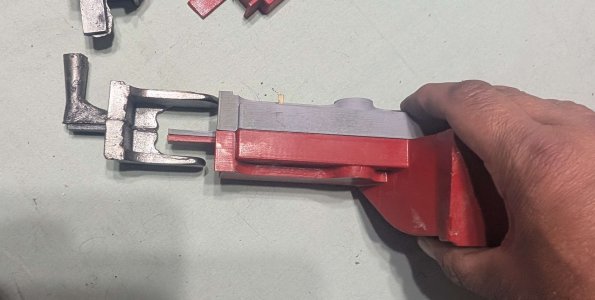
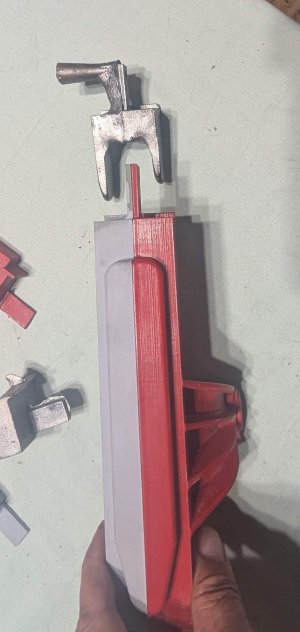
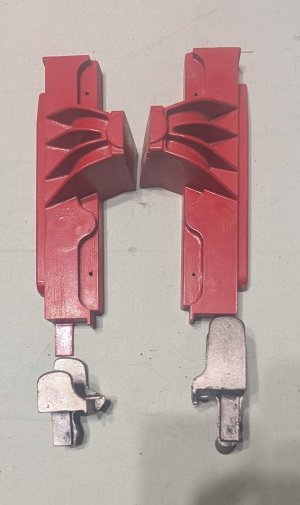
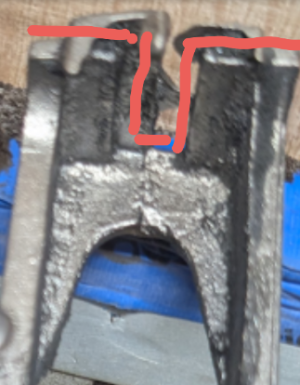
I spoke with Denis Foster (makes CI straight edges) and he suggested gating into the end sort of like as shown, but through a large riser that can keep supplying hot metal.
Another friend who's been pouring cast iron for a while suggested gating in from the end would never make it to the far end, and that a runner with gates that tunnel under the core to fill from the side is the best way to go .
I'm not sure. I have some time to think about it. I think I will pick the 2 most likely seeming suggestions approaches and try both, all at once. I might only get one more iron pour day in this year, otherwise I'd try whatever I decide seems like the way that seems best first, and only try plan B if that fails.
I've been given a shot at molding the parts I now know to be called the Motion Support Frames.
Here are some pictures of the patterns for one of the frames (there is a left and a right one) with the core prints in red and the pattern itself in grey.
Now here are some.pictures of the patterns he dropped off yesterday. It took me a few confused minutes to realize the paint job isn't the same anymore, one half of the whole split pattern is now red and the other half is grey, rather than the cour being an indication what is pattern and what is core print.
The other split pattern and it's coreboxes are a mirror mirror mage of these. The 2 cores go together sitting one on top of the other in the mold.
Here are some linseed oil bonded cores, enough of them to try each casting twice if I need to.
Some of them are a little worse for wear after being driven a couple hours to get them here. I have the coreboxes if I end up needing to make any new ones.
I need to decide how I will do the gating. It's a tricky one with 2 long skinny sections one on top of the other with a core in between, and I am not at all sure what the approach should be. The tiny gate built into the pattern that he had sprued directly down onto didn't work out last time...
I spoke with Denis Foster (makes CI straight edges) and he suggested gating into the end sort of like as shown, but through a large riser that can keep supplying hot metal.
Another friend who's been pouring cast iron for a while suggested gating in from the end would never make it to the far end, and that a runner with gates that tunnel under the core to fill from the side is the best way to go .
I'm not sure. I have some time to think about it. I think I will pick the 2 most likely seeming suggestions approaches and try both, all at once. I might only get one more iron pour day in this year, otherwise I'd try whatever I decide seems like the way that seems best first, and only try plan B if that fails.