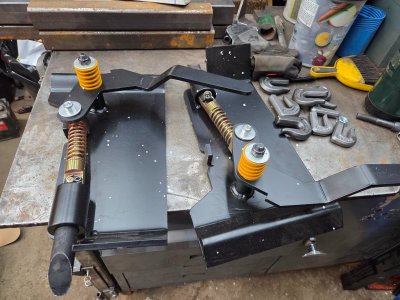
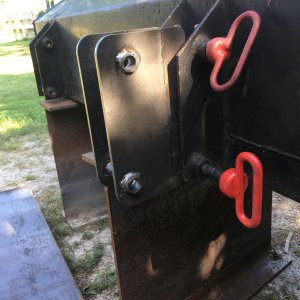
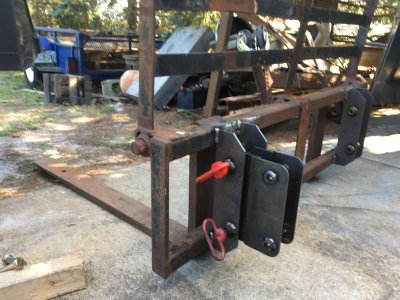
Now that summer busy season has settled down.....I can get back to some projects. Since buying the brackets they've done a pretty good job of holding my floor down, and my taken apart for paint belt grinder has been spread all over holding everything else down for the past few months. That's done, reassembled, and finished now (finished last week/weekend, still working on video and build thread), so it's time to get back on this as I need it before the snow flies....
I flipped the levers around from how they shipped, then got to measuring and modeling only what I needed. I had to cut off the bent up stop tab as it interferes with operation. The loader attachment pin plate will provide the overcenter stop in the other direction now. I don't really like how they fit, but since I've only got the import brackets, and an import plate, I don't really know which one needs modifying (think it's a bit of both).....I'll wait until I buy some more attachments to figure it out....
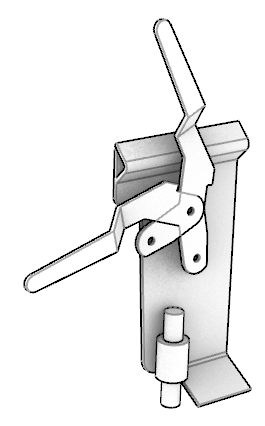
Then I basically started from scratch and redesigned everything to the point I'm at right here, finishing up this morning. I have left room for hydraulic or electric actuator operated locking arms in the future, but for now it's the good ol armstrong operation. A front crank mount hydraulic pump and expanded hydraulic controls are a planned upgrade to the tractor next year, so I'll revisit that when I get there.....
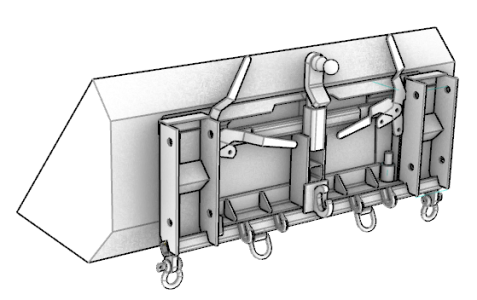
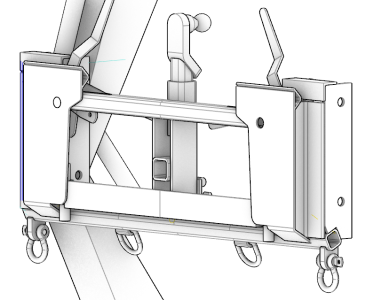
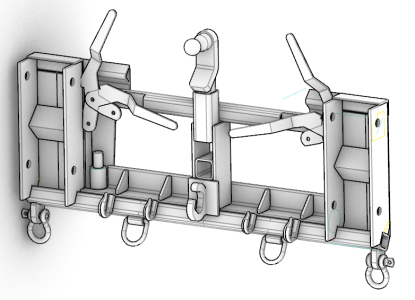
I had to move the pin location relative to the existing bucket up 2", and back 1.5" to give me just enough clearance to make everything fit, while not having excessive overhang. The loader arms being wider than the std ssqa made this considerably more difficult to package tightly.....but not impossible. I lose a bit of dumping height too, but I'm not filling dump trucks here....
I wanted the bracket to be a useful permanent "attachment" in and of itself, so there are a good assortment of lifting options built in, from 5/16" & 3/8" grab hooks, D rings, and some lugs for 3/4" shackles on the ends directly below the pins for my log tongs. There's enough clearance that the shackles can stay on and not interfere with bucket duties. There is a weld on 2T lifting hook dead center for bridle picks, and some 2" receiver tubing pointing forward, and one straight up where a hitch can be left installed so I can simply move trailers by tilting down. I'll probably pad the lifting hooks instead of welding directly to the cross tube as shown when I get to building it.
Pic below is the loader arms at the full range of motion of 123*. The 2" cross tube at the bottom is in the same position as the travel stops currently on the bucket, so I retain that and I won't jack up my cylinders.....The stop at full curl is the cyl cross tube mount itself.
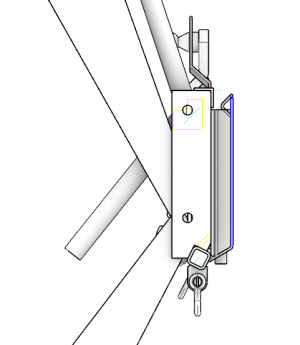
Rhino says there's about 700 Cubic inches of steel there, so roughly 200lbs. Cuts into my lifting capacity a bit, but not really since I don't need a bucket or separate attachment to pick stuff, and since most of the pick points are inline with the pins i'll gain some there, not to mention better visibility. The only thing it really hurts is my capacity with forks, but not too bad. The convenience of even HAVING forks on the front is a good trade off.
I think i've covered all my bases here, and have tried to design this in a way that I can make it with stuff and stock I already have on hand. I'm only out of pocket for the quick attach plates, weld on grab hooks, lifting hook, and some d rings, but since I already bought those months ago when starting this project and forgot what I paid for them, they're now free and don't count
😀. I'll be reusing the bucket mounting plates and pins, but aside from that the rest is just some 2x2x1/4" tubing, 3/8" flatbar, and some 3x3x3/8" angle from my stock market.
Hopefully I'll get started this week as I'm back in tradeschool for my last block and have a very favourable schedule this time so I should be able to knock this out pretty quick. But we all know how that goes..... Gotta squeeze one more round of golf in this afternoon though....