Hi All,
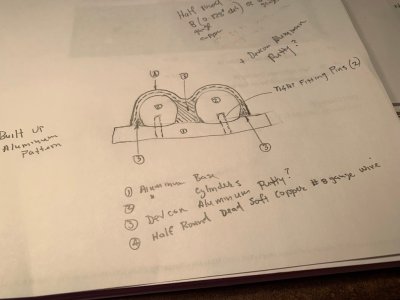
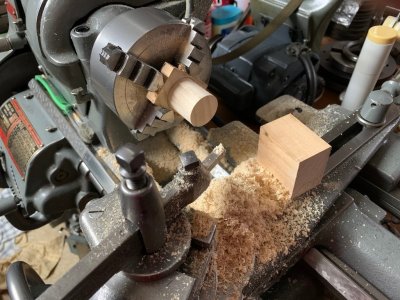
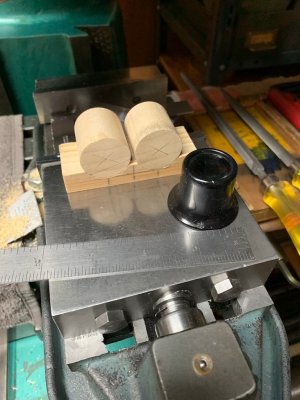
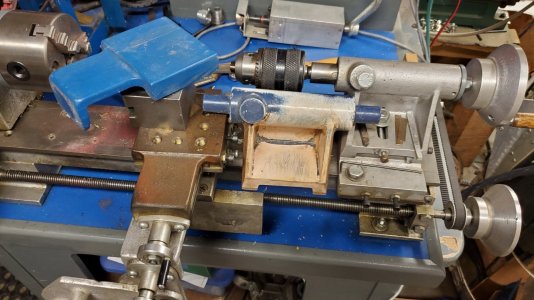
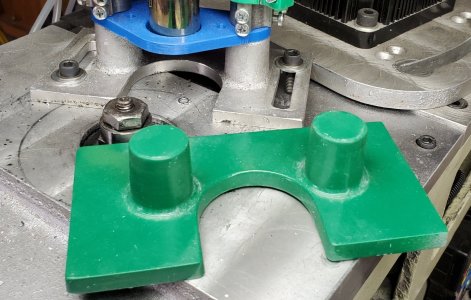
I am making a simple pattern in aluminum (to produce several non ferrous - silicone bronze castings). It has several curves where I need to form a root fillet or blending radii. What is the best product to use here and one which will stand up to repeated and rough handling in a foundry? Also, is there any product which will stand up to light final contour shaping using a HSS ball end mill?
I am making a simple pattern in aluminum (to produce several non ferrous - silicone bronze castings). It has several curves where I need to form a root fillet or blending radii. What is the best product to use here and one which will stand up to repeated and rough handling in a foundry? Also, is there any product which will stand up to light final contour shaping using a HSS ball end mill?
Last edited: