trlvn
Ultra Member
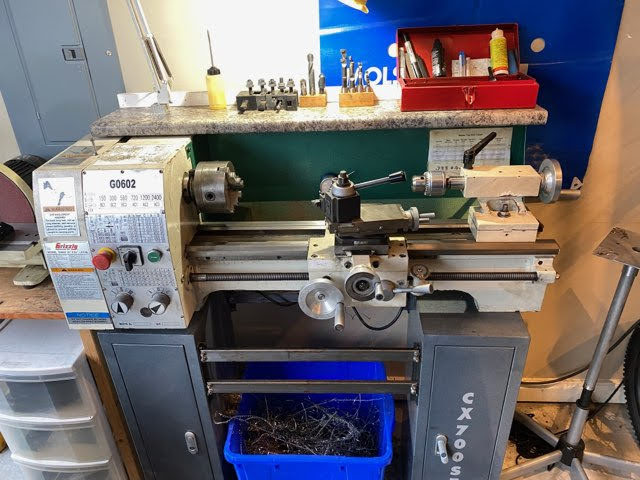
Your Grizzly is almost identical to my Craftex CX706 but mine has 3 mounting bolt locations:There are only 2 mounting holes in the lathe base; one at each end.
They are still all in line with the spindle but you can shim under the appropriate corners and then torque down the machine.
BTW, I have not got around to levelling my lathe. [The crowd gasps!] The main reason is that I haven't noticed any problems with alignment other than tailstock alignment. The other thing is that I knew the lathe would need an oil change and it is easier to do with the lathe unbolted. So I planned to look at levelling after the oil change...and I'm going to do the oil change Real Soon Now.
The other issue is that I don't like how the tailstock lock works. The tailstock doesn't lock all that tightly in certain positions on the bed. Sometimes when drilling steel, advancing the tailstock quill pushes the tailstock backwards rather than the drill advancing into the work. There must be some variation in the thickness of the bed and the tailstock has an exceedingly small travel in the lock mechanism. I think I might be able to remake one eccentric shaft for the tailstock and increase the clamping range. It will likely be easier to do this job with the lathe unbolted.
Craig