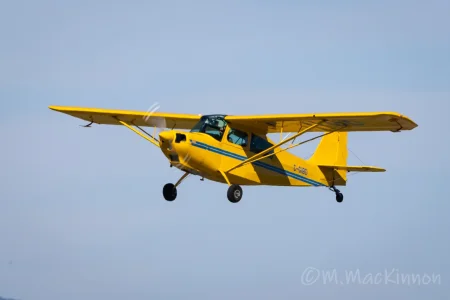
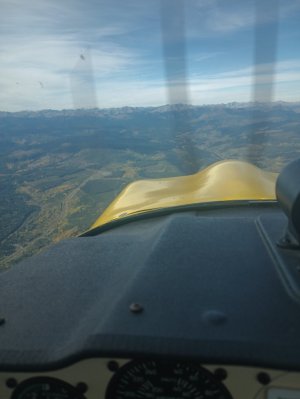
The little vw suffered a prop strike, and for the cost of a vw crankshaft im not willing to chance it on a mag particle inspection......so off i go crankshaft shopping, Yey!
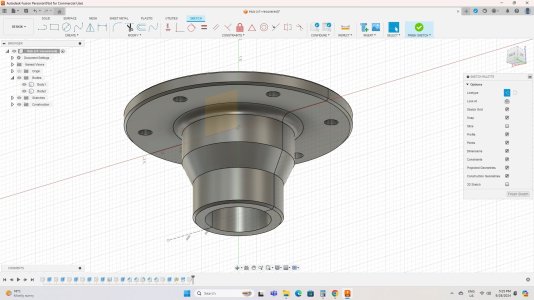
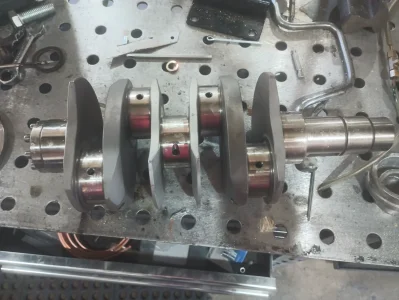
Well, cranks are easy to get, a 4140 forged, balanced, counterweighted, nitrided, polished, shot peened and mag particle inspected crank was at my door only a few days after placing the order....however much to my dismay a stock aircooled crankshaft nose is straight, and myne is tapered for the prop hub....better check that conversion manual....yep, says a 3deg taper needs to be cut or ground into the crank nose for the hub....crap
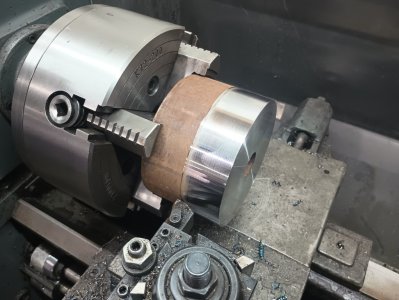
i thought about farming this out to either an engine shop, or another member, but in the end i decided i would at least set up the old crank, dial it in, check to see if it was even a possibility with my equipment (the main concern was the lack of a steady rest, and being able to dial it in with just a tailstock), well seems i can get it dialed in at the tail stock end well under .001.....i guess its worth a go
Test run with the old crank, everything dials in just fine! ok game on
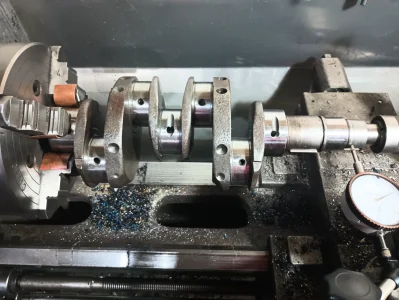
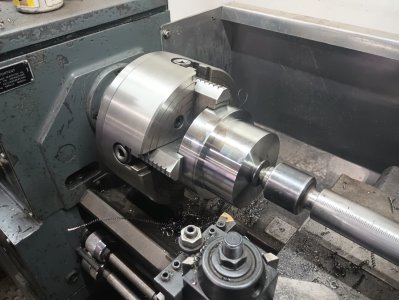
Now that i know is possible not taking any chances, aligning the tail stock where it will be roughly supporting the nose of the crankshaft, trying to give myself the best chance of success
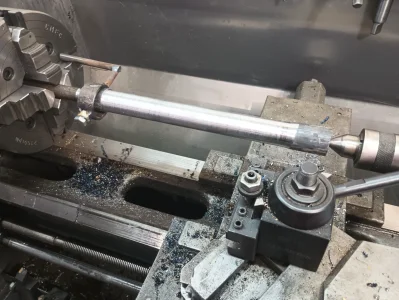
aligning the compound with the dial indicator, seems that taper is not been perfectly cut, there is a variance of about .001 or more, although that could be from lapping the prop hub to fit, going with the average
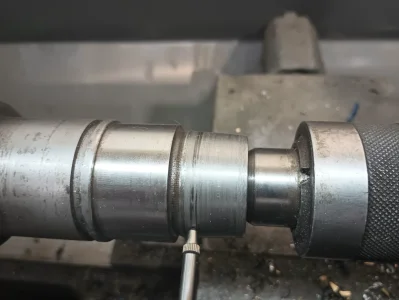
ohhhhhh, shiny! this is a bit of a nerve racking project, although not airplane expensive, this is still a 500$+ hunk of metal
dialed in and ready to go with the trusty ol wnmg and 900rpm
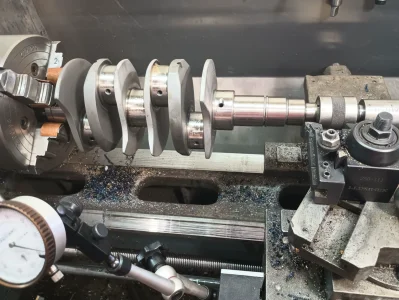
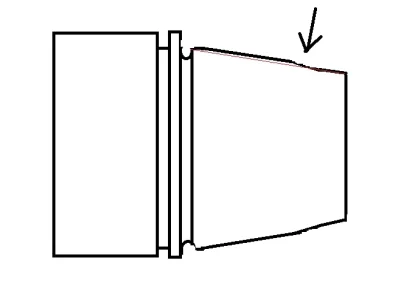
Problem....the lathe is not cutting a straight taper, it cuts and some how gets pushed out further making a hump...not sure whats going on here, moved to a different section of the compound...maybe there is a worn section, still doesnt want to cut that hump out...lock down the carriage, same thing, crap, i might need to farm this out, but first, lets try a button insert, i was going to do the final pass with a button anyhow. success! cut that little hump out like butter, maybe it was just a dull insert, or maybe this is a better insert ? who knows for sure, i did the rest of it with the button, and boy it leaves a nice finish. I tried to take a photo of this problem, but it just wouldnt show up, i made a little paint sketch
and here it is after lapping it to the prop hub with some valve grinding compound, i should have take a picture of the finish, but oh boy! it was just as shiny as the journal next to it! first time i had any luck with a button insert
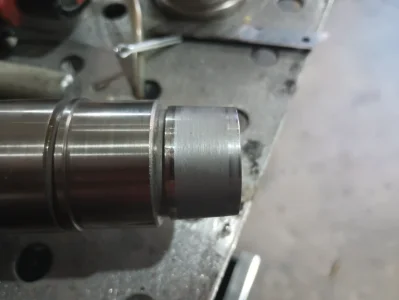
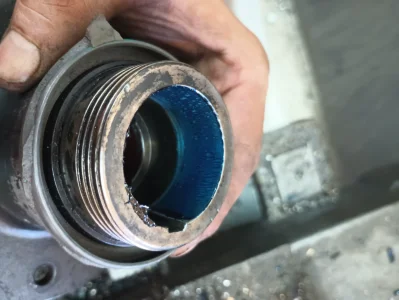
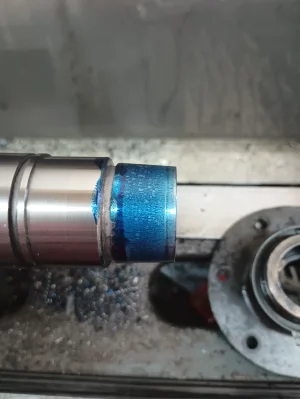
some prussian blue to check the mating....looks pretty good to me
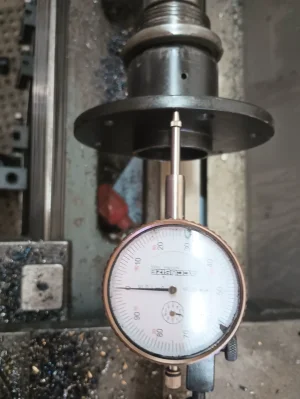
and just a sanity check, this is not very accurate with no steady, but it will tell me if the hub face is miles out, looks to be ok, ill have to rig up something to get a better check, see if that flange needs to be machined in situ, so far looks to be ok
Well, cranks are easy to get, a 4140 forged, balanced, counterweighted, nitrided, polished, shot peened and mag particle inspected crank was at my door only a few days after placing the order....however much to my dismay a stock aircooled crankshaft nose is straight, and myne is tapered for the prop hub....better check that conversion manual....yep, says a 3deg taper needs to be cut or ground into the crank nose for the hub....crap
i thought about farming this out to either an engine shop, or another member, but in the end i decided i would at least set up the old crank, dial it in, check to see if it was even a possibility with my equipment (the main concern was the lack of a steady rest, and being able to dial it in with just a tailstock), well seems i can get it dialed in at the tail stock end well under .001.....i guess its worth a go
Test run with the old crank, everything dials in just fine! ok game on

Now that i know is possible not taking any chances, aligning the tail stock where it will be roughly supporting the nose of the crankshaft, trying to give myself the best chance of success

aligning the compound with the dial indicator, seems that taper is not been perfectly cut, there is a variance of about .001 or more, although that could be from lapping the prop hub to fit, going with the average

ohhhhhh, shiny! this is a bit of a nerve racking project, although not airplane expensive, this is still a 500$+ hunk of metal

dialed in and ready to go with the trusty ol wnmg and 900rpm

Problem....the lathe is not cutting a straight taper, it cuts and some how gets pushed out further making a hump...not sure whats going on here, moved to a different section of the compound...maybe there is a worn section, still doesnt want to cut that hump out...lock down the carriage, same thing, crap, i might need to farm this out, but first, lets try a button insert, i was going to do the final pass with a button anyhow. success! cut that little hump out like butter, maybe it was just a dull insert, or maybe this is a better insert ? who knows for sure, i did the rest of it with the button, and boy it leaves a nice finish. I tried to take a photo of this problem, but it just wouldnt show up, i made a little paint sketch

and here it is after lapping it to the prop hub with some valve grinding compound, i should have take a picture of the finish, but oh boy! it was just as shiny as the journal next to it! first time i had any luck with a button insert

some prussian blue to check the mating....looks pretty good to me


and just a sanity check, this is not very accurate with no steady, but it will tell me if the hub face is miles out, looks to be ok, ill have to rig up something to get a better check, see if that flange needs to be machined in situ, so far looks to be ok


