1950 Bentley engine project

John Conroy

member
Premium Member
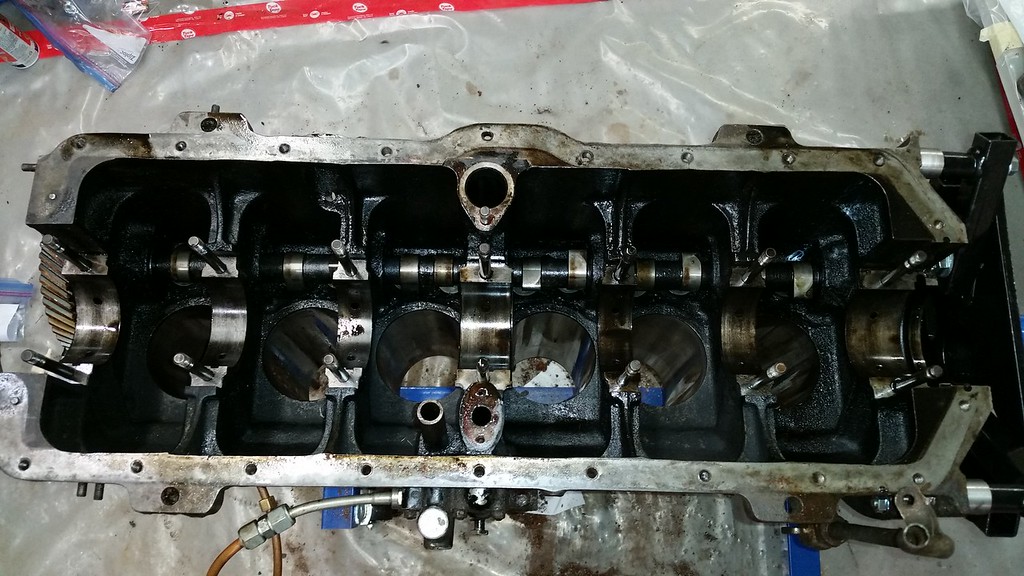
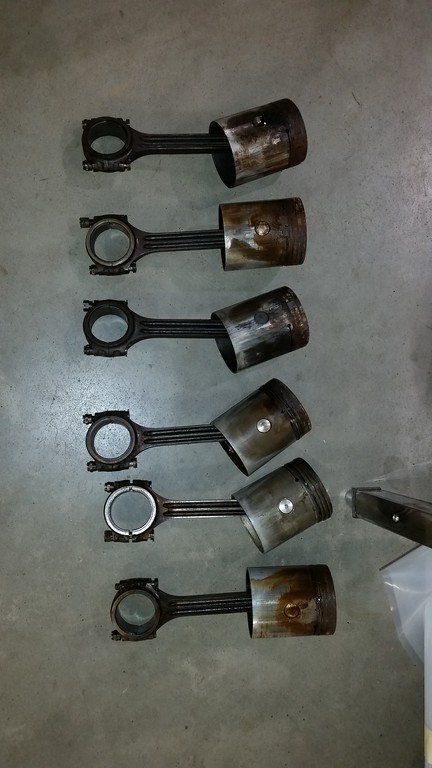
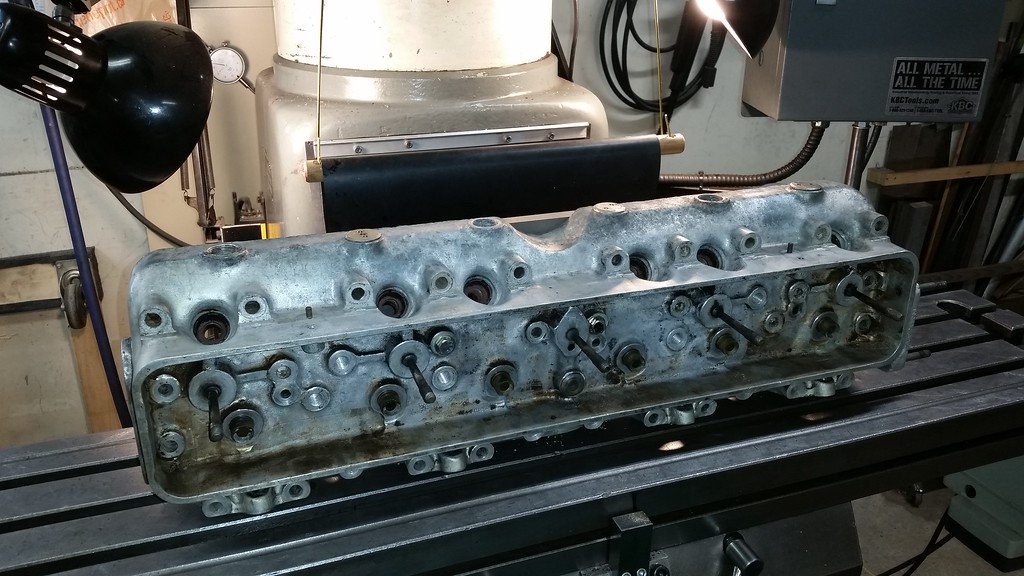
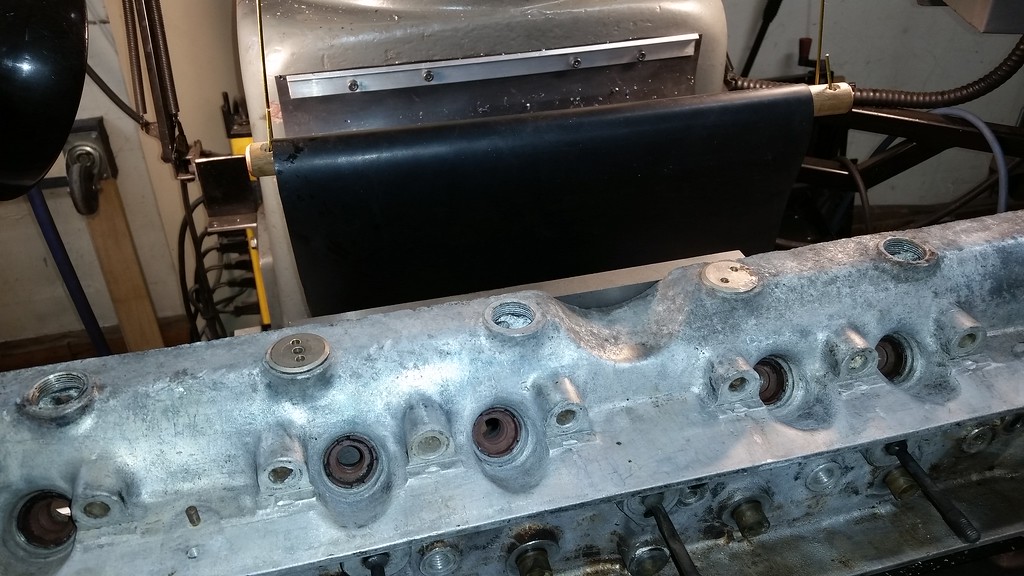
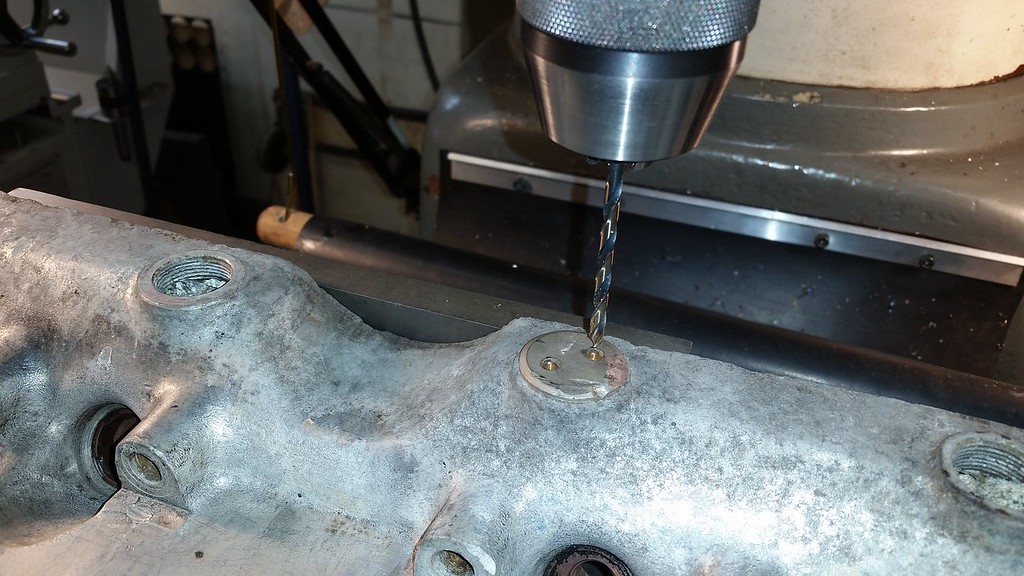
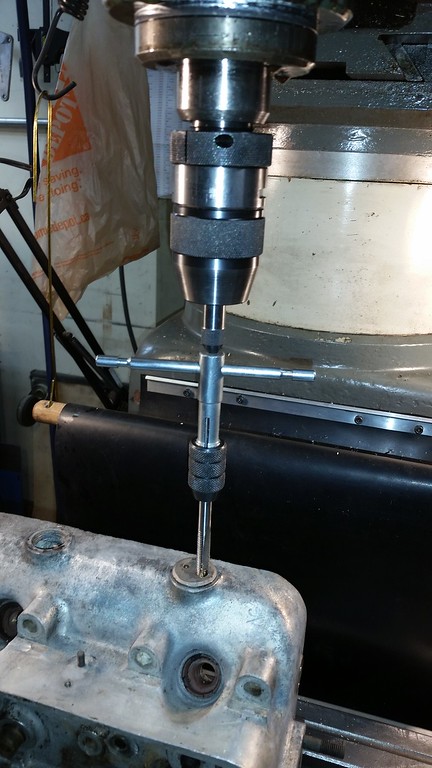
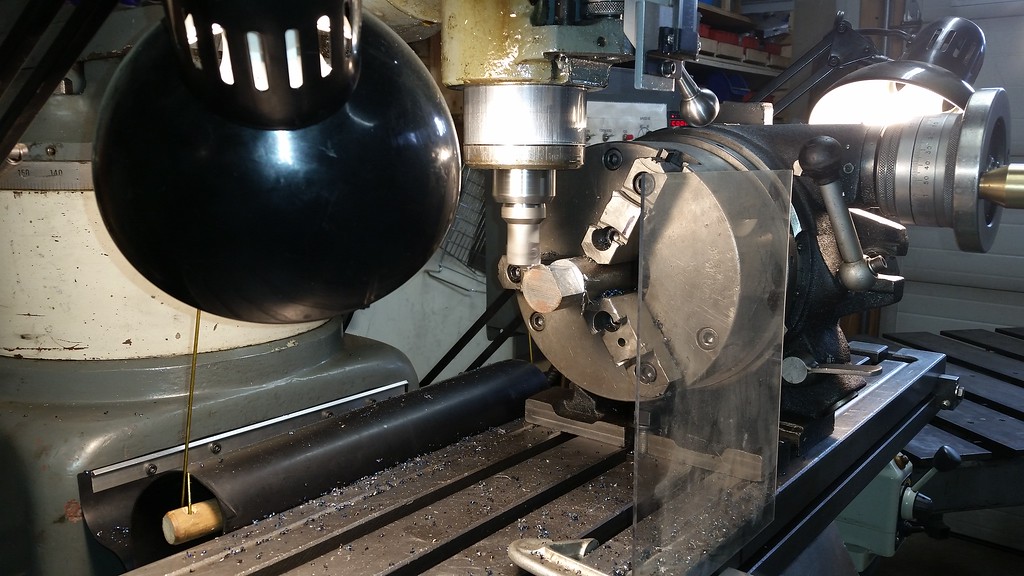
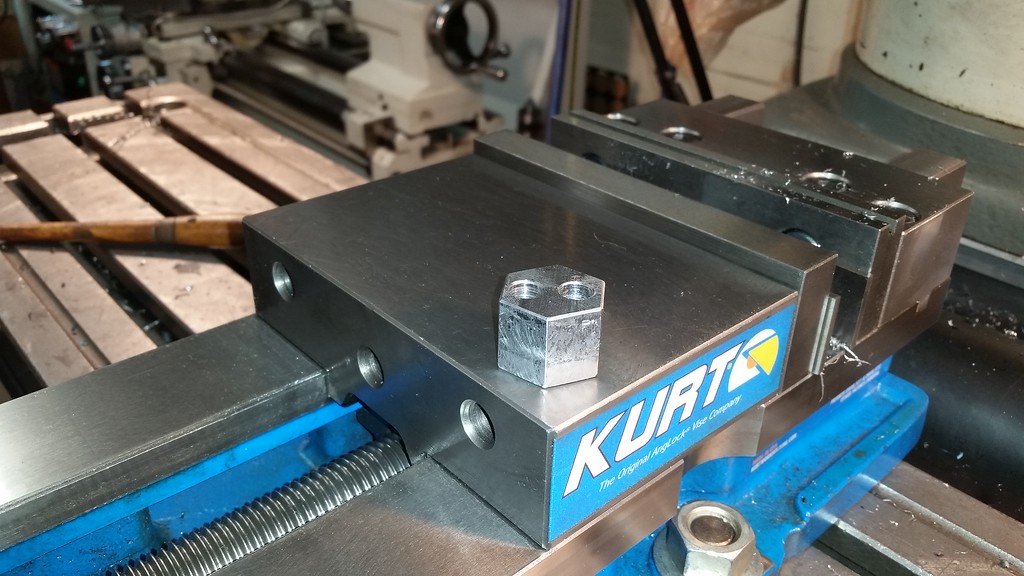
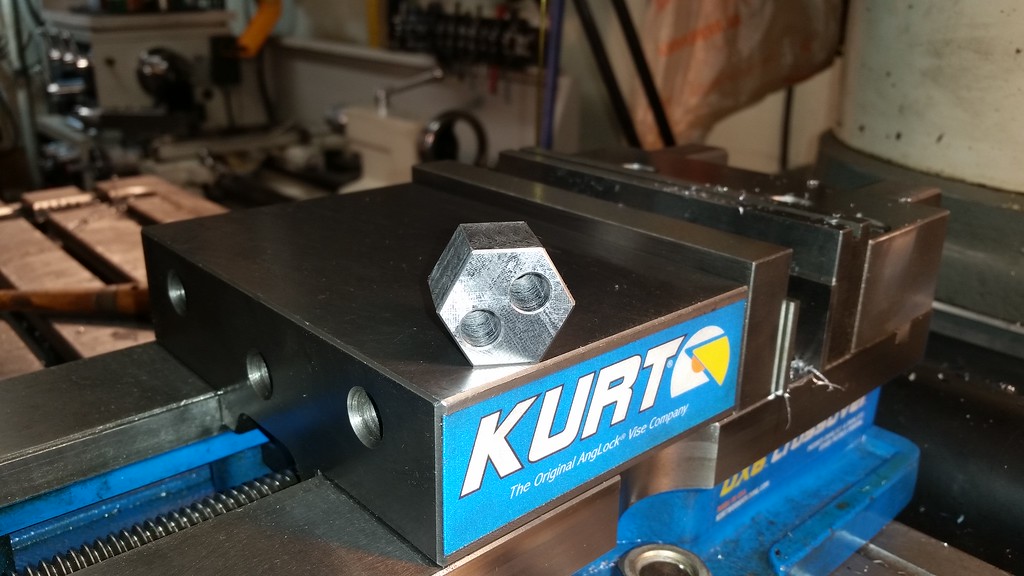
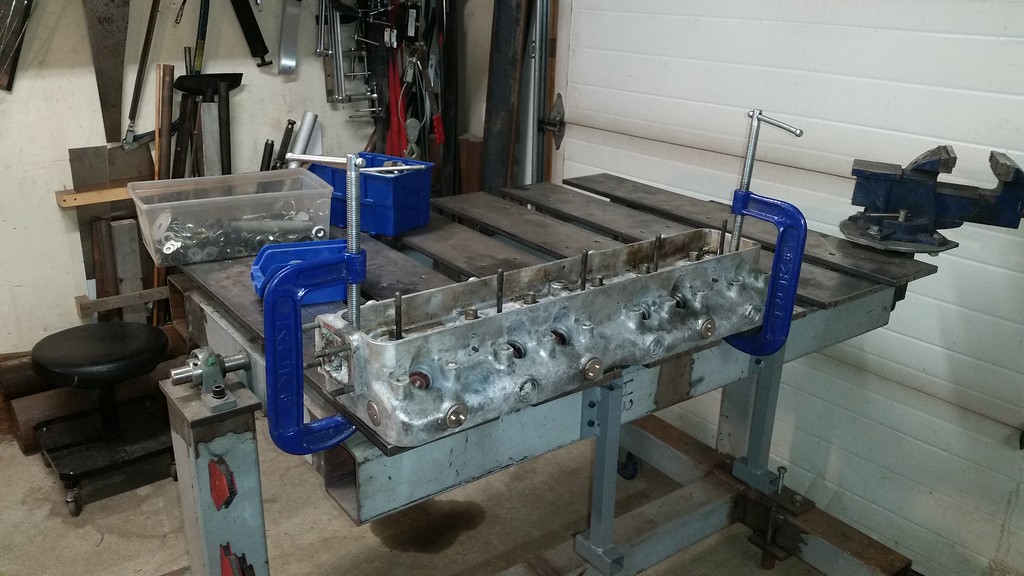
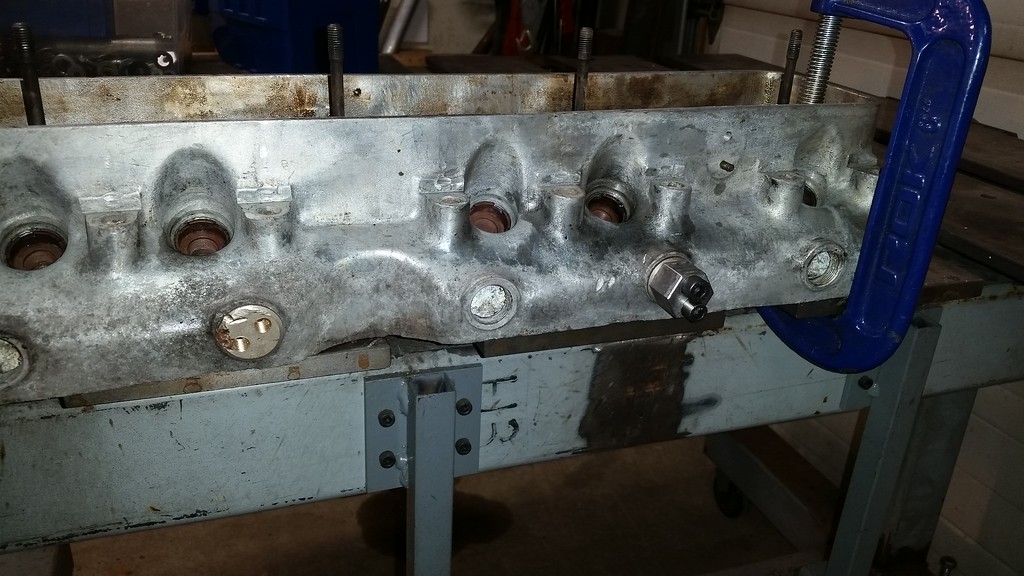
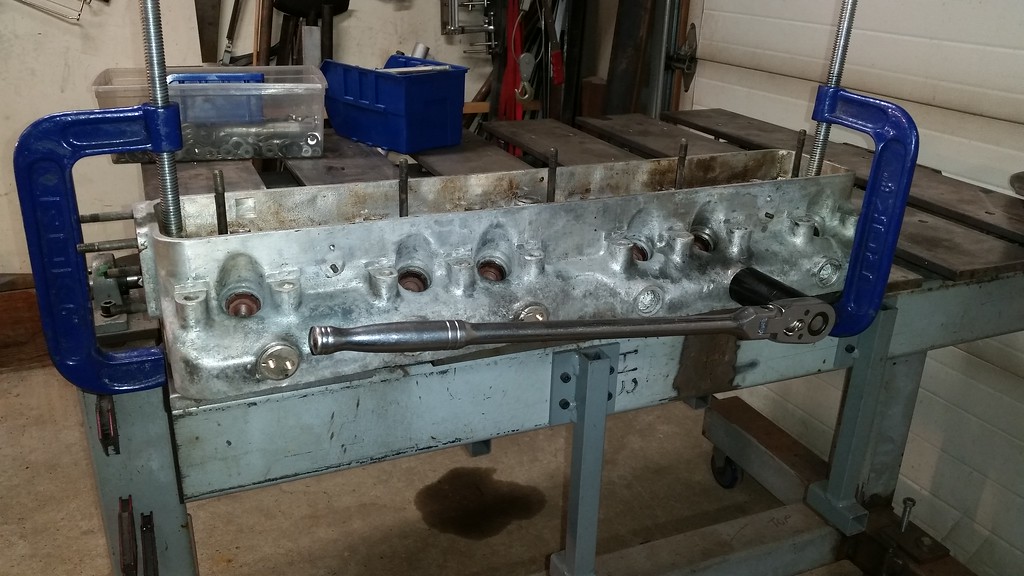
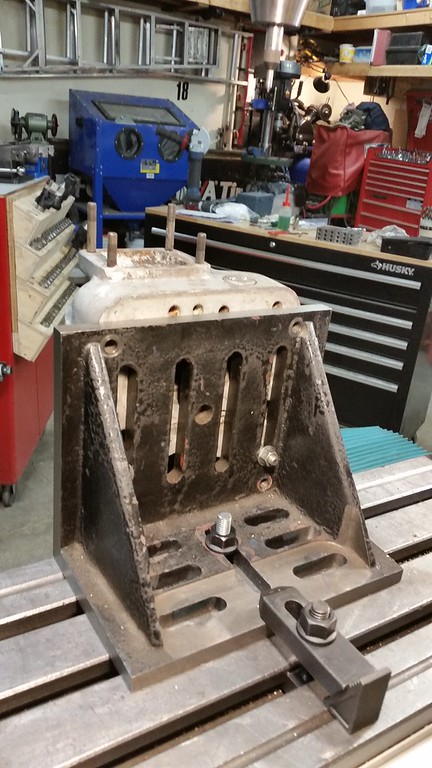
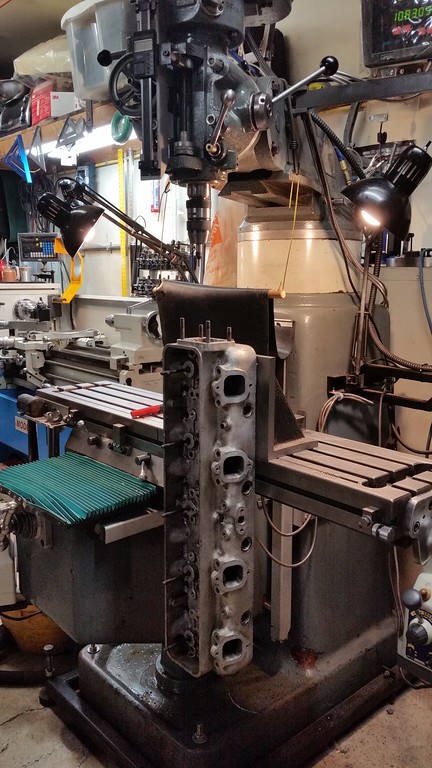
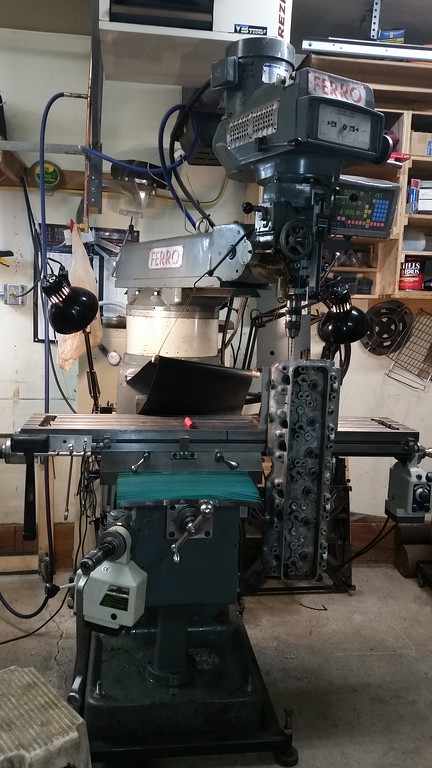
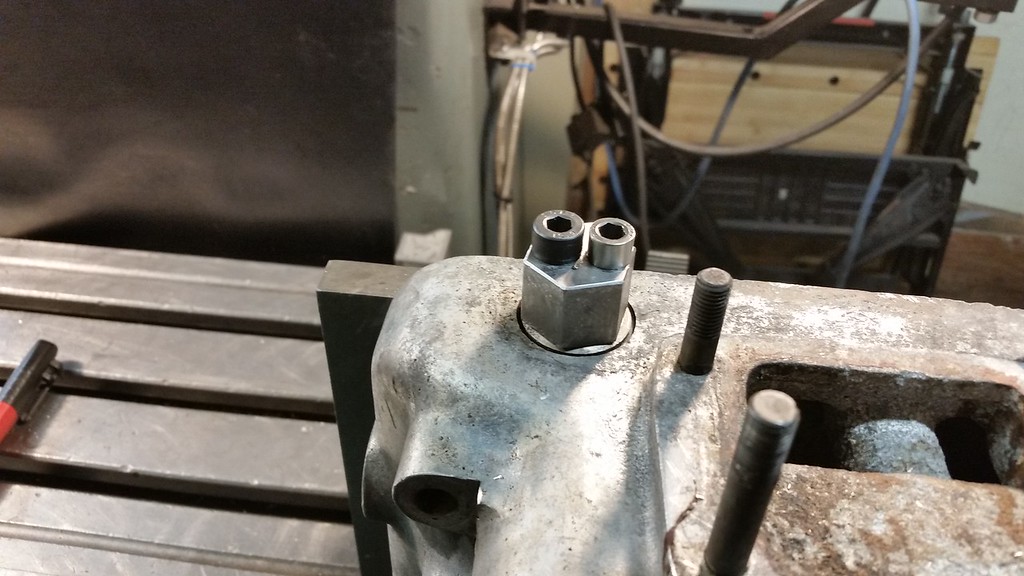
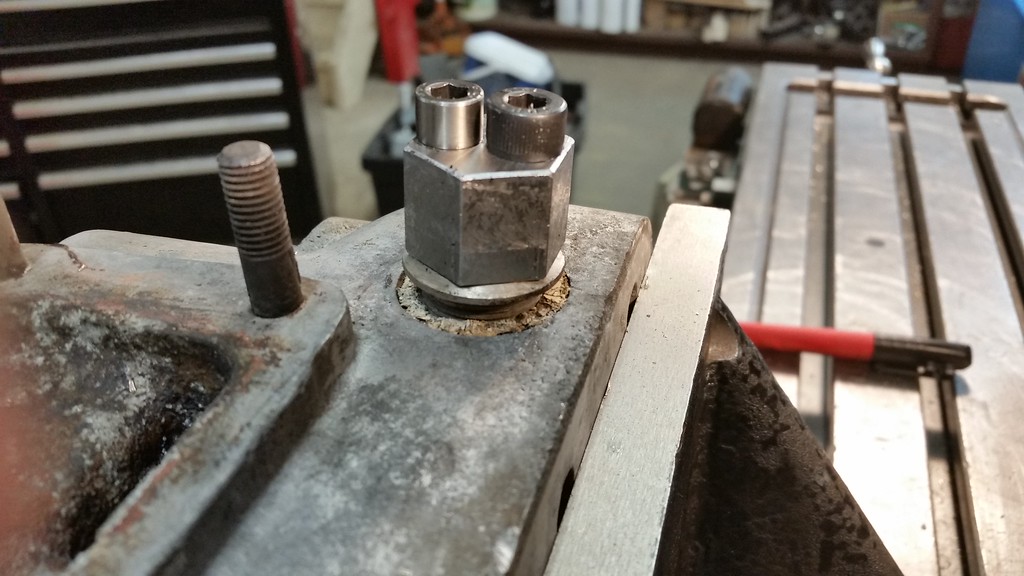
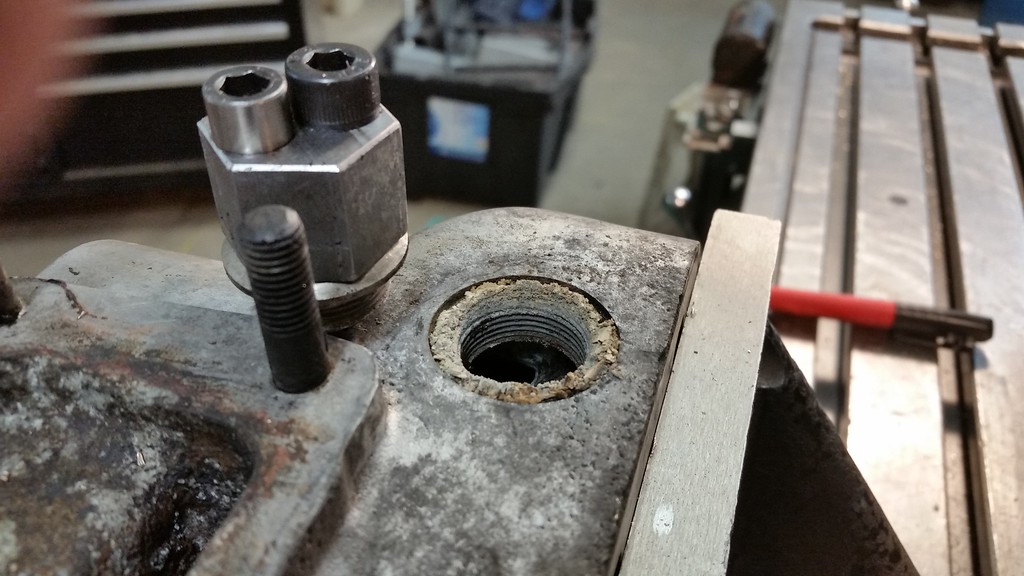
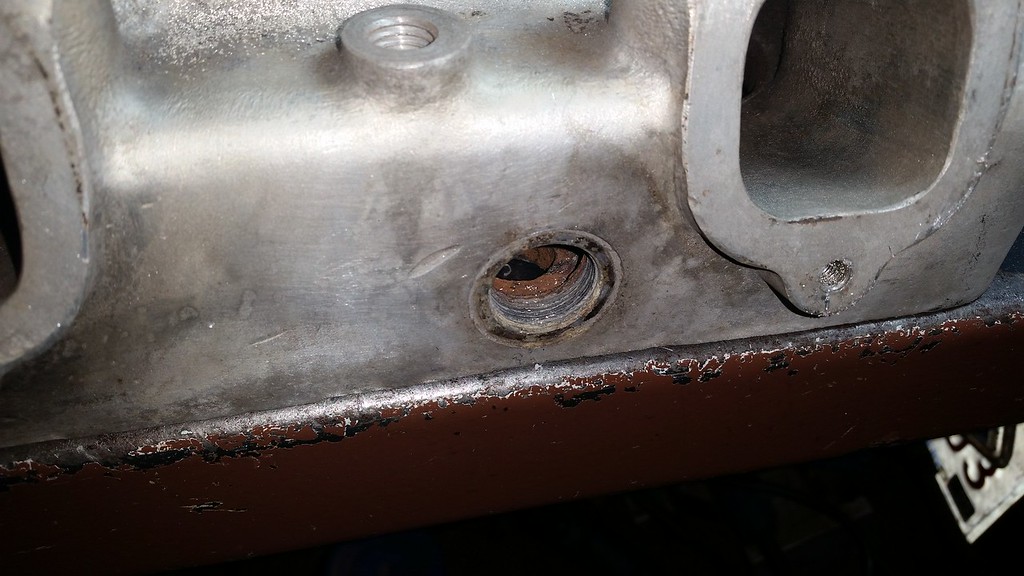
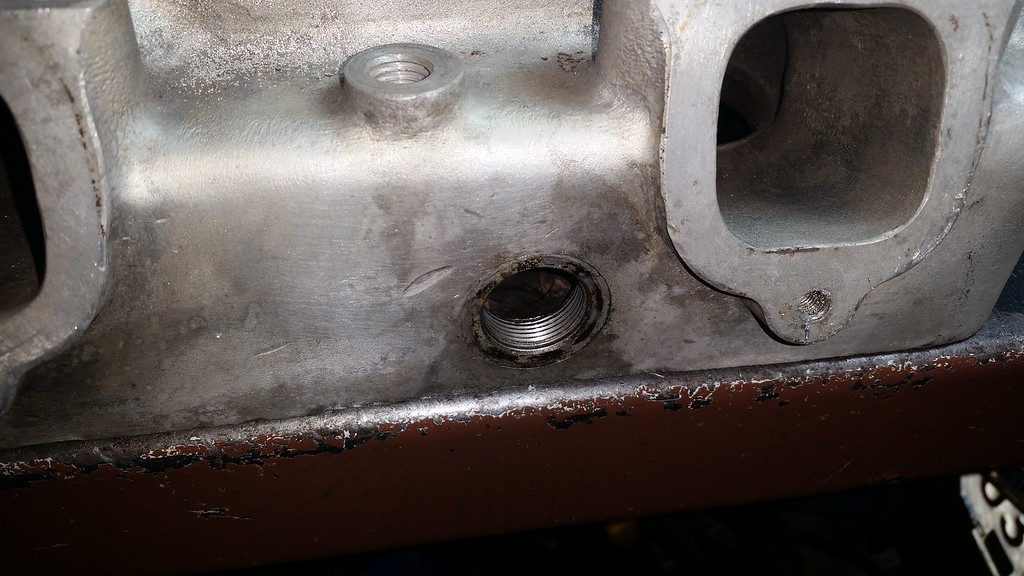
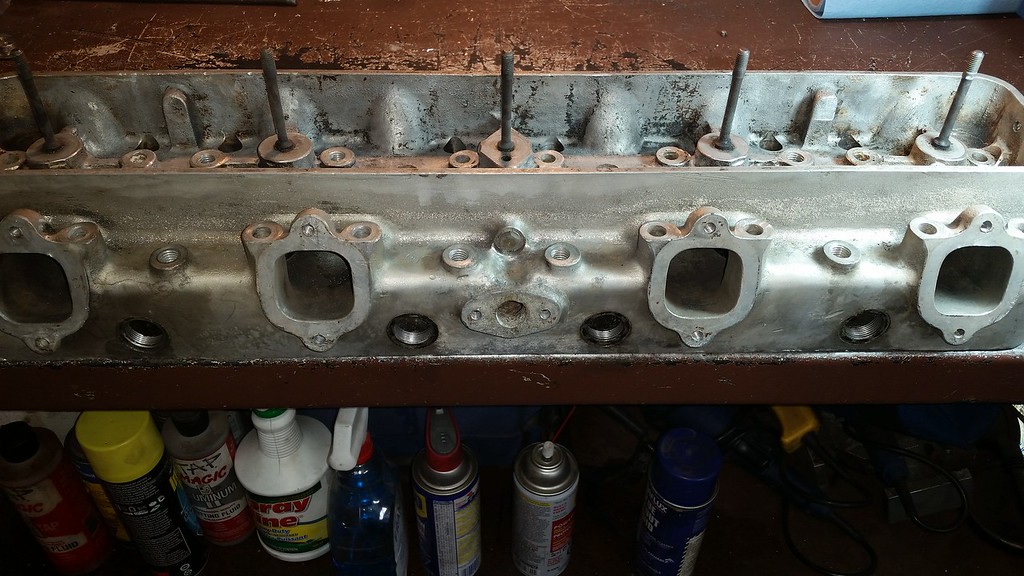
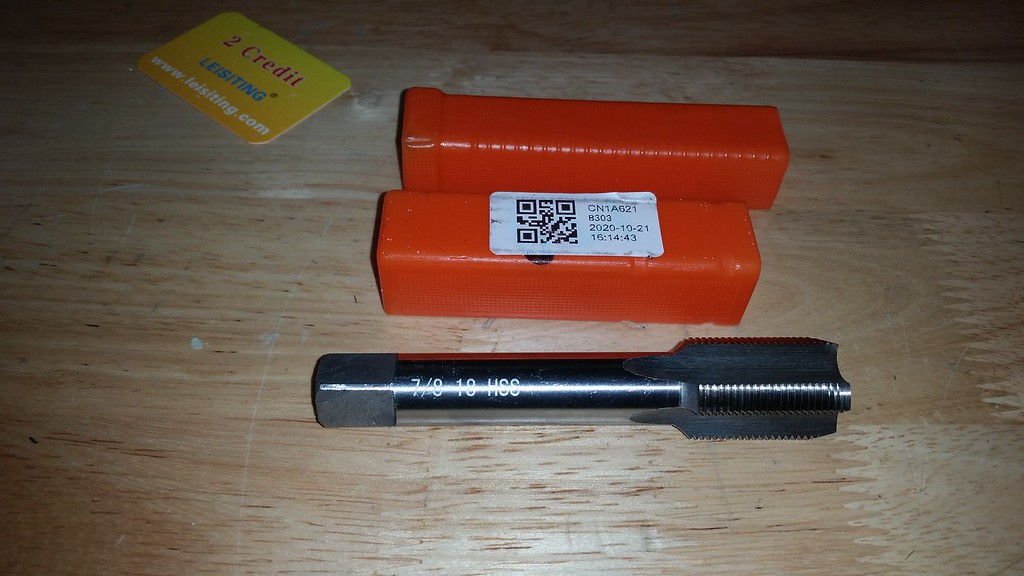
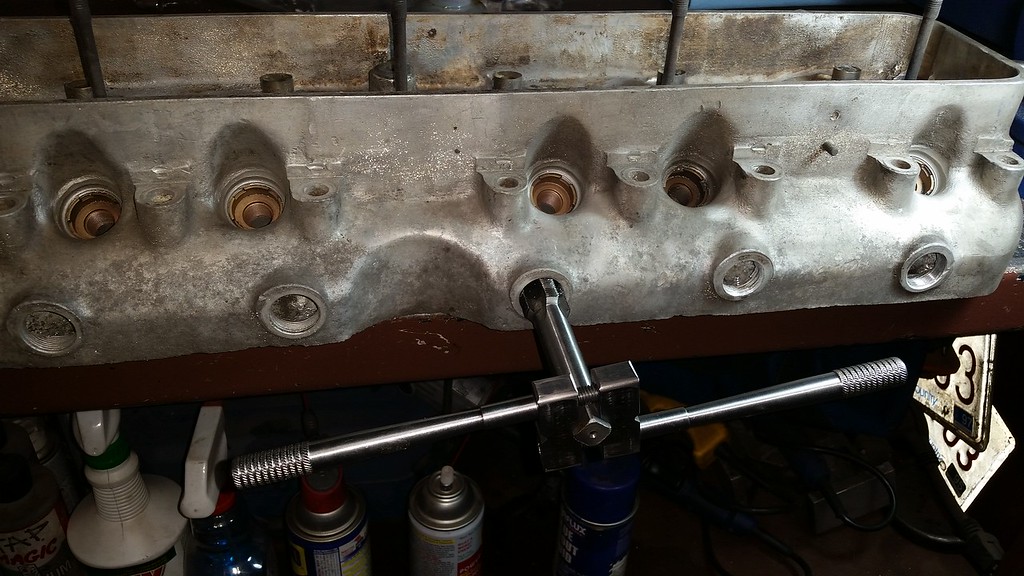
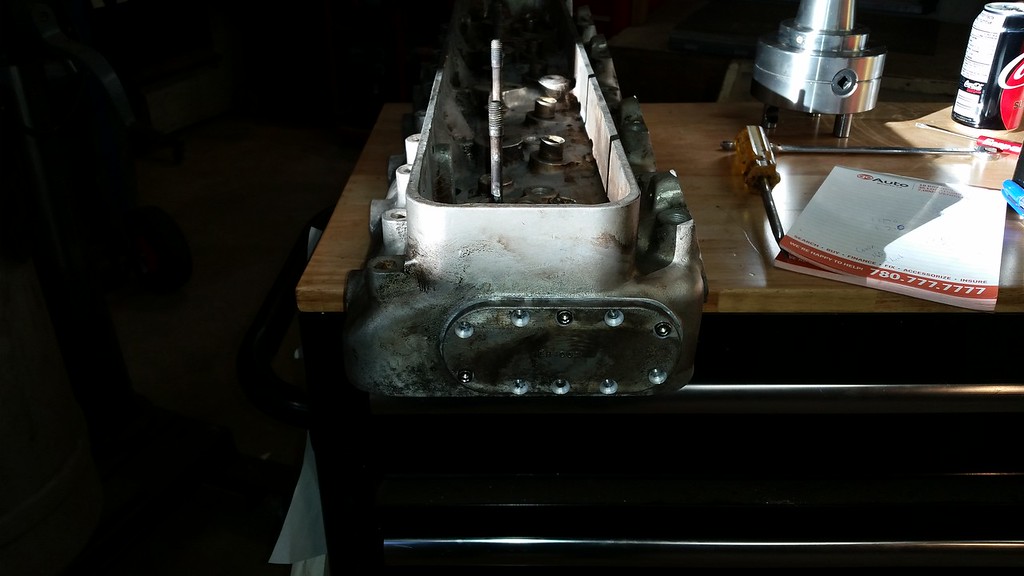
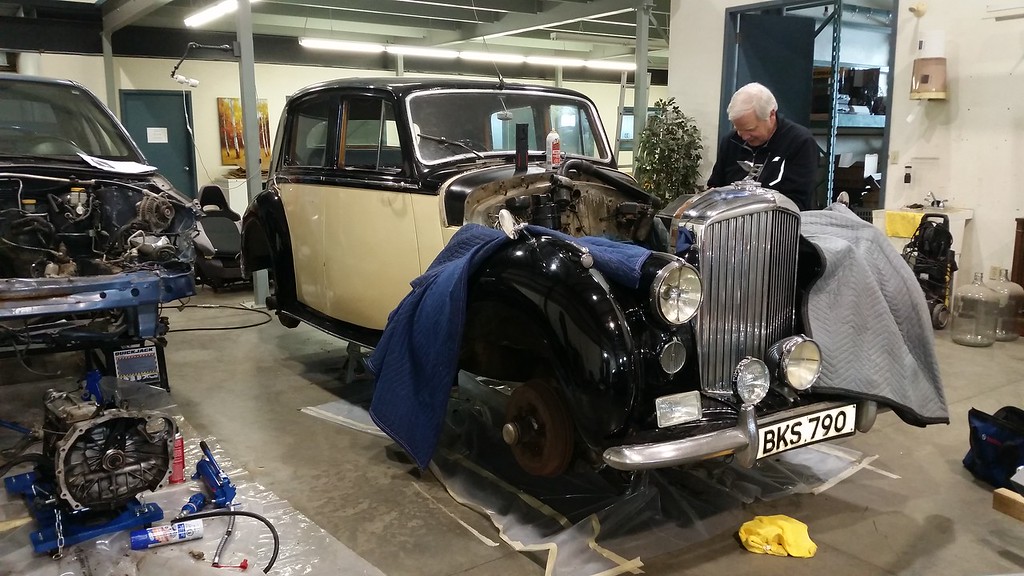
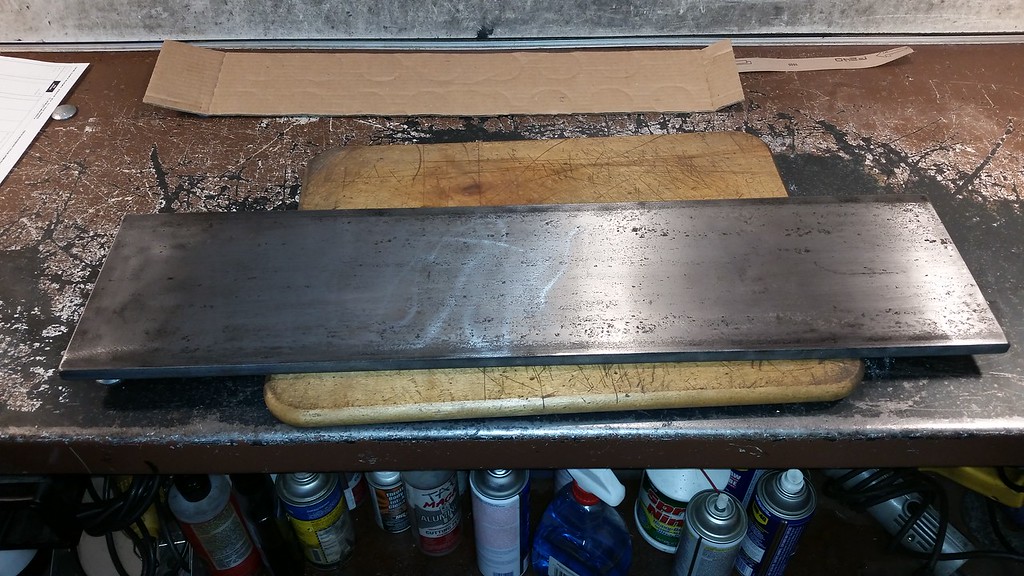
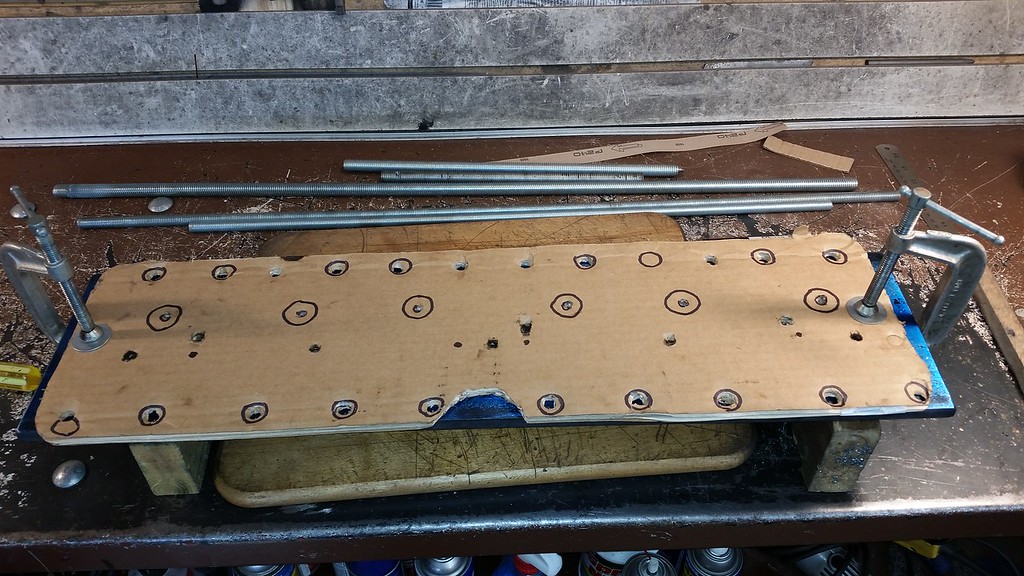
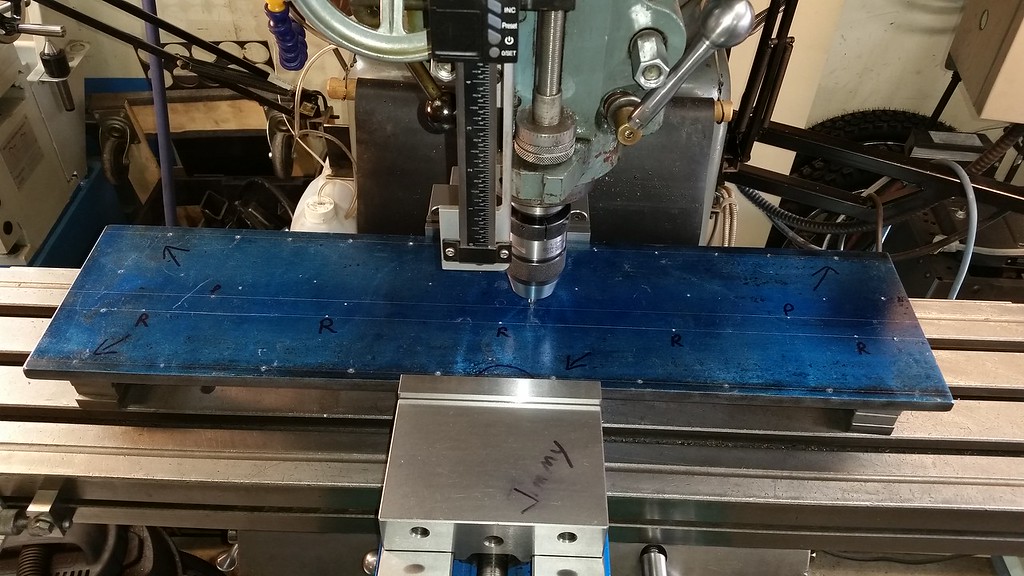
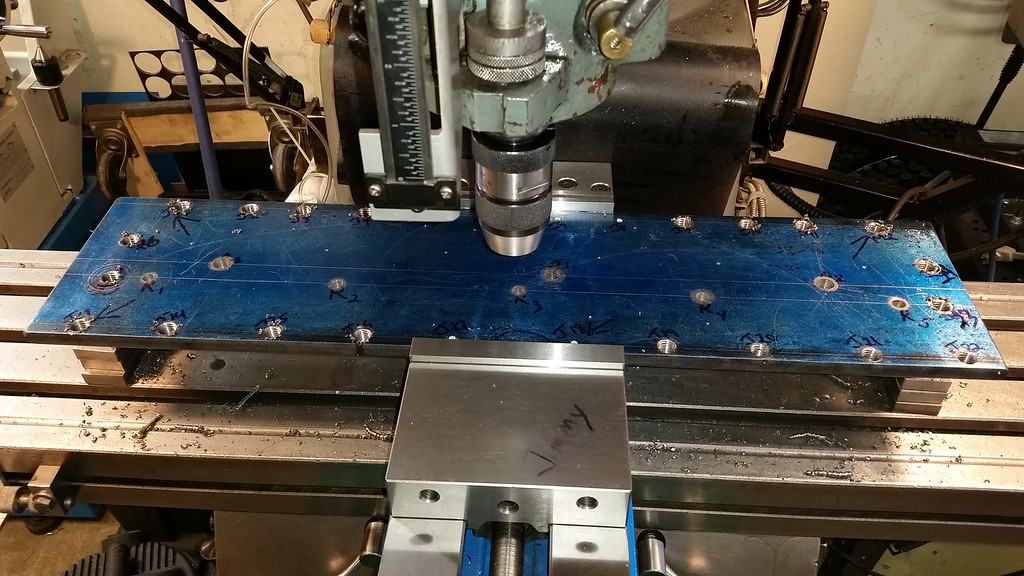
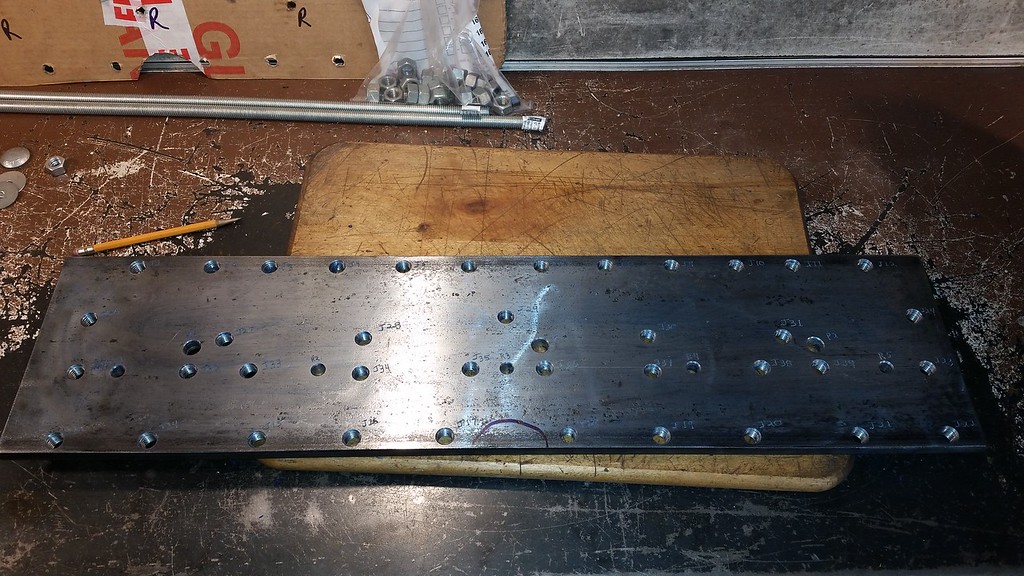
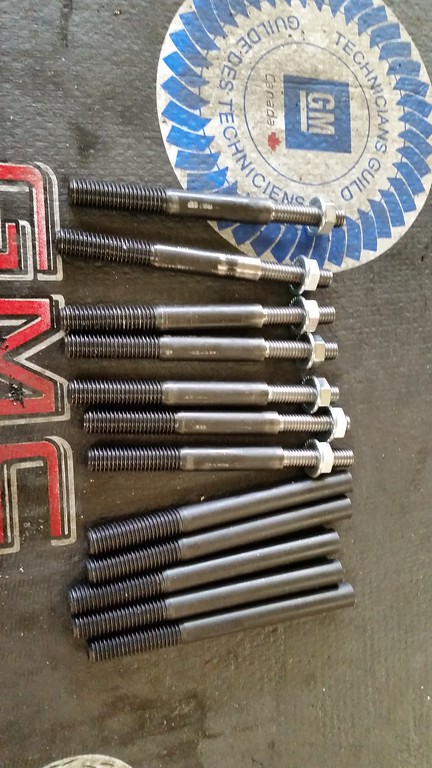
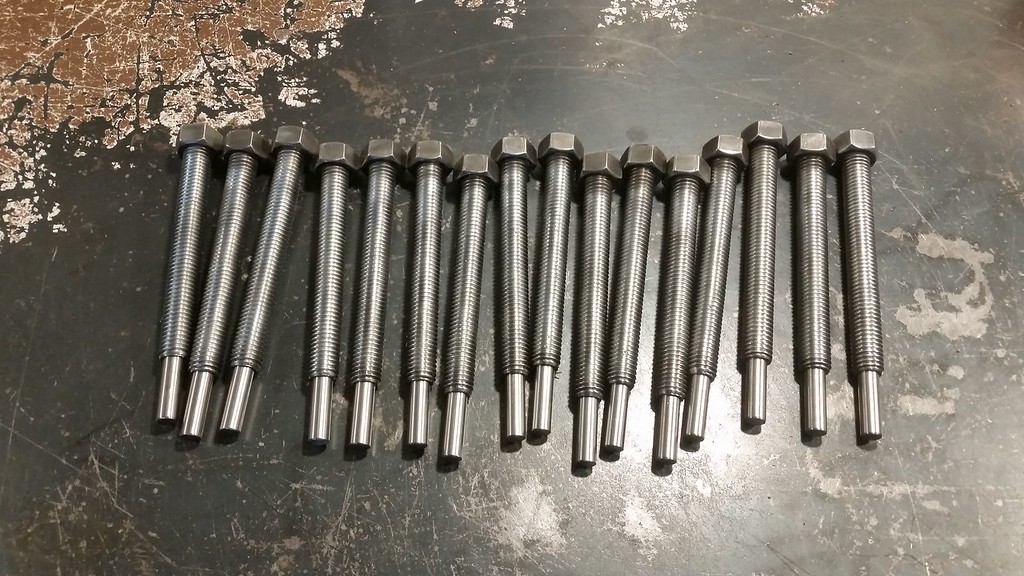
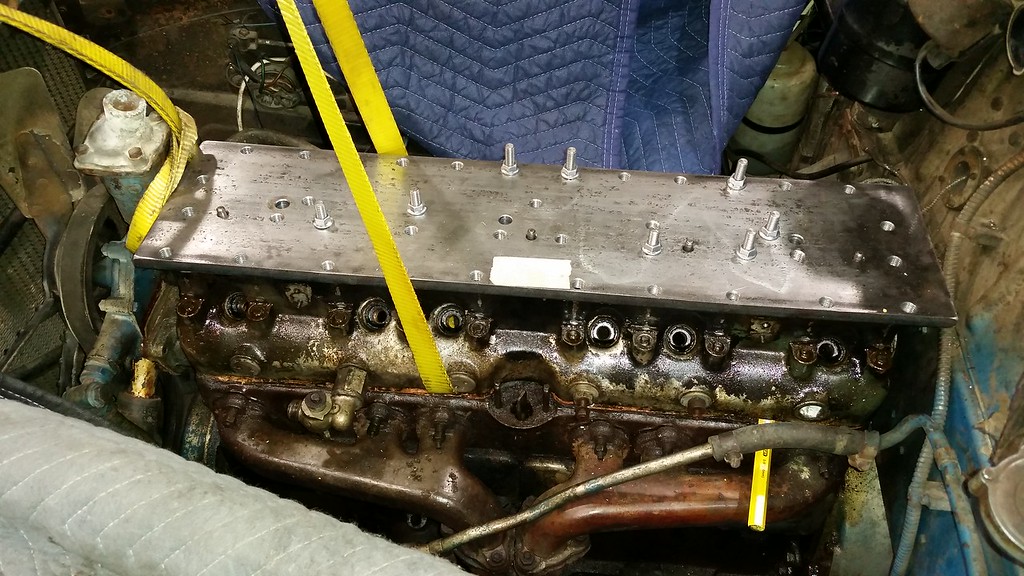
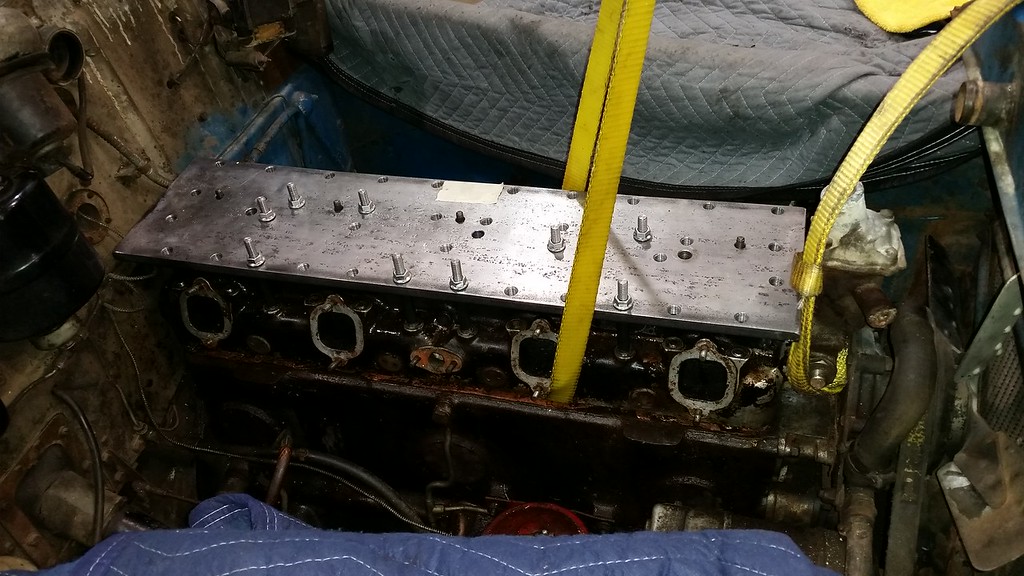
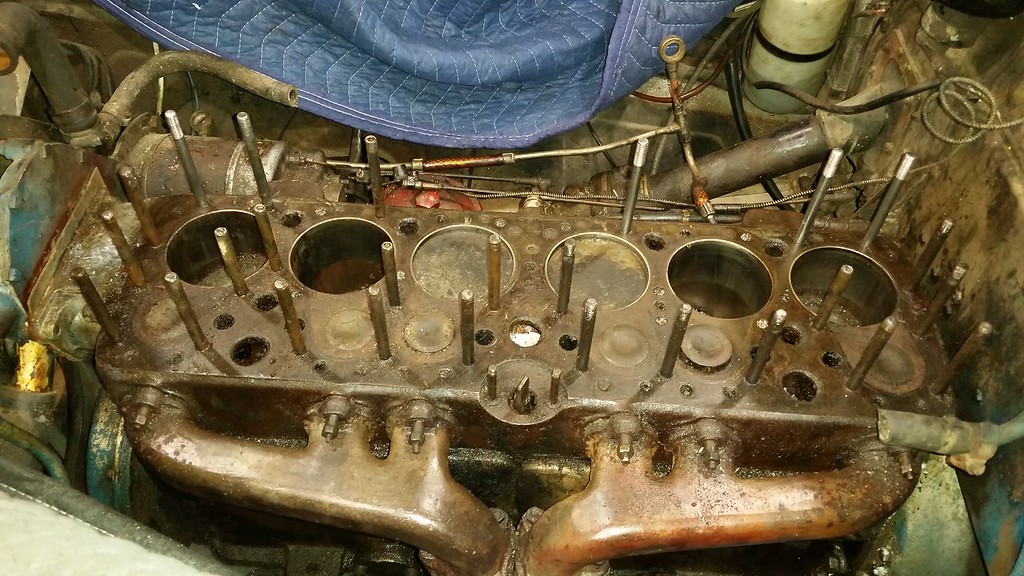
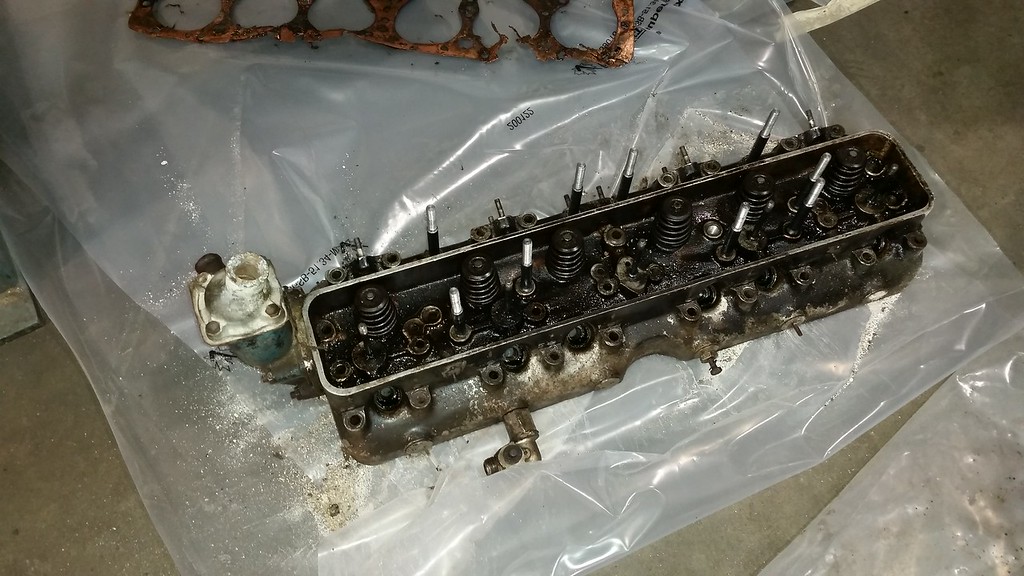
Against my better judgement I agreed to help a friend tackle the engine restoration on his 1950 Bentley. The car had sat in an unheated garage for about 25 years before he got it and was seized solid. He wanted to remove the head with the engine still in the car to evaluate the damage. The engine is a strange design with the exhaust valves in the block and the intakes in the head. We disassembled the top end parts down to the head stud nuts, all 39 of them. With all the nuts removed we spent a few hours trying every trick we could think of but could not get the head to move up from the block at all. After some research we discovered that the earlier engines had 5/16" head studs and the stud bores in the head were 3/8" to allow lots of clearance between the studs and the aluminum head. In 1950 the engineers responded to head gasket failure complaints by changing to 3/8" head studs but did not enlarge the stud bores in the head. This left just a few thousandths clearance and even a little corrosion on the studs made for a head that was almost impossible to remove. We read numerous forum posts showing many attempts and failures to get the head off these engine. As we continued to ponder the problem we worked on trying to get the head studs out with a stud extractor. We manged to get 9 out but also broke a few right at the top of the head surface proving that they were indeed seized into the head. I decided to design and build a puller. My plan was to make a 1/2" X 7" plate with a hole pattern matching the head studs. The 9 studs holes that were now vacant measured .390" so I tapped those holes 7/16"nf . The remaining studs were used to push against. In the plate puller I tapped those holes 1/2"nc.I made some pusher studs to thread down though the plate and push against the tops of the exposed studs. Then I made 9 puller studs with 7/16nf thread on one end and 3/8nc thread on the other. With these 9 studs threaded into the head we lowered the plate over them then installed nuts above the plate. We then used a bunch of 1/2" studs with nuts welded to their top to thread down though the plate and push on the remainng stuck head studs. As we were tightening each of the pusher studs a bit at a time we witnessed the plate starting to bend in a few places, remember that is 1/2" steel! We decided to keep going and the head gradually began to move.


I don't have a picture before the head started to move but when it did we pushed a strap under it and lifted with the engine crane expecting it to lift the head off. No dice, it head to be pushed off about 2 inches before it started to move easily.


We cracked a few sodas in celebration.
 

DPittman

Ultra Member
Premium Member
Wow cool project. I'd say your friend is lucky to know you! The car looks like its been under a roof all these years, I'm surprised the engine was seized.
 

DavidR8

Scrap maker
Administrator
Moderator
Premium Member
Darn fine work John. Any way to calculate how much pressure was being exerted to bow the plate?
 

turner

Active Member
John, thanks for taking the time to show us that project. I am a wrench turner myself, but only as a hobby. I would not have thought of the "Head Puller" idea. It is obvious you have been around. Looking forward to seeing more from this project, I suspect there is more challenges awaiting.
Todd
 

Tom O

Ultra Member
That’s interesting the valves being separate like that. I think I’d try some wd40 on the cylinders with a bit of a rap as the rings are probably stuck I’ve had that problem on a bike motor fixed by rocking it back and forth.
 

PeterT

Ultra Member
Premium Member
Against my better judgement...

HaHa. made me grin. Let me guess, your resume probably includes a long list of 'other projects' over the years that found their way ahead of some personal interests piling up? I'm guilty as charged. Sometimes its hard to say no, especially a friend, or something of interest or expertise. Looks like you came up with a great solution for a thorny problem. I hope the effort brings him joy when it goes VroomVroom one day. OK back to Johns motorbike resto's LOL
 

John Conroy

member
Premium Member
Thanks guys, if anyone needs to do the same I'll lend you the tools. LOL
The cylinders were full of corrosion, my friend had tried every penetrating oil he could find as well as ATF and diesel fuel in through the spark plug holes. We think the car was stored with water in the cooling system and a leaking head gasket. We found that the gasket was pooched when we got the head off. We decided to remove and disassemble the engine fully and get the block checked for cracks and evaluate if it is rebuildable.


You can see the 3 round plates on the side of the engine, they are freeze plates designed to break in the event of a frozen cooling system. One of them was broken out. We got the engine mounted on a stand and removed the crankshaft and camshaft etc. leaving the stuck pistons until last. Three came out fairly easily but the other 3 required a BFH and block of hardwood to beat them out. The pistons are toast but oversize one are still available. Pretty much any part you could want for these cars is available from a company called "Flying Spares"
We spent a whole day getting the pistons out and stripping all the other hardware from the block. It took about 3 hours with an oxy/propane torch to get all the remaining studs out. We only broke a couple of the exhaust manifold studs. Now it will get shipped off the the machine shop for crack check and sonic checking. I plan to do the head work in my shop.


kevin.decelles

Jack of all trades -- Master of none
Premium Member
I recently tried marvel mystery oil, which smells and looks like atf+acetone

Worked after a week or two of oil down the plug holes


Sent from my iPhone using Tapatalk
 

kevin.decelles

Jack of all trades -- Master of none
Premium Member
What do you have in mind for the head work. I’m about to get into the head work myself (1954 Ford NAA tractor )

I like two stroke motors..... not classically trained on the 4 stroke


Sent from my iPhone using Tapatalk
 

John Conroy

member
Premium Member
That was one of the many products my friend tried. It soaked for over a month and did not free this thing up
 
Last edited:

John Conroy

member
Premium Member
So far I have just been working on cleaning up the head to evaluate it's condition. It soaked in a CLR bath for a day then pressure washed to remove most of the sludge. The I started working on removing all the plugs and covers. There are 12 brass coolant passage plugs that screw into 7/8-18 holes. There is a thermostat housing held on with four 5/16" studs on the front and another coolant passage cover on the rear held on with 10 #8 BSF (Britsh Standard Fine) machine screws. The bras plugs each have two 3/16" holes about 3/16" deep intended to use a pin type spanner wrench in. After I broke a couple of spanner wrenches I realized that we were going to need a different approach to get them out. The plugs are installed at right angles to the head gasket surface so I mounted the head on the mill table with an angle plate to hold in place with the plugs facing up. There are 6 on one side, 5 on the other and 1 on the front of the head.


I drilled and tapped the existing holes in the plugs on both sides for 1/4-20 bolts.


I moved the head to the welding table and clamped it down. I machined a 1" hex from some hot rolled steel and drilled 2 through holes matching the hole spacing on the brass plugs.


I then bolted the hex to the first plug and used a long 1/2" drive ratchet and 1 inch socket to remove the plugs one at a time. This worked very well and I was surprised that the threads were relatively undamaged even though it took a lot of force to move them. It was time well spent making the tool. New plugs are readily available.


To get the last plug out of the front of the head I had to change the location of the angle plate to allow the head the mount with the front facing up and get it perfectly vertical. The I rotated and extended the ram on the mill to allow me to drill and tap the 2 remaining holes


As you can see I don't want to be beaten by a 70 years old English car!
 

John Conroy

member
Premium Member
I ordered an inexpensive Chinese 7/8-18 tap on eBay to clean up the threads and they all look good. Before and after shots of the threads.


Last edited:

John Conroy

member
Premium Member
Then I tackled the rear cover. The 10 screws have slotted heads and are taper/countersunk. First I tried a screwdriver being pushed down firmly by the mill quill. I got 1 out that way. Most of the slotted head were previously buggered up.


Then I used a 3/16 end mill to remove the heads of the remaining 9 and plotted the hole locations on the DRO.


Then I moved the head over to the welding table and attempted to get the rest out by welding 1/4" nuts to them. That got 4 more out. The remaining 5 were too seized that even the heat from the welding would not loosen their grip.


Back to the mill. I hate these Whitworth and BSF fasteners with a passion so where ever possible they will be replaced with metric. I used 4mm end mill and punched out all the screw holes and tapped them to M5 threads. Some would call me a heathen!


A couple of M5 fasteners holding it for now, I have socket head stainless screws ordered.


Chicken lights

Forum Pony Express Driver
Man, you have a lot of patience!! Plus a lot of unique skills to tackle this job. Very impressive work.

British fasteners AND slotted head fasteners on the same motor, what a PITA
 

kevin.decelles

Jack of all trades -- Master of none
Premium Member
Lol, I’m going to have to sell my mills because apparently I’m not using them compared to this write up! Learning a lot here , keep it coming

It’s a fine line between heathen and practical.......


Sent from my iPad using Tapatalk
 
Top