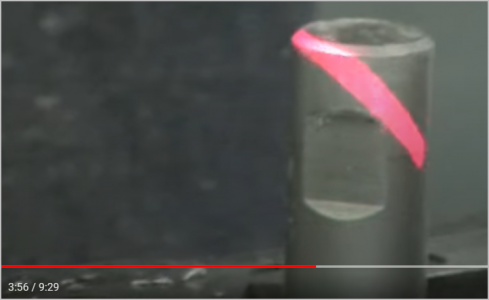
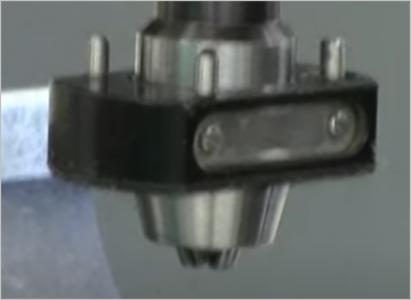
Using a laser rifle site for setting lathe toolholders and tail stock??

KeeponDragon

Super User
Laserzzzzthh

Has anyone here made an attempt with a laser pointer etc to dial in their lathe?
I was staring at this jungle-store offering for a few mins. It looks like the bracket could be removed, allowing the unit into a 3 jaw chuck.
I'm fairly certain that both my tailstock AND tooling is just a tweak n a twinge off center.
And a retina burner looks like it'd be a decent means of checking my suspicions.
 

justin1

Super User
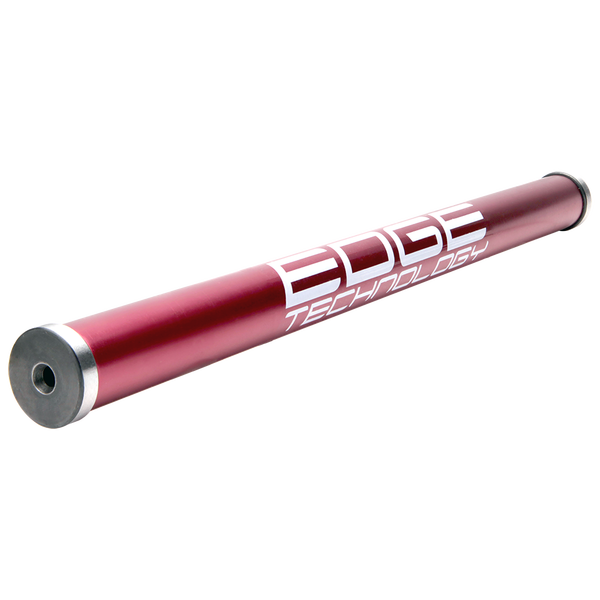
Could work but can't imagine be more accurate then a couple thou at best with a laser point, but if you made up a alignment bar between centers it would be more accurate or can even buy them for under 100$


Should be able make one with in half a thou even on slightly worn lathe just need a micrometer more or less
 

KeeponDragon

Super User
Nice piece of kit. I wonder if it's still accurate with use in a 3 jaw. I don't have a dead/live center for the headstock.
But I do have some decent round bar material to at least give this a go.
 

PeterT

Ultra Member
Premium Member
In theory it might work, but the end use of almost all those devices is usually visibility to the eye at some distance which means the dot is kind of big by default. Call it 2mm just for discussion purposes. And the dot perimeter is usually not crisp, it can be fuzzy, so you cant utilize the edge. I have heard of modifications or other types of lasers which focus or compress the dot.

The advantage would be if you could project the laser some longer distance so now a small deviation actually translates into a small displacement. Trig works to your advantage. Lasers are very good at that. But by the time you messed around with all that you probably could have whatever dialed in conventionally with indicators, at least if you are talking typical setup centering, concentricity, TS alignment...

On my mill I use my Borite Edgefinder to contact 4 points of a circle hole or whatever & use the DRO half function. It doesn't even have to be on quadrants as long as you don't disturb the X while displacing Y & vice-versa. It literally takes 10 seconds. Anyways, when I put the DTI in to dial it in real close, I've noticed time after time the DRO shows its rarely off by more than 1-2 thou. This doesn't really translate to a lathe setup directly, but just mentioning. Dial based instruments are pretty good at what they do.
 
Last edited:

Susquatch

Ultra Member
Administrator
Moderator
Premium Member
Has anyone here made an attempt with a laser pointer etc to dial in their lathe?

It's an interesting idea.

I think a laser could be used this way if it could be precisely centered, focussed, and collimated. You would also need two first surface mirrors to bounce the beam back and forth between, and a way to introduce the beam. All of this requires equipment way beyond what a hobbiest has laying around.

Ya, as @PeterT says, dial based instruments are pretty good at what they do!

Don't forget that aligning the tailstock is just one of three primary alignment goals. It is also the easiest.
 

Susquatch

Ultra Member
Administrator
Moderator
Premium Member
Should be able make one with in half a thou even on slightly worn lathe just need a micrometer more or less

Back in the day, most guys just made them. No need to worry about making it to a half thou. The process of making it did the alignment.

Whatever happened to tailstock alignment buttons? You never see them anymore but they used to be quite common. Pacific tool and gauge still makes them.


DPittman

Ultra Member
Premium Member
I think a laser could be used this way if it could be precisely centered, focussed, and collimated. You would also need two first surface mirrors to bounce the beam back and forth between, and a way to introduce the beam. All of this requires equipment way beyond what a hobbiest has laying around.
Dan Gelbart uses a simple laser for mill alignment and claims .002" accuracy.
 

justin1

Super User
Dan Gelbart uses a simple laser for mill alignment and claims .002" accuracy.
That's not too bad but I think you can get faster and better results with cylinder square to tram the head. If you have quill that is

Lazer would be faster then dial indicator but I guess it depends what you want. Have to look him up see what he has going on maybe could be usefully trick for something else in future
 

PeterT

Ultra Member
Premium Member
I forgot about the Dan Gelbart video being referenced. I haven't looked at it for some time so don't hold me to it. I assumed the stated (50 micron = ~0.002") accuracy might have more to do with the displaced & angled lasers exaggerating their trace on a surface. In the demo he shows on the shaft OD or 'breaking equally' on vise jaw which is quite smart. This might be applicable to something like a headstock / tailstock alignment setup. Maybe even be improved with the right gadgetry. His lasers look finer than what I have but mine are Aliexpress specials. (I stripped out the laser do-dad from the cannister & taped to my RC models to check deflection & re-centering just projecting on a surface).

1703812377112.png
1703812407273.png


trevj

Ultra Member
I'm in the crowd with the others saying that there are easier and actually "accurate" means to adjust these things. Pretty safe to say that I have figured that, about just about every project I have seen yet, that reputed to make something easier or faster around a machine tool, with a laser, too.

Stick a Mag base indicator stand on to the chuck face and use the indicator to sweep the inside of the taper of the tailstock, for tailstock alignment, for eg:. Use edge or center finders, or even a sticky pin (sewing needle or other sharp object, stuck on the end of the cutter with Plasticine, trued up so it's point is on the axis of rotation same as a Center Finder wiggler). I have worked well under a thousandth on scribed out layout lines, using a jewellers magnifier... The plus or minus 2 thou spoken about would easily put a lot of the parts I made into the scrap bucket.

A bunch of years ago, a friend of mine was handed a bunch of laser pointers, and asked if he could help the fella with his idea for a laser cartridge for boresighting a rifle scope. It was a poo show, as, while the laser may travel in a straight line, there is no need for the laser to be concentric or aligned with the housing it is placed in... so they pointed all over the place, and covered a fair area with blurry edged light, even at lathe to tailstock distances, when spun.
Later years, I played with a BUNCH of those Gas Station and flea Market grade Chineseum ones. They usually have the ability to be focused, if you rip them down far enough, but the best you still get is a reasonably blurred-edged facsimile of the laser diode itself's face, typically a rectangle.

You can do better...
 
Last edited:

Susquatch

Ultra Member
Administrator
Moderator
Premium Member
I've been thinking more about your idea and based on some of the other posts and your comments, I have realized that you were thinking about using a laser as a point light source. Sort of like those laser boresighters you can buy. Even Gelberts video highlights the use of a laser as a point light source. Although using a laser as a point source is certainly fast, I don't think it is the most accurate way to use one. In fact, I don't think it's as accurate as good practice using indicators.

As a side comment, Dr. Gelbert wondered why spindle alignment devices are not readily available in the market. I don't know the timing, but I do know that there is at least one variety made by Wixey. I put one on my drill press after it was mentioned by @CWret. To be fair, the Wixey device is not really spindle alignment but rather spindle guidance. But the result is the same. It's a great center locating device.

However, when I first read your suggestion, I thought you were talking about laser diffraction methods. That's why I referred to the need for collimation, diffraction source, mirrors, etc.. At best, I'd guess I sounded crazy. While that's definitely a valid conclusion, there really was a method to my madness.

By definition, laser light is coherent light. That means that the wavelength of each photon of light is the same as all other photons and also coincident with those wavelengths - the maximums and minumums are all lined up.

This coherent property of laser light can be used to great advantage for anything that requires alignment by taking advantage of the diffraction rings or bars that form when coherent light is unevenly bent, diffused, diffracted, or reflected by another object like a wire or a surface or a slit. Instead of aligning the main beam, you align the diffraction rings. This greatly amplifies the resolution of the measurement. To do this requires specialized equipment that none of us has. But it is available commercially.

While I'm not certain of it, I would bet that these kinds of optical tools are used by manufacturers to measure alignment standards to hundredths or thousandths of a micron.

Here is a very short introduction to the concept. It doesn't show an application but it does convey the basic science.


I tried to find a good video to cover the applications but I got sick of watching idiots chew up my time either trolling or racking up views. The video above is mercifully short.
 

trevj

Ultra Member
I've been thinking more about your idea and based on some of the other posts and your comments, I have realized that you were thinking about using a laser as a point light source. Sort of like those laser boresighters you can buy. Even Gelberts video highlights the use of a laser as a point light source. Although using a laser as a point source is certainly fast, I don't think it is the most accurate way to use one. In fact, I don't think it's as accurate as good practice using indicators.

As a side comment, Dr. Gelbert wondered why spindle alignment devices are not readily available in the market. I don't know the timing, but I do know that there is at least one variety made by Wixey. I put one on my drill press after it was mentioned by @CWret. To be fair, the Wixey device is not really spindle alignment but rather spindle guidance. But the result is the same. It's a great center locating device.

However, when I first read your suggestion, I thought you were talking about laser diffraction methods. That's why I referred to the need for collimation, diffraction source, mirrors, etc.. At best, I'd guess I sounded crazy. While that's definitely a valid conclusion, there really was a method to my madness.

By definition, laser light is coherent light. That means that the wavelength of each photon of light is the same as all other photons and also coincident with those wavelengths - the maximums and minumums are all lined up.

This coherent property of laser light can be used to great advantage for anything that requires alignment by taking advantage of the diffraction rings or bars that form when coherent light is unevenly bent, diffused, diffracted, or reflected by another object like a wire or a surface or a slit. Instead of aligning the main beam, you align the diffraction rings. This greatly amplifies the resolution of the measurement. To do this requires specialized equipment that none of us has. But it is available commercially.

While I'm not certain of it, I would bet that these kinds of optical tools are used by manufacturers to measure alignment standards to hundredths or thousandths of a micron.

Here is a very short introduction to the concept. It doesn't show an application but it does convey the basic science.


I tried to find a good video to cover the applications but I got sick of watching idiots chew up my time either trolling or racking up views. The video above is mercifully short.
Yes, there are tools out there that are VERY accurate. But they amount to piles of money, that would make hiring a crew of crusty old school German Machinists to do your hobby for you, look to be the cheap way out! Great stuff if you are running 24/7 and need the milling machine to be able to check each cutting edge between jobs, just not very practical for the OP's intended purpose, at their price. FWIW, price out a Laser tool setting probe, and the software to run it. We can be reasonably confident that nobody that buys one, is going to be happy with a plus or minus 2 thou tolerance!

Stuff has come a long ways since a stretched out piece of wire was the be-all, in Machine tool set up and alignment, but an awful lot was accomplished with just that, all the same!
 

Susquatch

Ultra Member
Administrator
Moderator
Premium Member
But they amount to piles of money, that would make hiring a crew of crusty old school German Machinists to do your hobby for you, look to be the cheap way out!

Very true Trev. I wasn't promoting the idea, just saying it can be done at high cost. My closing recommendation from the first post still stands. Put it another way, a good indicator is machinist's best friend.
 

trevj

Ultra Member
Very true Trev. I wasn't promoting the idea, just saying it can be done at high cost. My closing recommendation from the first post still stands. Put it another way, a good indicator is machinist's best friend.
Yep. Christ onna cracker, but I'd be a rich man, if I was paid for every minute that one of the apprentices wasted, wandering around the shop looking for 'that' tool, that they were convinced we had hidden away just to make them have to learn how to use what they should have muckled on to in the first place!

It takes a few seconds to install an indicator in to a spindle or on to a mag base, and only a few minutes to confirm and adjust for what you are indicating, to the extent that once you wrap your mind around just how easy it is, you stop looking for supposedly easier ways, and just get on with your projects...
 

mbond

Well-Known Member
Premium Member
I think all of us have that problem with junior people

But further to the original question, I don't think this is a good idea. Laser pointers are not precise at all. They are good enough to point at stuff on white boards etc. Laser sights are somewhat better and are at least concentric, but the dot of light will be large - it is intended that it's reflection will be seen from far away (even a short range shot is much longer than a machine bed). The only way that using a laser makes sense is if you use it in a diffraction setup. Otherwise, alignment by eye with no tools is probably just as good or better.

A diffraction setup may not be as hard as Susquatch makes out, but it certainly requires detailed knowledge. The accuracy of a basic setup like this can be as small as the wavelength of the light used - say 500 nano meters. The complex setup with 'real' tools is a lot harder, but can be maybe 100x finer. Only someone like NASA goes down to these levels

I would use a dial gauge
 
Top