NEW GRINDER FOR CW's SHOP:
The Baldor 6" grinder (from my "It followed me home" Classifieds post) finally made it to the shop a few days ago. The Kijiji seller kindly delivered it. His uncle had purchased the grinder 42 years ago but never used it. The Kijiji seller inherited it and he wanted to see it come out of the box, so we opened it together.
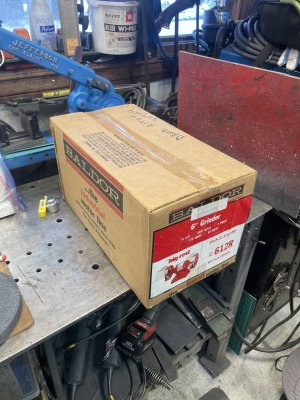
Box on the bench:
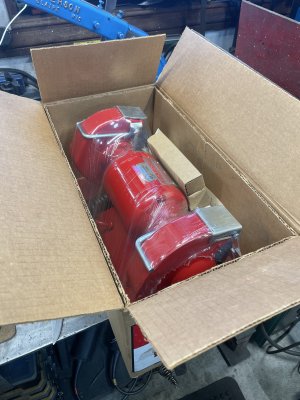
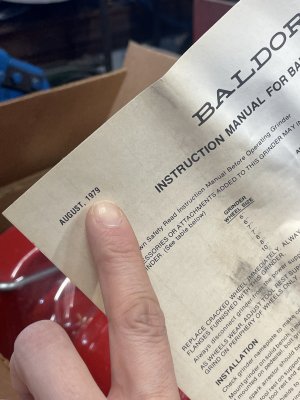
Enclosed instructions are dated August, 1979:
Out of the box and on the bench. It was painted while on the shipping HD cardboard:
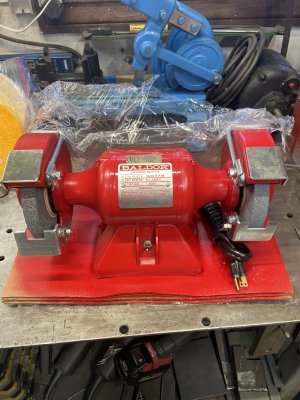
Here it is assembled but in a temporary location:
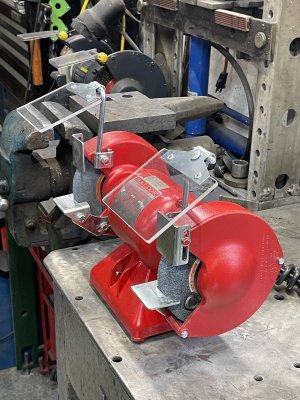
STEP 1: MAKING THE GRINDING WHEELS ROUND
This is my take on using a single-point diamond dresser to make a wheel round (diamond dressers 5 for $23)
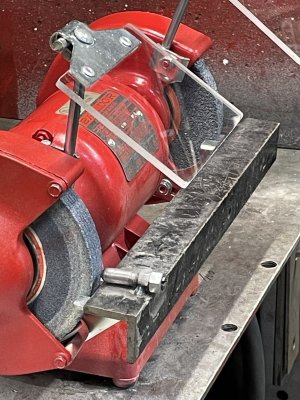
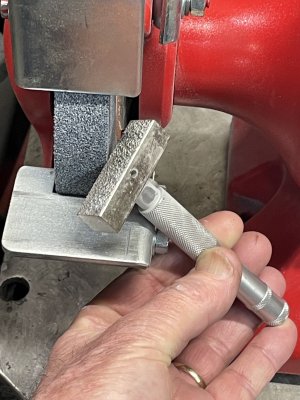
The diamond dresser is secured to a piece of angle iron. The angle was machined to give it a square inside corner. The angle iron rests on both grinder tool posts and is slid sideways to dress the wheel.
pic from left to right: an original diamond dresser; a modified dresser mounted in the adjusting nut; the locking nut; and a screwdriver.
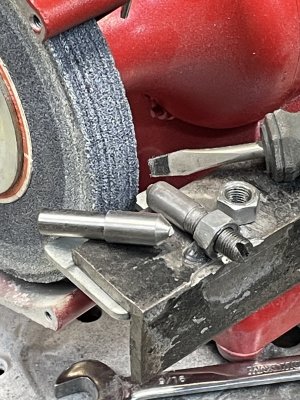
Close-up: the diamond dressing with 3/8" x 24tpi; nut welded to the angle; locking nut; and screwdriver slot. (Note, a 1/4 turn of a 24tpi = 0.010" lateral movement.)
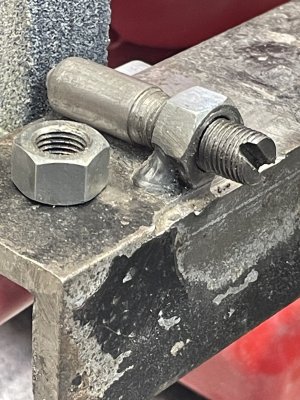
Pic of the dresser being used
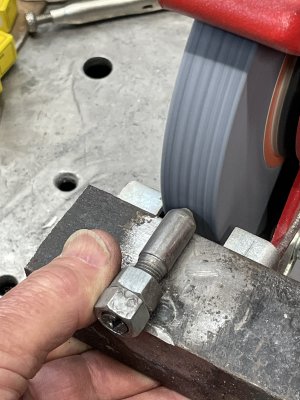
Success - The wheels were 0.020" (36 grit) and 0.010" (60 grit) out of round (variance in diameter). They are now consistently round (as close as can be measured using a feeler gauge).
STEP 2: BALANCING THE GRINDING WHEEL (using CWs cobbled up apparatus)
general arrangement: right side supports are clamped down axle stands; bench vise supports the left side
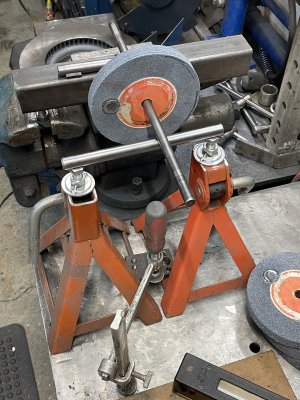
Another view plus a close-up (the far end of the sq tube is sitting on a magnet which helps keep it rigid):
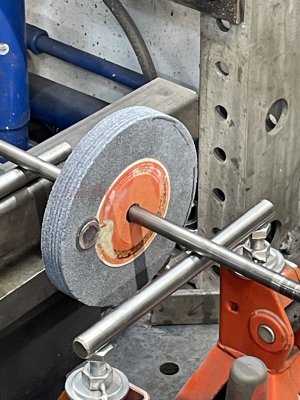
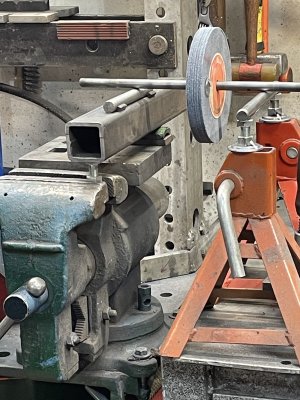
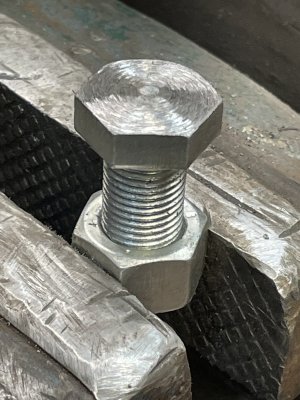
Rounded top on the vise adjusting bolt:
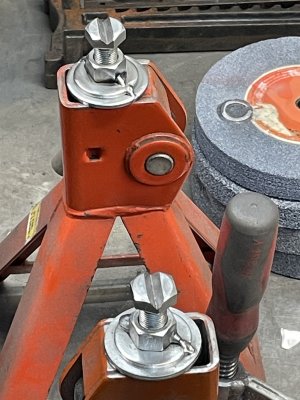
Axle stand supports: The top of the axle stands were ground flat; the bolt heads were V slotted; and the nut & washes were welded.
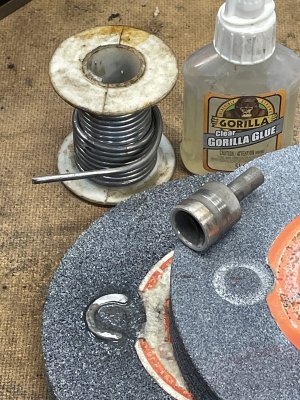
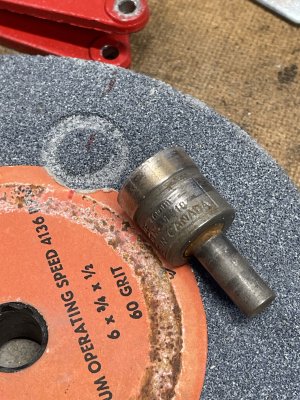
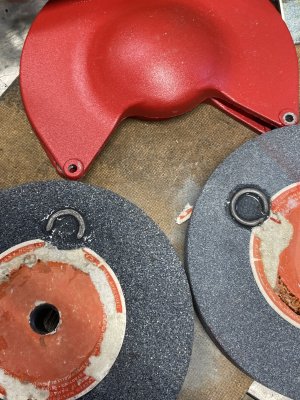
Determining the weight size is by trial and error. Lead solder weights were glued into a recess. Erroring on the heavy side is recommended since it is easy to grind the weights for final adjustment.
RESULTS
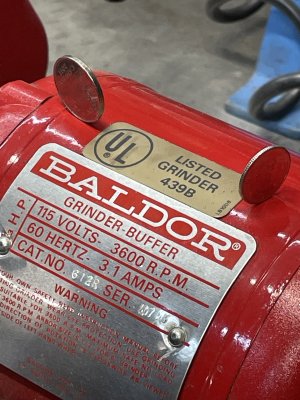
WOW, this is a smooth-running grinder. It was good before I started this, but it is extremely smooth now. It can start/run/stop and these coins (nickel and dime) did not fall. Yes, they moved a little, but only during mid-rpm, at full rpm, they do not move at all!
NEXT STEPS:
1st: Do this to my 8" Crappy T grinder.
2nd: Buy a CBN wheel, 120 or 400 grit - suggestions?
Buy a pair of green silicon carbide wheels, probably a 60-grit and a 120-grit - suggestions?
3rd: Buy a OneWay grinding wheel balancing system (the type suggested by @Ironman ) for the silicon carbide wheels and compare the final results to the above balancing procedure.
PS: The single-point diamond dresser sheds gritty sand-like dust, leaving the wheel feeling course (as John Wayne said: True Grit). Using one of these diamond dressers yields very fine dust and leaves the wheel feeling smooth.
The Baldor 6" grinder (from my "It followed me home" Classifieds post) finally made it to the shop a few days ago. The Kijiji seller kindly delivered it. His uncle had purchased the grinder 42 years ago but never used it. The Kijiji seller inherited it and he wanted to see it come out of the box, so we opened it together.
Box on the bench:


Enclosed instructions are dated August, 1979:

Out of the box and on the bench. It was painted while on the shipping HD cardboard:

Here it is assembled but in a temporary location:

STEP 1: MAKING THE GRINDING WHEELS ROUND
This is my take on using a single-point diamond dresser to make a wheel round (diamond dressers 5 for $23)
The diamond dresser is secured to a piece of angle iron. The angle was machined to give it a square inside corner. The angle iron rests on both grinder tool posts and is slid sideways to dress the wheel.

pic from left to right: an original diamond dresser; a modified dresser mounted in the adjusting nut; the locking nut; and a screwdriver.

Close-up: the diamond dressing with 3/8" x 24tpi; nut welded to the angle; locking nut; and screwdriver slot. (Note, a 1/4 turn of a 24tpi = 0.010" lateral movement.)

Pic of the dresser being used

Success - The wheels were 0.020" (36 grit) and 0.010" (60 grit) out of round (variance in diameter). They are now consistently round (as close as can be measured using a feeler gauge).
STEP 2: BALANCING THE GRINDING WHEEL (using CWs cobbled up apparatus)
general arrangement: right side supports are clamped down axle stands; bench vise supports the left side

Another view plus a close-up (the far end of the sq tube is sitting on a magnet which helps keep it rigid):


Rounded top on the vise adjusting bolt:

Axle stand supports: The top of the axle stands were ground flat; the bolt heads were V slotted; and the nut & washes were welded.

Determining the weight size is by trial and error. Lead solder weights were glued into a recess. Erroring on the heavy side is recommended since it is easy to grind the weights for final adjustment.


RESULTS
WOW, this is a smooth-running grinder. It was good before I started this, but it is extremely smooth now. It can start/run/stop and these coins (nickel and dime) did not fall. Yes, they moved a little, but only during mid-rpm, at full rpm, they do not move at all!

NEXT STEPS:
1st: Do this to my 8" Crappy T grinder.
2nd: Buy a CBN wheel, 120 or 400 grit - suggestions?
Buy a pair of green silicon carbide wheels, probably a 60-grit and a 120-grit - suggestions?
3rd: Buy a OneWay grinding wheel balancing system (the type suggested by @Ironman ) for the silicon carbide wheels and compare the final results to the above balancing procedure.
PS: The single-point diamond dresser sheds gritty sand-like dust, leaving the wheel feeling course (as John Wayne said: True Grit). Using one of these diamond dressers yields very fine dust and leaves the wheel feeling smooth.

Last edited:
