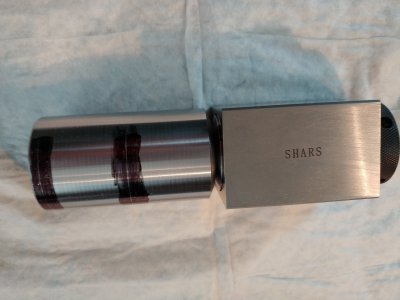
Not this particular one, but similar (
https://www.amazon.ca/gp/product/B08FXTSWDG/ref=ppx_yo_dt_b_asin_title_o08_s00?ie=UTF8&psc=1 ) that does tapping as well. I think from my research and what others have said, the pros/cons are similar for all.
I am happy with mine, but here are a few considerations:
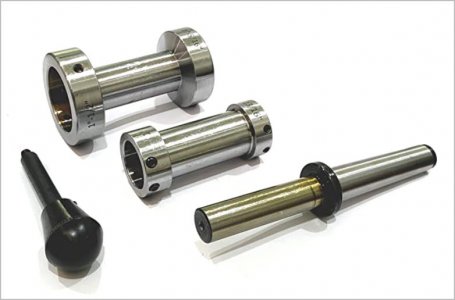
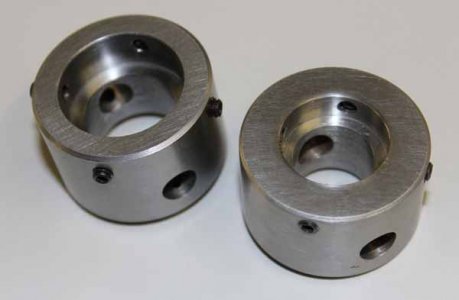
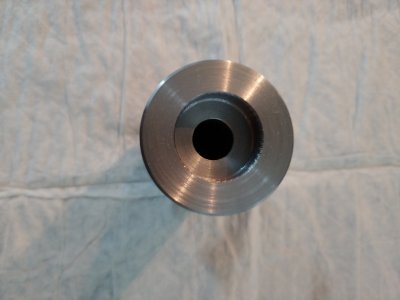
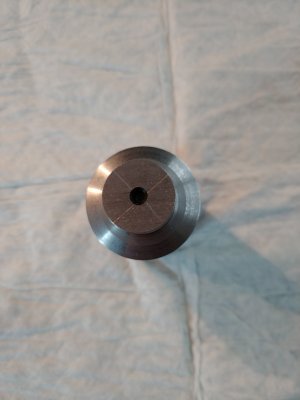
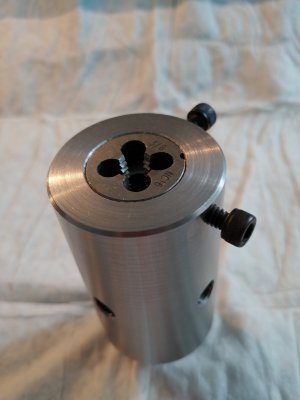
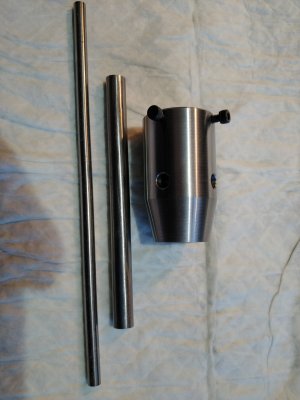
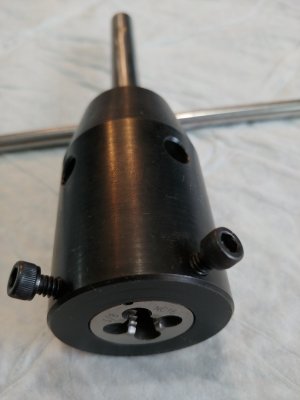
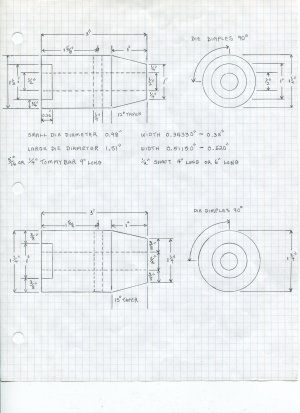
1) You need round dies, not hex. If buying round dies, the alignment indents for the screws may or may not align well. There doesn't seem to be a universal standard for the offset of the screws (30 degrees / 60 degrees), so you either have to be OK with the screws not setting in the indents, or ask questions when buying. Some round dies have no indents, such as mine, but still seem to work OK.
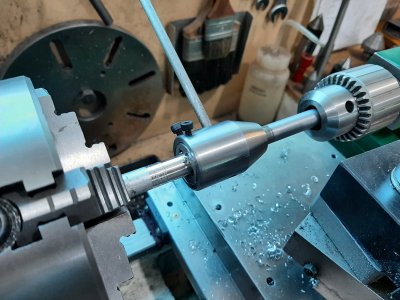
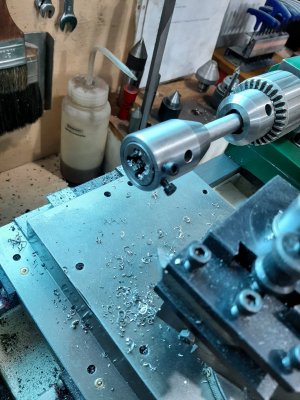
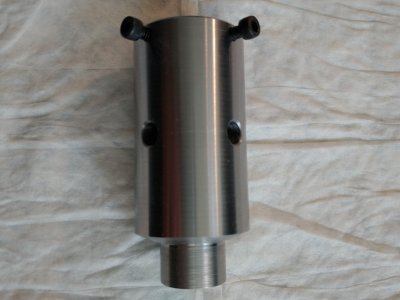
2) You can either use use the holder manually with the lathe and tailstock as a big alignment tool, or engage the holder under power. Both methods work fine. I find I use it manually most of the time, unless threading a bunch of round bar.
3) I was disappointed that you really can only thread 3/4 of an inch or so. But this is generally enough to get things started straight— then you can use a traditional die holder for the rest.
I think there are designs out there that allow for longer threading, and I am sure more talented machinists on this site have built better ones. But for the money I was really happy with mine. It solves the one big issue I had with threading rod, which was getting a solid, straight thread started well enough to do the rest by hand if needed. I'm no machinist and have never done threading on my lathe, so this holder was a great fit for my skills.