SightlessSeer
Super User
Well I started writing this post on Thursday evening, at which point I had barely started on the conversion proper, but I kept getting interrupted while writing the post and now I'm not sure how much longer this is going to be an active project at this is at this point, but there are still a few things to do on it, so I'll post it here anyway.
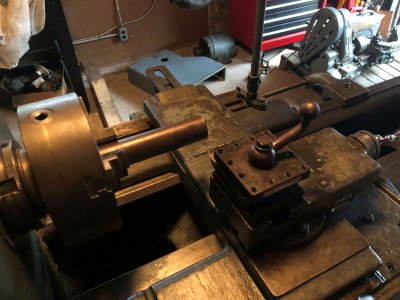
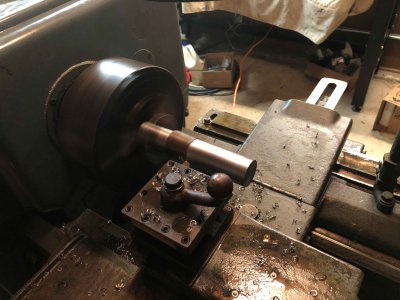
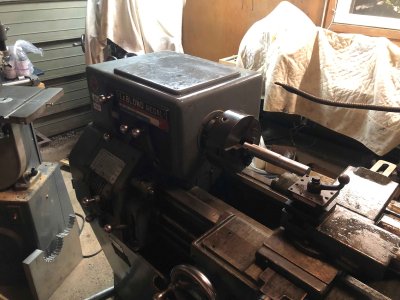
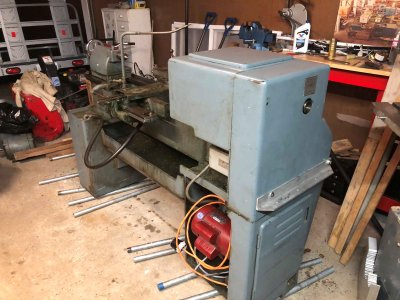
At the beginning of May, I bought a 13" Leblond Regal from GC Surplus. It came out of the one of the National Research Council's machine shops on at their Montreal Rd. location in Ottawa. Getting it home was a bit of an ordeal, but I'm not going to rehash that story as you can read it in this thread.
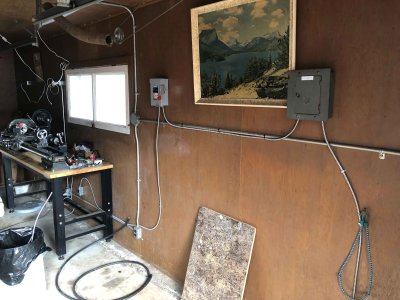
My first and most time consuming challenge was that my garage was only wired for a single fuse worth of 120 V. It took a bit of time to get exactly what I wanted figured out and then to get an electrician over, but in the end it wasn't a major issue. The electrician I ended up hiring is a friend of a friend, so he let me help him out on the job to save a bit of labor time.
It took me a while to decide on what approach I wanted to take to get the new toy running. My perfect solution would have been to generate 575 V 3 phase somehow (I looked into a rotary phase converter + transformer setup). It took only a cursory look into this to make me dismiss it as unnecessarily expensive for a hobby budget. I considered a VFD of some sort, and if I had known about voltage doubling VFDs at the time, I might have gone that route, but I really wanted to have the original controls work as they did from the factory, and my understanding of VFDs is that it's a bad idea to put anything between the VFD and the motor. Knowing what I know now about how simple the rotary switch on this lathe is, I probably could have managed it relatively easily, but that's neither here nor there.
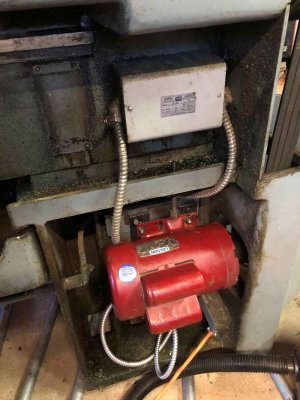
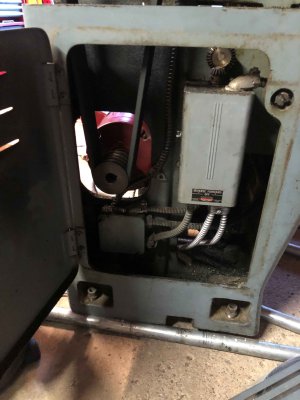
What I finally settled one was replacing the original 2 HP 575 V 3 phase motor with a 2 HP 240 V single phase motor. I was able to pick one up a motor off of Facebook Marketplace in Cornwall for $200, which has the same shaft length and diameter, and a similar enough frame to work.
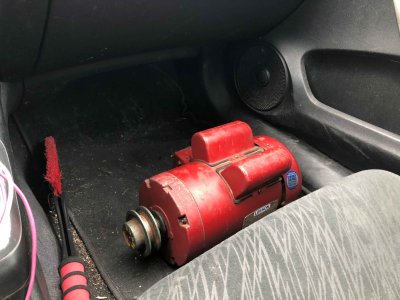
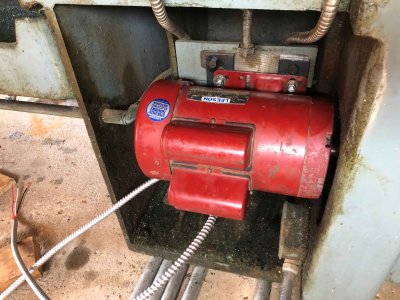
The Leeson motor I ended up with is a farm duty unit, which from the barely-more-than-zero research I did on it, seems to be about 20 years old. There was a similarly spec'ed generic Chinese motor much closer to me, but I ended up going with the Leeson on the gamble that a name brand motor will be more reliable. Time will tell.
@brino and I removed the motor from the lathe during our initial futile attempts to unload the machine from his trailer, so the first order of business was to remove the motor pulley from the original motor.
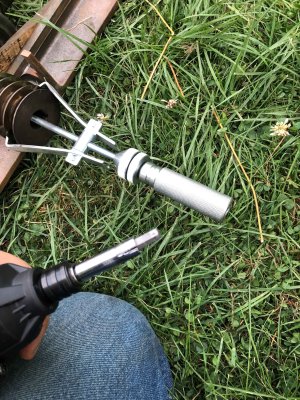
Attempt #1 ended in a broken slide hammer and a broken bit driver
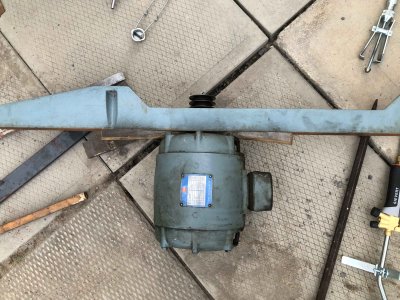
Attempt #2 ended with some broken hardwood wedges, but nothing worse than that
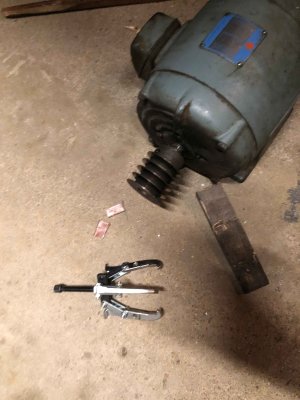
Attempt #3 was also a failure
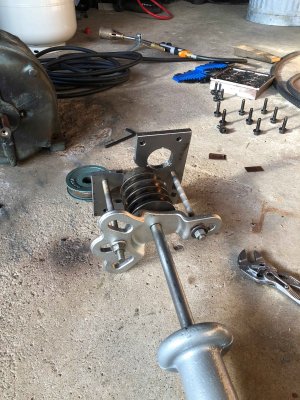
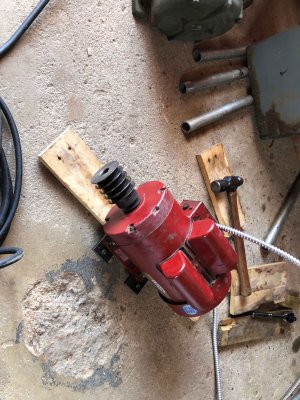
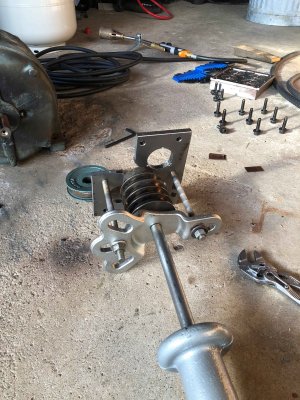
Finally, attempt number #4 with a borrowed wheel hub puller was successful. At each of these stages I tried judicious application of blowtorch, but it took several minutes of blowtorching in addition to the large slide hammer/wheel hub puller to eventually get the pulley off.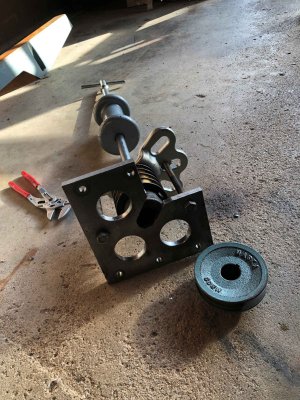
The plate at the bottom of the puller was a random piece of steel I had lying around, which already had holes, which were close enough to be tapped for the threaded rod.
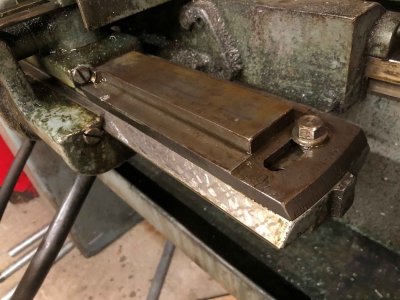
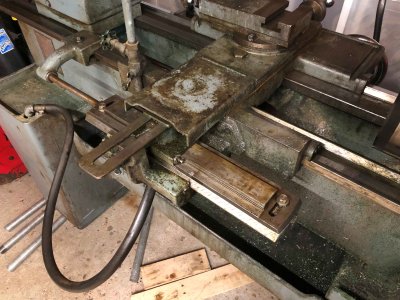
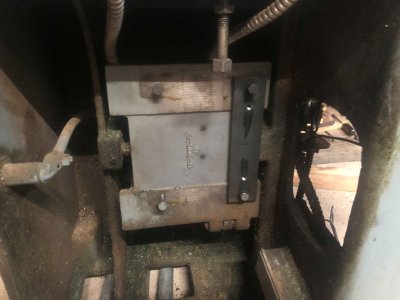
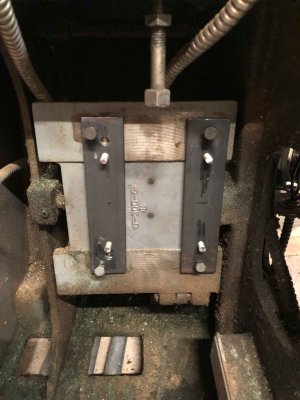
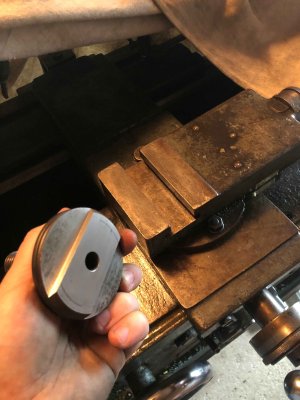
After getting the pulley off, I took the opportunity to clean up the taper attachment while I had easy access to the back of the lathe. This machine is completely covered with a mix of dried coolant, which is surprisingly hard to get off. In spite of that I managed to get it cleaned up nicely.
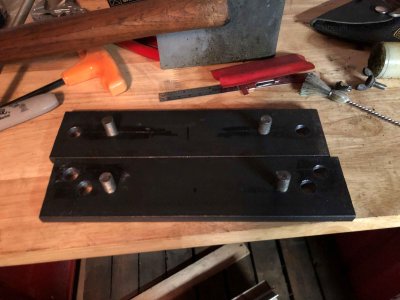
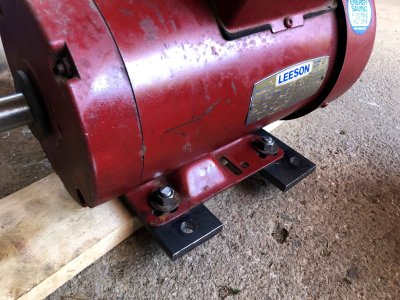
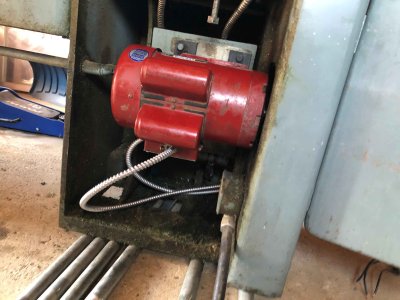
Getting back to the conversion, I had to make a couple of adapter plates to get the new motor to mount to the old motor mount cleanly. A bonus to going to a motor with a smaller frame diameter is that once the Leeson is mounted to the adapter plates the motor can now be installed or removed with a ratchet instead of a crescent wrench.
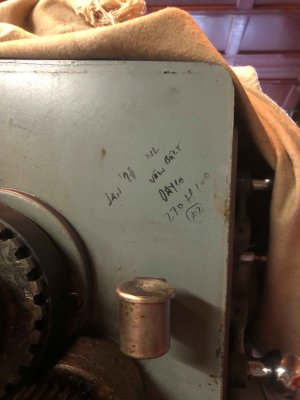
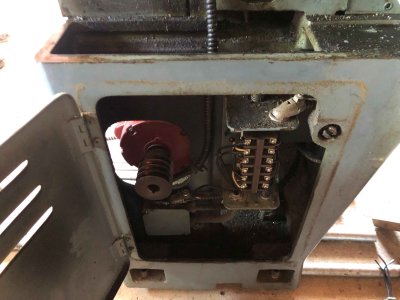
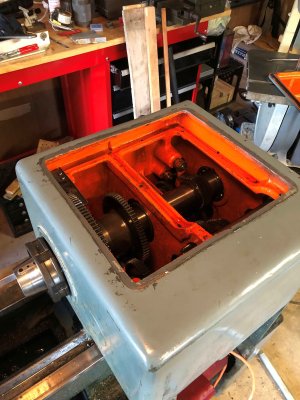
With the motor mounted the rest of the work is electrical. I'm going to take Quinn from Blondihacks' advice and not show that, but as you can see from that last picture the main switch is pretty straightforward. Adapting that to single phase wasn't a major undertaking.
Still to do is wire up the spindle brake for the new voltage and finish buttoning up the machine. At the moment the brake is entirely disconnected and nearly every cover is lying on the floor in my garage.
Big thanks to @trevj for posting the auction in member spotted deals. I probably wouldn't have noticed it without you posing it there.
At the beginning of May, I bought a 13" Leblond Regal from GC Surplus. It came out of the one of the National Research Council's machine shops on at their Montreal Rd. location in Ottawa. Getting it home was a bit of an ordeal, but I'm not going to rehash that story as you can read it in this thread.
My first and most time consuming challenge was that my garage was only wired for a single fuse worth of 120 V. It took a bit of time to get exactly what I wanted figured out and then to get an electrician over, but in the end it wasn't a major issue. The electrician I ended up hiring is a friend of a friend, so he let me help him out on the job to save a bit of labor time.
It took me a while to decide on what approach I wanted to take to get the new toy running. My perfect solution would have been to generate 575 V 3 phase somehow (I looked into a rotary phase converter + transformer setup). It took only a cursory look into this to make me dismiss it as unnecessarily expensive for a hobby budget. I considered a VFD of some sort, and if I had known about voltage doubling VFDs at the time, I might have gone that route, but I really wanted to have the original controls work as they did from the factory, and my understanding of VFDs is that it's a bad idea to put anything between the VFD and the motor. Knowing what I know now about how simple the rotary switch on this lathe is, I probably could have managed it relatively easily, but that's neither here nor there.
What I finally settled one was replacing the original 2 HP 575 V 3 phase motor with a 2 HP 240 V single phase motor. I was able to pick one up a motor off of Facebook Marketplace in Cornwall for $200, which has the same shaft length and diameter, and a similar enough frame to work.

The Leeson motor I ended up with is a farm duty unit, which from the barely-more-than-zero research I did on it, seems to be about 20 years old. There was a similarly spec'ed generic Chinese motor much closer to me, but I ended up going with the Leeson on the gamble that a name brand motor will be more reliable. Time will tell.
@brino and I removed the motor from the lathe during our initial futile attempts to unload the machine from his trailer, so the first order of business was to remove the motor pulley from the original motor.

Attempt #1 ended in a broken slide hammer and a broken bit driver

Attempt #2 ended with some broken hardwood wedges, but nothing worse than that

Attempt #3 was also a failure

Finally, attempt number #4 with a borrowed wheel hub puller was successful. At each of these stages I tried judicious application of blowtorch, but it took several minutes of blowtorching in addition to the large slide hammer/wheel hub puller to eventually get the pulley off.

The plate at the bottom of the puller was a random piece of steel I had lying around, which already had holes, which were close enough to be tapped for the threaded rod.

After getting the pulley off, I took the opportunity to clean up the taper attachment while I had easy access to the back of the lathe. This machine is completely covered with a mix of dried coolant, which is surprisingly hard to get off. In spite of that I managed to get it cleaned up nicely.
Getting back to the conversion, I had to make a couple of adapter plates to get the new motor to mount to the old motor mount cleanly. A bonus to going to a motor with a smaller frame diameter is that once the Leeson is mounted to the adapter plates the motor can now be installed or removed with a ratchet instead of a crescent wrench.
With the motor mounted the rest of the work is electrical. I'm going to take Quinn from Blondihacks' advice and not show that, but as you can see from that last picture the main switch is pretty straightforward. Adapting that to single phase wasn't a major undertaking.
Still to do is wire up the spindle brake for the new voltage and finish buttoning up the machine. At the moment the brake is entirely disconnected and nearly every cover is lying on the floor in my garage.
Big thanks to @trevj for posting the auction in member spotted deals. I probably wouldn't have noticed it without you posing it there.

