• Scam Alert. Members are reminded to NOT send money to buy anything. Don't buy things remote and have it shipped - go get it yourself, pay in person, and take your equipment with you. Scammers have burned people on this forum. Urgency, secrecy, excuses, selling for friend, newish members, FUD, are RED FLAGS. A video conference call is not adequate assurance. Face to face interactions are required. Please report suspicions to the forum admins. Stay Safe - anyone can get scammed.

Homemade Toolbit Grinding Jigs and setups.

Carrying on from this topic, those of you who have made jigs and or setups to sharpen tooling, can you share some pics and ideas.

I'm thinking about just building something to work with my 6" grinder or maybe a new dedicated for the purpose. A new grinder with specific wheels is still a 20th of the cost of legit one.

There are a bunch of videos on Utoob that are informative, curious if anyone has had success with anything in particular.
 
I made this for sharpening HSS lathe tools....

zzBGTable.JPG
 
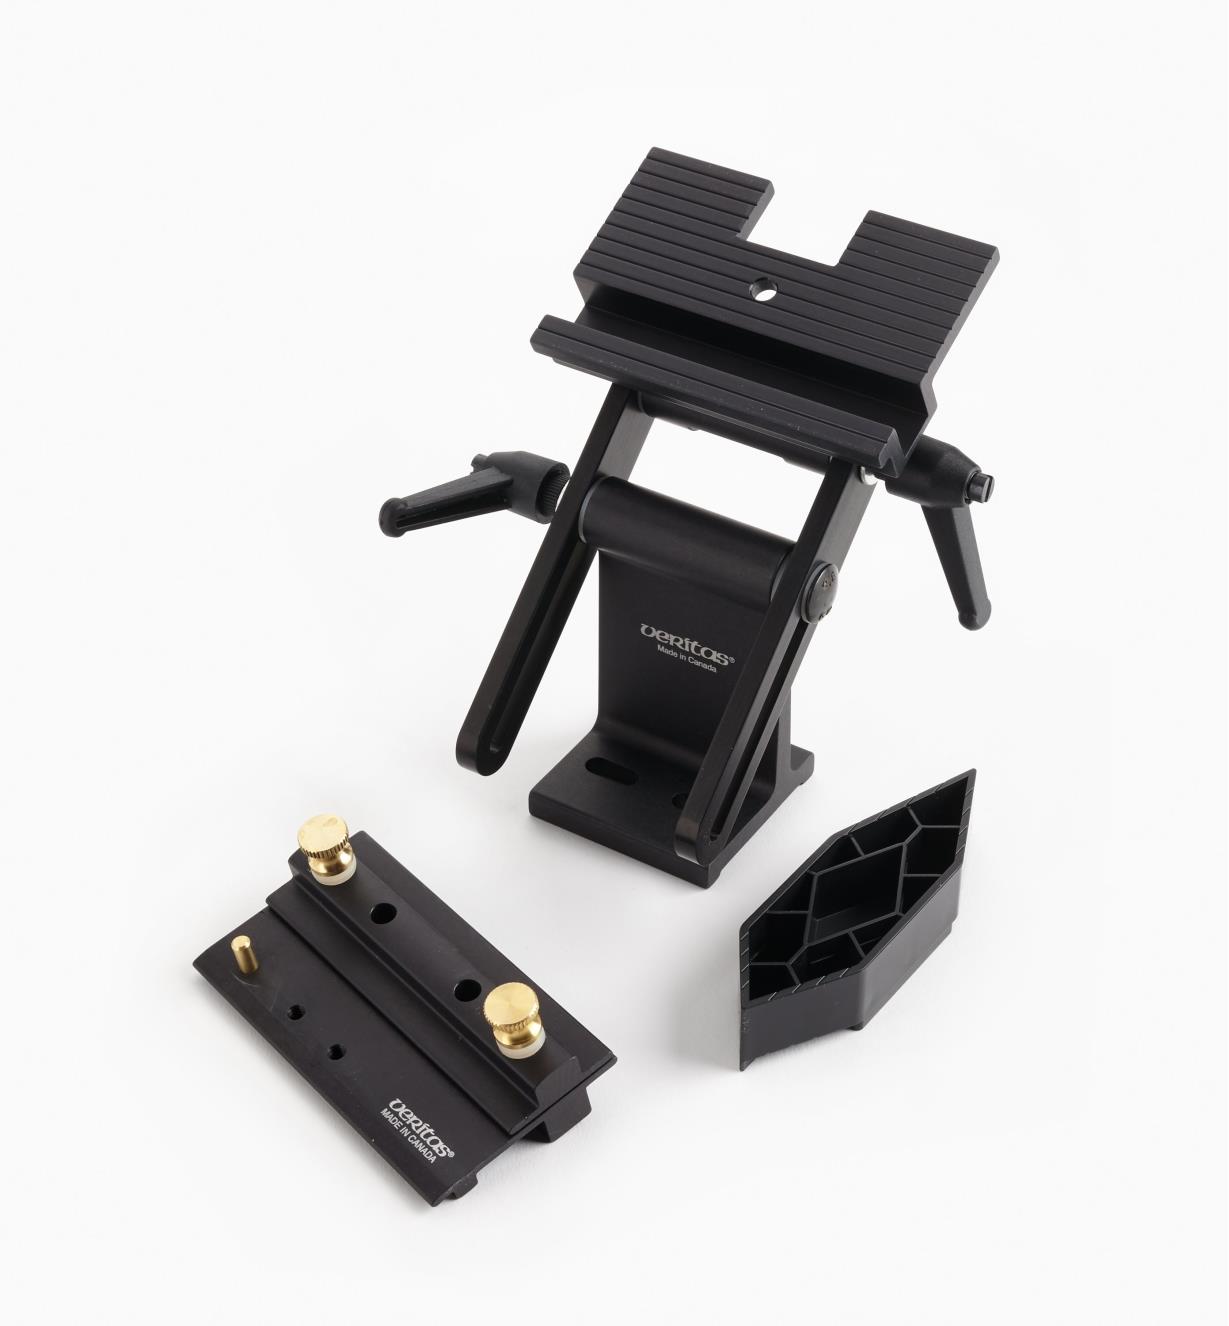
This one is homemade but from plans, I bought from eccentric engineering. It works, but does is finicky to set-up for one single grinding job. I adapted a holder to accept an ER collet set I had. I like the table design I made a second one and scribe some angles on the tables has guides. Your Lee Valley base looks equally useful.
20190109_205438_Burst01.jpg
 
This one is homemade but from plans, I bought from eccentric engineering. It works, but does is finicky to set-up for one single grinding job. I adapted a holder to accept an ER collet set I had. I like the table design I made a second one and scribe some angles on the tables has guides. Your Lee Valley base looks equally useful.
Wow, now that is cool. Kinda like a drafting table mechanism, I like it.
 
That looks really cool!

But it's not immediately obvious to me how you use that. Can you describe it a bit for us?
Thanks. The sides are stamped according to which included angle you wish to grind. They are compound angles too, so the side angle is built in. I can't remember the exact angle, but guessing it to be around 8-10*. Been a long time since I made it, memory fuzzy on details.

In use if you want a 60* bit you just snug the toolbit in sticking out opposite those faces, and lay the side stamped 60 down on the mag chuck then grind the bit. Then flip the entire jig over to the other side stamped 60, and grind that. And there's your "perfect" 60* thread cutter. If I were to make it again, I would make it larger, and maybe angle the back face for rake angle. The faces aren't big enough to provide adequate holding, so I have to block it in on the chuck for use. It's a lot quicker to rough them in with a cut off wheel too.

I honestly haven't used it in years. I ground up a bunch of bits back when I made it, and for the small amount of threading I do they'll last a lifetime with touch ups. Most of the threading I do now is in the CNC lathe with insert tooling.

It's the side angle that puzzled me. I can see it now that you describe it. Very cool!
 
Back
Top