• Scam Alert. Members are reminded to NOT send money to buy anything. Don't buy things remote and have it shipped - go get it yourself, pay in person, and take your equipment with you. Scammers have burned people on this forum. Urgency, secrecy, excuses, selling for friend, newish members, FUD, are RED FLAGS. A video conference call is not adequate assurance. Face to face interactions are required. Please report suspicions to the forum admins. Stay Safe - anyone can get scammed.

Bringing my old South Bend back to life.

A couple years ago I found an old South Bend for sale a couple hours away from home. It's a 1929 series O 13" with single tumbler gear box.
20210124_155606.jpg
It came with three and four jaw chucks, two fixed steadies traveling steady, face plate, dog driver and a few extras. All in all it shows very little wear for its age, and is a welcome improvement to my little shop.
I plan on making this a multi post event that brings it to life, including the making of a gear cutting attachment for the shaper, and overcoming my fear of electricity and wiring up my phase converter after the single phase motor on the shaper went up in smoke midway through.....
Will take a while to piece it together, but I will try to not drag it out as long as it took to do it.
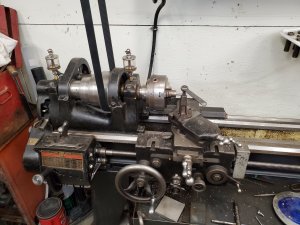
 
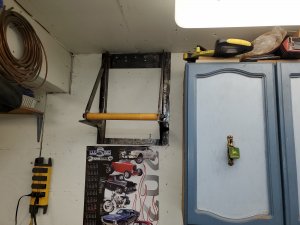
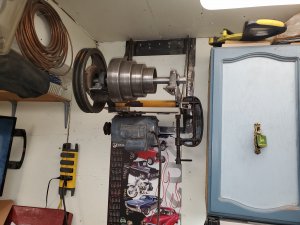
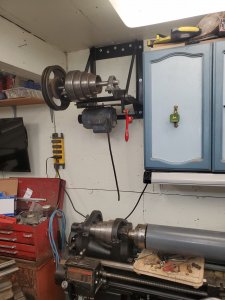
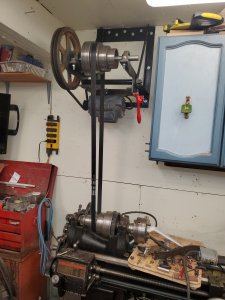
As it came, the drive was a cobbled affair that hung off the back of the headstock/chip pan, as my shop is very small (single wide carport) I wanted to move the countershaft to the wall which allowed me to put it much closer to the wall. 20201227_205803.jpg
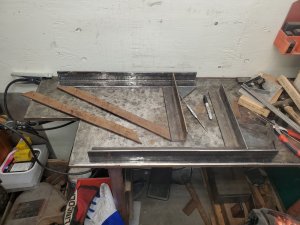
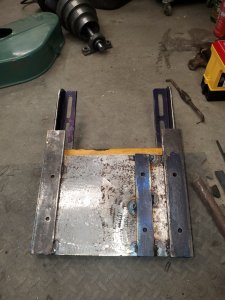
Here I am cutting and laying out the pieces for the wall mount.
 
20201230_205906.jpg 20201229_214944.jpg
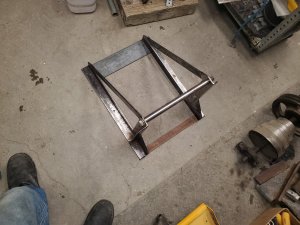
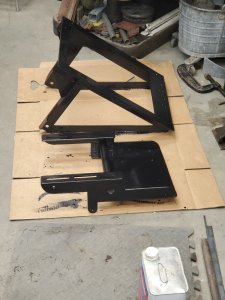
Frame welded and test fit in its new home.....
To be continued, dinner is ready, and sun is just dipping behind the hills, so time for a little outside work.....
 
Garden watered, and mosquitoes are fed, I'll try and get first chips on the lathe before calling it a night. 20201231_122724.jpg
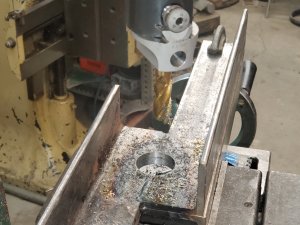
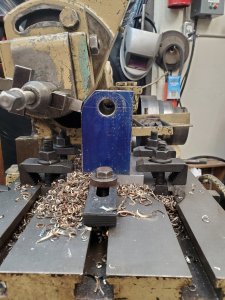
Using an end mill as a boring bar.... What can I say, it's all I had. ;) this hole will receive the yellow piece of pipe seen in one of the earlier pictures and become the pivot point.
:oops: 20210102_151159.jpg
Yup, you guessed it looked at it backwards and drilled the holes in the wrong orientation, nothing more holes and a welder can't fix....
 
20210102_162653.jpg
Just mocking up where the countershaft and motor will sit. Better to find out now that it won't work before I invest too much more time. Fortunately it lines up well with the lathe and balances quite well, just a little bit heavy on the pulley side. :cool:
20210103_150532.jpg
20210103_185112.jpg
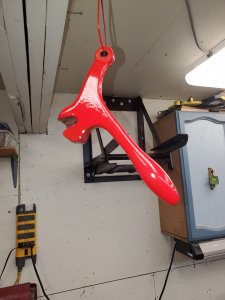
Time for a little lipstick on the pig while I wait for the eight rib serpentine belt I ordered while doing the test fit.
 
20210103_194738.jpg
Unfortunately where I have the mount for the tensioner on the pulley side is too short and too close to the pivot point so I had to add another further along and lengthen the rod. I had a spare tensioner from a South Bend 10k in my box of spare parts that I adapted into the mix. I can assure you, no new materials were sacrificed in the build, aside from paint and the belts. 20210109_131033.jpg
All belted up and ready for power.... 20210124_155513.jpg
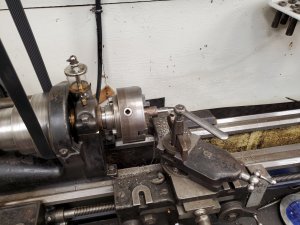
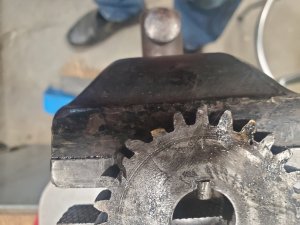
The big day!!!!!!! First tentative chips and getting a feel for the old girl...... Gear box seems a little bit noisy, I'm just going to kick it out of gear with the single tumbler leaver....... No!!!!!!????
20210124_171444.jpg
...... I know what you are thinking..... AT his age, he should know better.... Moderator, kick his azz outta here pleez..... But, I swear, if you look closer you will see I wasn't the first dummy at the helm. At this point I was just a little bit on the sad side, and unsure how I was going to fix this fine mess. I have a small mill and a dividing head, and I still have the little 10k running, but I have no cutter in the right size. A smart fella would buy a cutter, really seems like the logical way to go......... I also have... 20200701_172958.jpg
A shaper, and very little tooling for it, so, why not make it with this?
 
20210128_194717.jpg
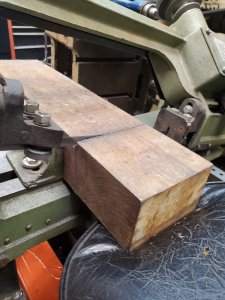
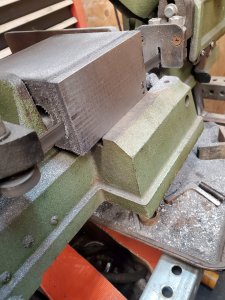
Off to the trusty 4x6" bandsaw, not sure what grade of steel this block is, but it's hard and took about 3 1/2 hrs to cut through. I have a few chunks similar to this that were given to me a few years ago. 20210128_195054.jpg
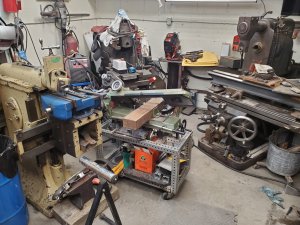
Try not to notice the mess, just a little shot of the cart I made to replace the flimsy stand it came with. Again, scrap metal came into play, I used telspar from old road signs as it was free. I have a bunch of old aluminum signs, and it ambition levels get high enough I might finish it by adding side and doors for storage and hook up the coolant tank I also salvaged. (pretty common theme with me)
20210130_174702.jpg
Into the shaper we go for a little bit of clean up and squaring off. Those little curly cues were hotter than hell.
20210131_195312.jpg
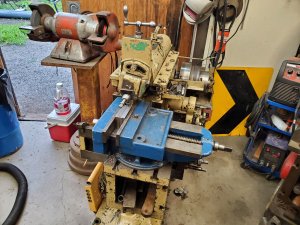
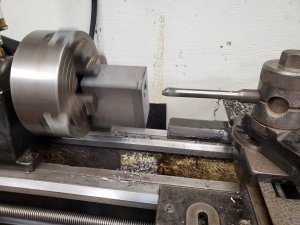
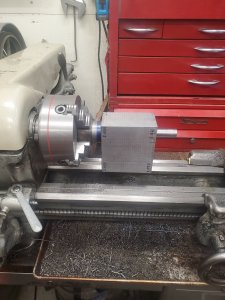
Into the toothless wonder we went for a little drilling, boring and reaming, power feeds are for wuss's any how.... Right?
 
20210204_205220.jpg
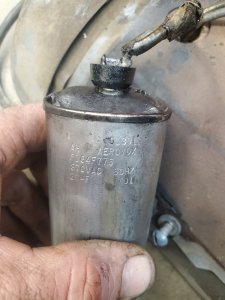
Back to the shaper, but a few minutes in an almighty flash and cloud of smoke came out of the motor and the run capacitor left me stranded. Ordered a new one, put it in, and the motor was not right, I think it might be toast.
20210203_192841.jpg
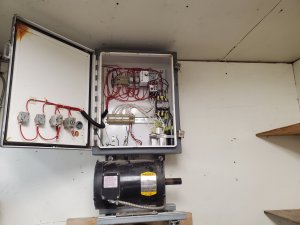
..... well, the time has come. My fear of wiring things up must be overcome. I had a friend make this phase converter for me in exchange for some Bobcat work I had done for him, and the time had apparently arrived to try it out.
20210206_124303.jpg
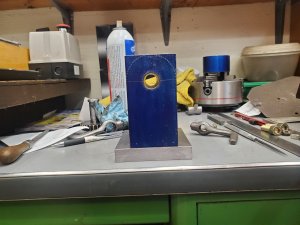
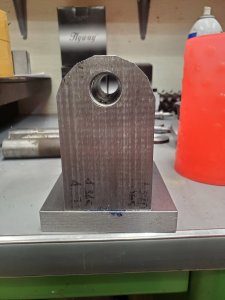
In the meantime I made a base for it, and decided the hole looked a little bit low, so....
20210208_214018.jpg
Off to the barbershop for a little off the top.
 
At this point, I should mention that I am not a machinist, and am more of a basement dwelling hack that spent most of his working life in the cab of a truck.
To be continued...... Time to feed the mosquitoes and knock a few things off the honey-do list, and get the Jeep into her summer clothes....(sexy little bikini top and a tight tonneau cover):eek::p
 
20210206_171030.jpg
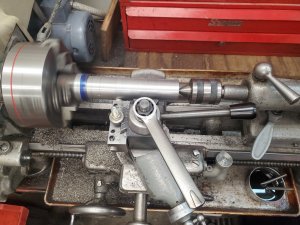
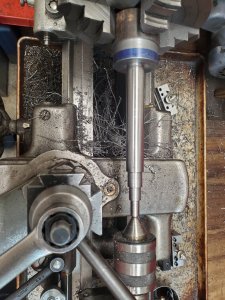
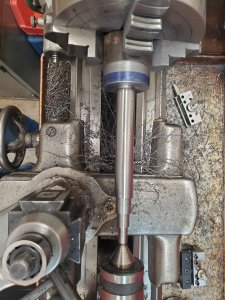
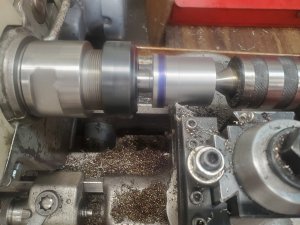
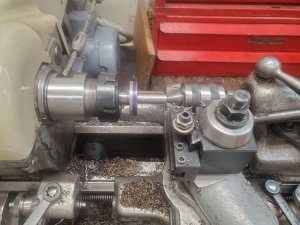
I had some what is believed to be 4140 laying around, so I cut a piece off and started gnawing out a spindle. (One day I will have to learn to blue my tool holders when I make them).
20210207_141223.jpg
Starting to look like something now.
20210206_212428.jpg
Fits up pretty good.
20210207_145600.jpg
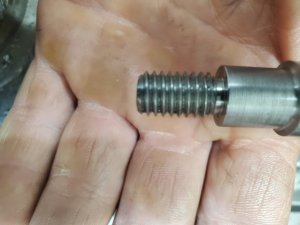
Single point some threads and that e
 

Attachments

  • 20210207_141238.jpg
    20210207_141238.jpg
    650.1 KB · Views: 2
20210207_151137.jpg
Time to take the four jaw off and put the ER 40 chuck I made a while back.
20210207_154503.jpg
Starting on the other end
20210207_161901.jpg
Piece certainly got a little lighter along the way. :) 20210210_195408.jpg
And that pretty much takes care of the lathe work on this part. I can almost see how this might come together.
 
20210212_205539.jpg
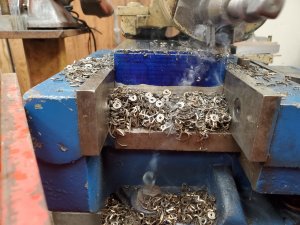
Back to the saw to slice off some of the washers, and spacers etc.
20210219_175304.jpg
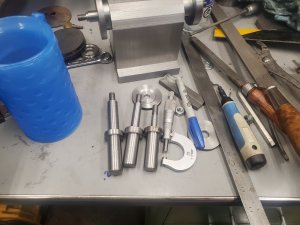
A little bit of a jump ahead in time for a second to show some of the arbors I turned to make the washers and gear blank. I really should clean my desk from time to time:rolleyes:
20210213_105425.jpg
20210213_155107.jpg
With some more of the round bits done, I figured I would try and dress it up a little bit and round off the top a little.
20210214_170107.jpg
20210214_202812.jpg
Much better.... Certainly not perfect, but I probably wouldn't be the maker if it was. ;)
 
20210221_182359.jpg
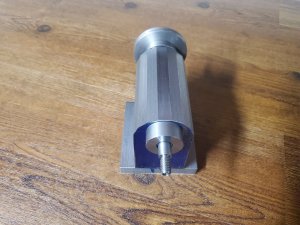
I had several pieces of plexiglass laying around, so I figured I might try making the dividing plates from that.
20210226_123818.jpg
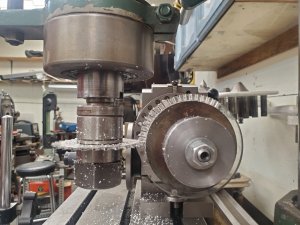
The gear will have forty teeth, but I put eighty spaces in the plate. I thought it might give me more options in the future, and, it did, because of my lack of ability to count to two consistently I got to make a test gear a little later on with a less than desirable tooth spacing. Lol 20210226_193042.jpg
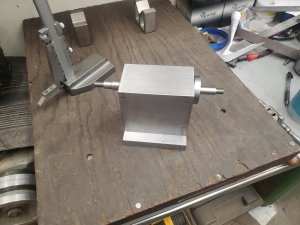
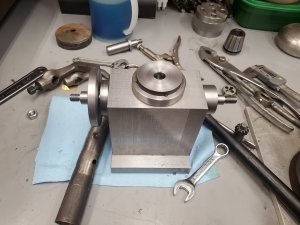
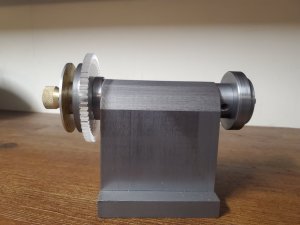
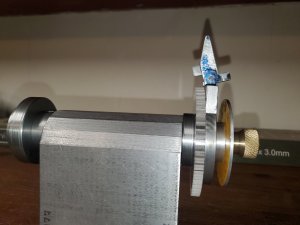
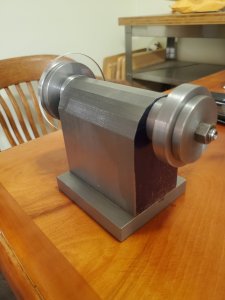
Really starting to take shape. Gear blank is on the right, and the pitch circle disk is in the gap on the left end and is held in place with a washer made from an old Street sign, and I turned up a brass finger nut for a little touch of class. Next up is the indexing part....
 
20210227_193449.jpg
20210227_193456.jpg

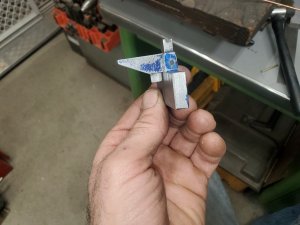
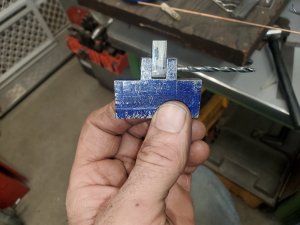
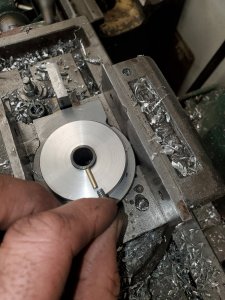
Fits pretty good and because I have a limited supply of small materials I chose to cut the drill bit off and use it as the pivot pin with just a dab of weld on either end.
20210227_203835.jpg
I then cut a little off the top of the carrier for the pitch circle disk and welded the two pieces together.
20210228_201047.jpg
This picture shows the indexing part welded to the top and how I plan to fix the pitch circle disk to the "indexer".
 
Rumor has it that the grandkids are on their way over, and I believe Papa is supposed to be making pancakes before we go to the Lake..... Gunna be a hot one today. :)
 

Everett

Super User
That is cool, Michel (Rustinox) sent me an old article from Model Engineer magazine from the 50's that discussed making up just such an apparatus to cut gears on the shaper. Thought it to be a very cool idea, right back to the early days and truly 'generating' a gear tooth profile. I have yet to try it, but will be watching intently to see it come together for you!
 
Top