Hi All,
Remember that what I am about to describe is just for ONE operation on this never ending project.
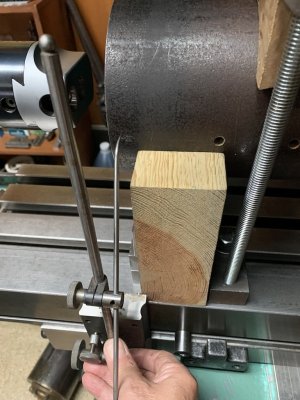
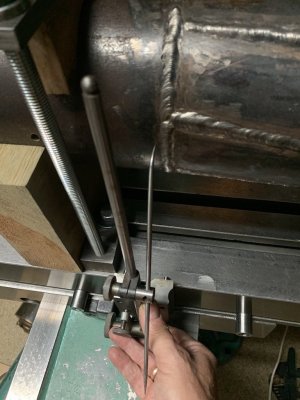
I will let the photos speak for themselves.
to be continued.
Remember that what I am about to describe is just for ONE operation on this never ending project.
I will let the photos speak for themselves.
to be continued.
Attachments
-
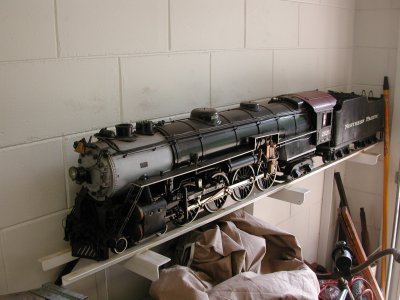
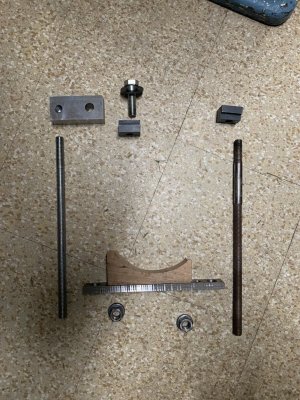
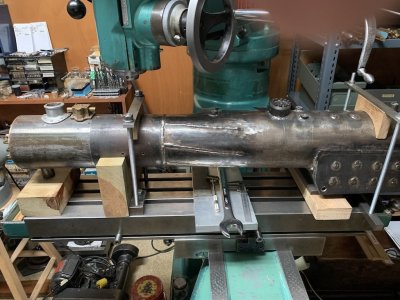
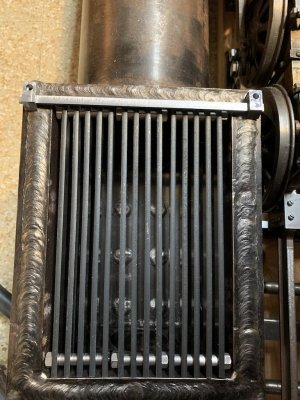
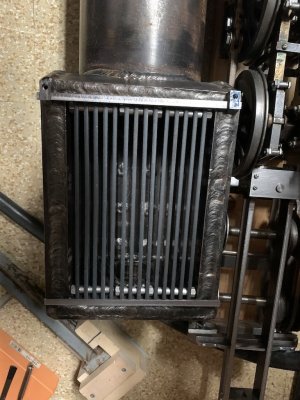
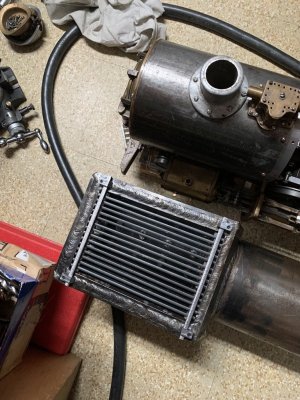
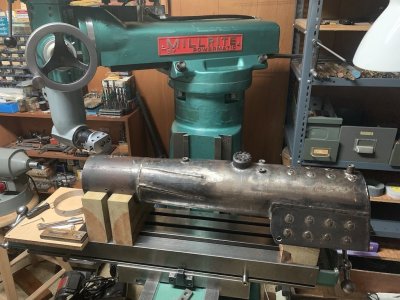
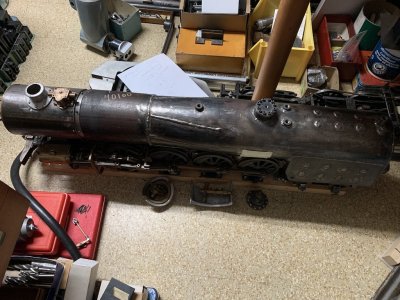 614 The Northern Boiler Sitting on the Northern Chassis.jpg194.8 KB · Views: 50
 -
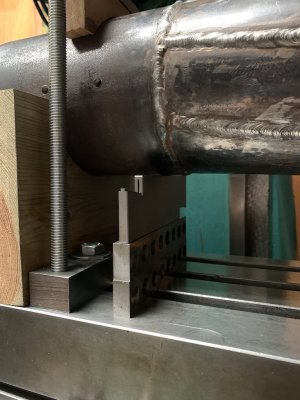
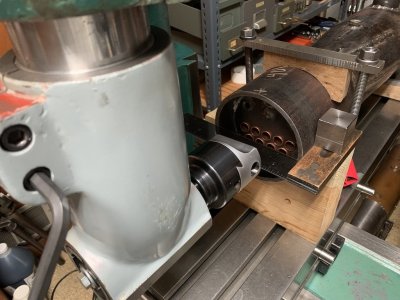
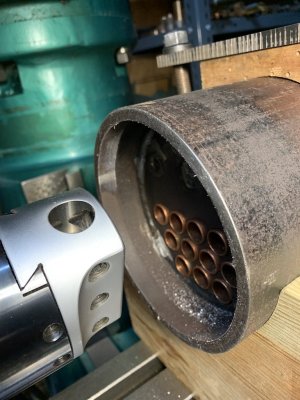
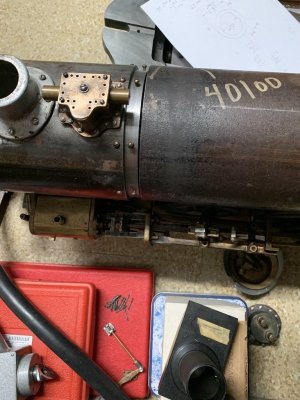 615 The Machined Connection Piece Between the Boiler and the Smokebox.jpg157.7 KB · Views: 50
 -
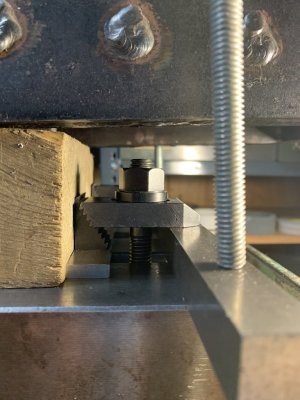
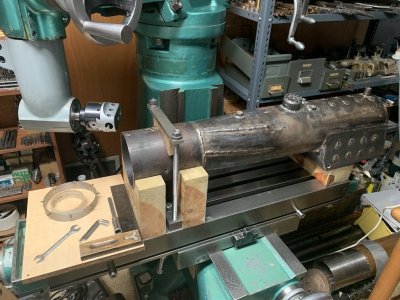
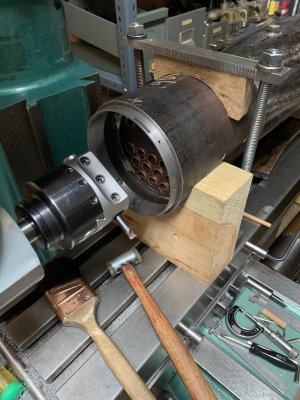
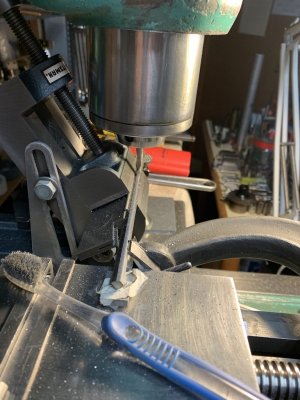
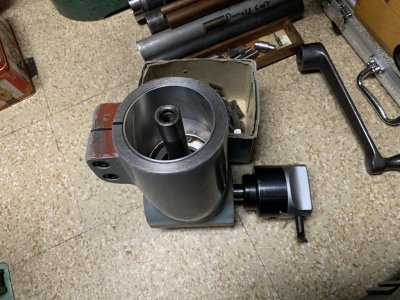 616 The Modified (for my mill) Right Angle Milling Attachment.jpg177.7 KB · Views: 51
 -
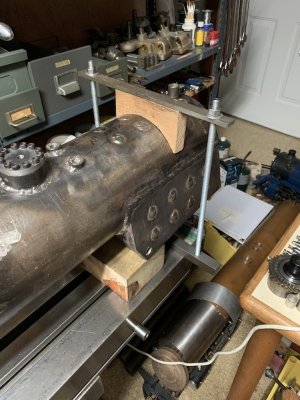
 617 The Boiler Lift Saving My Back.jpg168.2 KB · Views: 50
 -
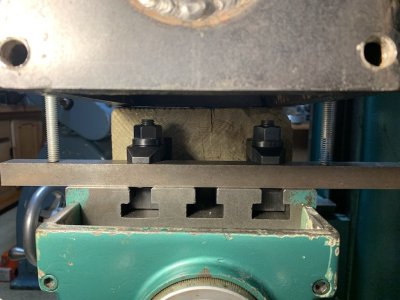
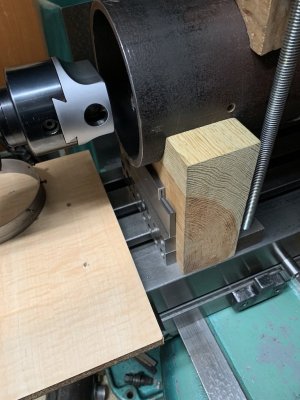
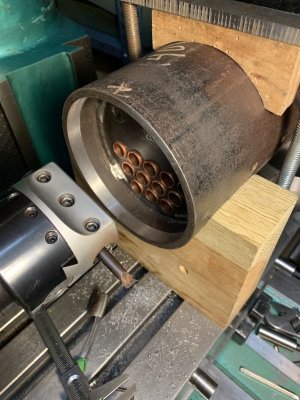
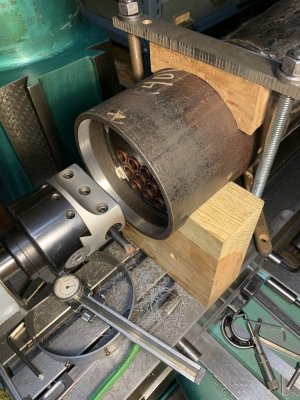
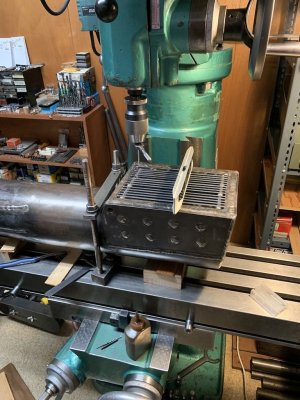
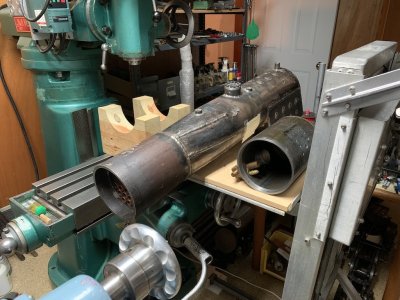
 618 The Boiler Now Positioned on the Mill but Not Secured.jpg171.8 KB · Views: 52
Last edited: