#7-30 Threading Die

ChazzC

Well-Known Member
Be careful. This doesn't work real well with good dies. They snap in half. Happened to me 3 times. Bought a cheap crappy die that didn't break. Much better.
Shouldn’t be a problem with quality adjustable dies: they’re designed to be opened & closed (specified thread diameter is mid-ish point of the adjustment).
 

Susquatch

Ultra Member
Administrator
Moderator
Premium Member
Shouldn’t be a problem with quality adjustable dies: they’re designed to be opened & closed (specified thread diameter is mid-ish point of the adjustment).

Agreed. But we are trying to take a 6 to a 7 or an 8 to a 7. That's exactly why mine broke in the past. There is a big difference between a small or a big 7 and a 6 or 8.

Just suggesting a cheap die might actually be better in this instance.
 

thestelster

Ultra Member
Premium Member
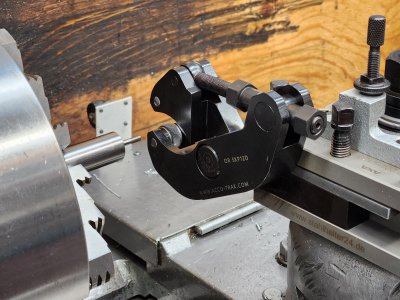
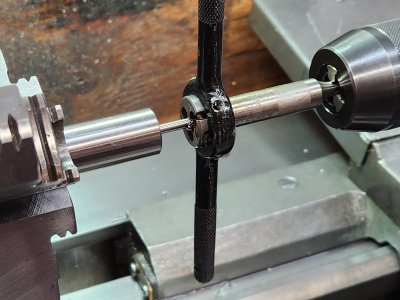
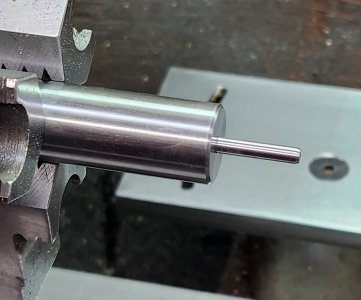
Well, I ordered a #6-30 split threading die from the US.

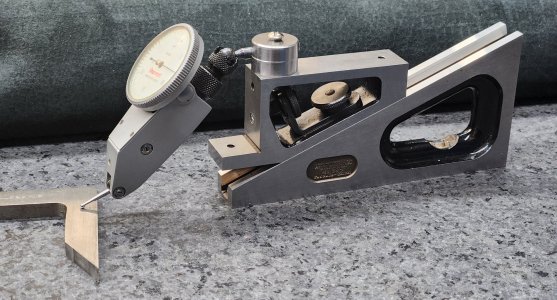
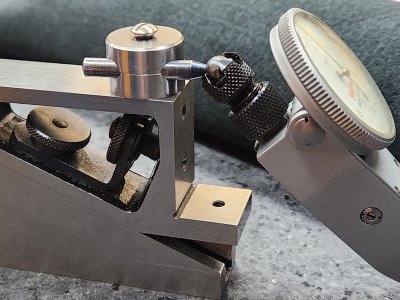
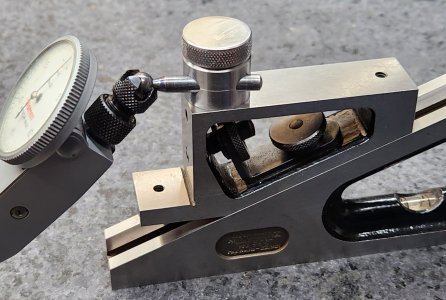
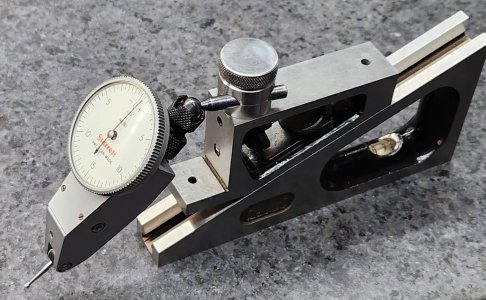
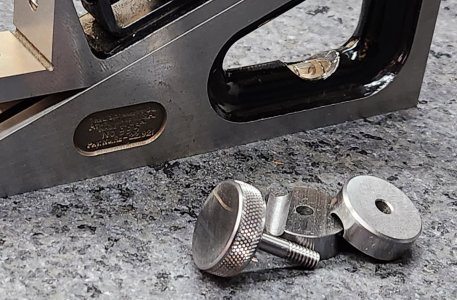
I made this little accessory to hold a DTI. I just have a 6-32 screw lightly screwed in place to test the functionality. When I get the the die, I'll make the knurled hold-down.
 

Attachments

  • 20240428_115638.jpg
    20240428_115638.jpg
    535.9 KB · Views: 5
  • 20240428_115745.jpg
    20240428_115745.jpg
    457.1 KB · Views: 5

PeterT

Ultra Member
Premium Member
You probably already went searching for a tap (to make a die). Seems like they are out there but uncommon


Same issue was discussed here. I hate niche threads for no good reason other than ransom


Susquatch

Ultra Member
Administrator
Moderator
Premium Member
Actually, I didn't even think of that!

@PeterT

How would you do that?

Drill and tap a piece of steel,

Drill out the chip troughs.

Sharpen the chip troughs with a long cylindrical grinding stone.

Spilt the block to provide some thread relief.

Then harden.

?????
 

PeterT

Ultra Member
Premium Member
Yes, essentially make an emergency die. I've only made one, so I'm no expert. The die is just reference photo for discussion. I used O1
- drill & tap the center hole (I made my thickness a bit more than standard to compensate for next step)
- make slight relief on front side of hole (seat of pants chamfer)
- drill relief holes (this was a bit tricky to make clean breakthrough. I pre-drilled a hole then used larger dia end mill plunged in)
- make slot (I just entered with bandsaw)
- I skipped the lateral expansion jack screw because it is more fussy work, but if you need this, now is the time before hardening
- filed a flat on OD to engage with a retention screw on my die holder
- torch to red, oil dunk-a-roo, temper at 475F my toaster oven max

As long as your die holder has a conical set screw you can open it up a bit within reason. I prefer my shop made ones because they additionally have more radial set screws to retain the die since there are no dimples. Anyways, it worked. Not quite as good as a well made die, but better than some of my commercial offshore crap. I had to make some custom pushrods with a weird LH metric thread I wasn't keen on spending $50 & waiting a week. Stock was 303 stainless rod. Anything tougher might put up more of a fight so really depends on how many you intend to make. I've seen some small dies like below that have no adjustment slot at all so maybe a function of size?

Another option might be to do the whole thread/relief hole operation in a rectangular bar of O1 vs. fussing around on the lathe & die holder. Then the tail end of bar becomes a little integrated handle. Maybe not as easy to align though but food for thought


1714343705485.png 1714343839197.png

laser or edm?
1714344976089.png
 
Top