Hi All,
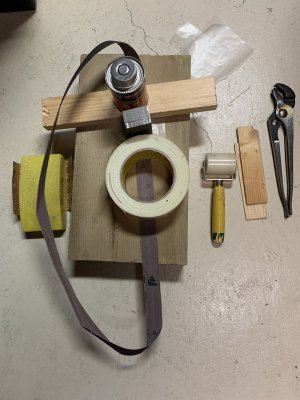
I have a number of different 1" wide abrasive belts purchased over the years for my belt sander which I use a lot.
For some reason after about six months, whether used or not, the reinforced glued joint on these belts has separated on me. Now, these belts are not that expensive to buy but I don't want to be in the middle of a project, have the belt separate and everything come to a screeching halt as a result. A review of many other metal working web sites has indicated that this is a common problem.
Many solutions have been proposed but none of them really work. I have come up with something which works for me but you don't get something for nothing so...
I will first discuss why I think these belts fail and always will.
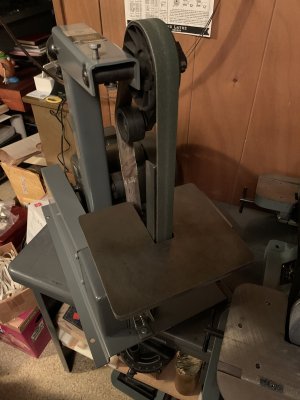
First, the reinforced glued belt joint has to be very strong. The belt sander which I have puts the abrasive belt under a lot of tension to keep it tracking and straight when belt sanding.
Second, the reinforced glued joint has to remain totally flexible under a high RPM load as it goes around numerous pulleys which flexes the abrasive belt back and forth continuously.
Third, abrasive belt sanding can generate a lot of heat in addition to the above which the belt joint has to absorb and not soften or lose any strength under these conditions.
Fourth, the abrasive belt joint has to be very thin with no abrupt changes in surface composition or thickness which would induce shock or impact as it follows its serpentine path over and over again.
As far as I have been able to determine, there is no abrasive belt here in Canada (or anywhere) which can meet all of the above conditions for long.
So, is there a practical solution to this dilemma or as practical as possible? Yes, but..
So here is what I have found through experimentation and experience.
Some of the products I use cannot be found in Canada or cannot be imported here legally because of what they contain or have been banned as being too hazardous.
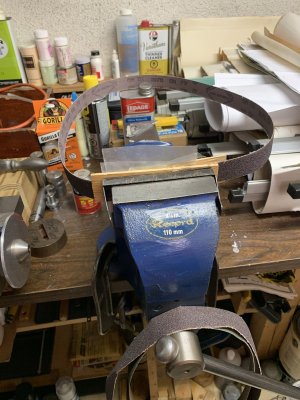
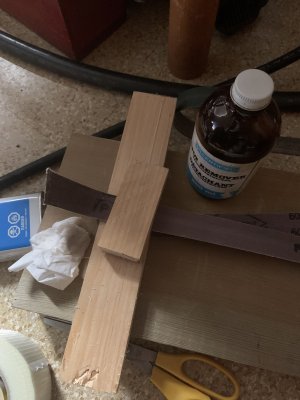
To start, I first clean the ends of any separated belts of their original glue. The best material for this I have found to be "Spot Remover" or perchlorethylene which used to be used in dry cleaning. I don't think it is available anymore to the general public as it is carcinogenic but I have an old bottle of it which I use very sparingly and only outdoors.
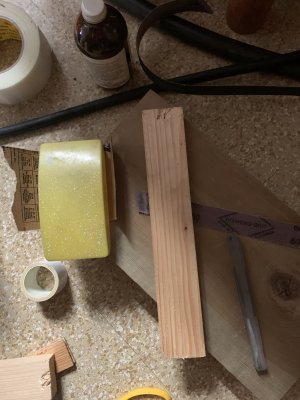
Second, scarify each end of the cleaned belt ends using coarse sandpaper and a sanding block.
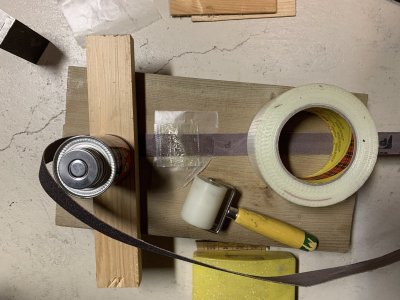
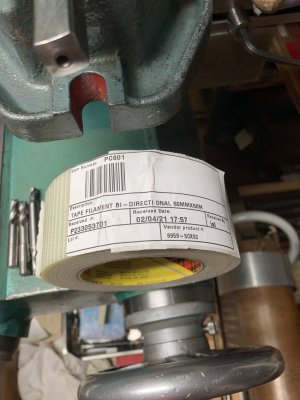
Third, cut off a piece of Scotch Brand (there may be others) bi-directional filament tape (it is only 0.008" thick but super strong) slightly wider and longer than the original belt splice.
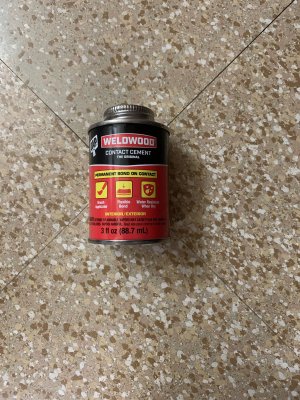
Fourth, push the ends of the belt together and apply "the original Weldwood contact cement" to the (underside) ends of each belt end.
Here I have to say something. There is no other glue or contact cement here in Canada which is equivalent to what I have just specified and nothing else will work. Yes, one can purchase a can of it as shown in the last photo through Amazon.ca but don't. Amazon or Amazon.ca is not the supplier, they use third party suppliers, who may, or may not, be aware that this contact cement is banned here as being too hazardous (at least to the general public). Also, as a result, it is a ridiculous price compared to what it costs south of the border even if someone will ship it here. As well, there is a practical reason why not to buy such an amount unless you want to re-splice hundreds of belts all at the same time. For as soon as you open the can, whatever solvent or solvents there are in it, which keep the glue liquid, they will start to evaporate and no matter how tightly one reseals the can, after about 3 months the entire can contents turn into a solid rubbery block making 99.8% of the can's contents useless. It can be purchased south of the border cheaply in a small 20 ml tube and this is what I now use. I have picked up a tube on a recent visit in the USA.
to be continued.
I have a number of different 1" wide abrasive belts purchased over the years for my belt sander which I use a lot.
For some reason after about six months, whether used or not, the reinforced glued joint on these belts has separated on me. Now, these belts are not that expensive to buy but I don't want to be in the middle of a project, have the belt separate and everything come to a screeching halt as a result. A review of many other metal working web sites has indicated that this is a common problem.
Many solutions have been proposed but none of them really work. I have come up with something which works for me but you don't get something for nothing so...
I will first discuss why I think these belts fail and always will.
First, the reinforced glued belt joint has to be very strong. The belt sander which I have puts the abrasive belt under a lot of tension to keep it tracking and straight when belt sanding.
Second, the reinforced glued joint has to remain totally flexible under a high RPM load as it goes around numerous pulleys which flexes the abrasive belt back and forth continuously.
Third, abrasive belt sanding can generate a lot of heat in addition to the above which the belt joint has to absorb and not soften or lose any strength under these conditions.
Fourth, the abrasive belt joint has to be very thin with no abrupt changes in surface composition or thickness which would induce shock or impact as it follows its serpentine path over and over again.
As far as I have been able to determine, there is no abrasive belt here in Canada (or anywhere) which can meet all of the above conditions for long.
So, is there a practical solution to this dilemma or as practical as possible? Yes, but..
So here is what I have found through experimentation and experience.
Some of the products I use cannot be found in Canada or cannot be imported here legally because of what they contain or have been banned as being too hazardous.
To start, I first clean the ends of any separated belts of their original glue. The best material for this I have found to be "Spot Remover" or perchlorethylene which used to be used in dry cleaning. I don't think it is available anymore to the general public as it is carcinogenic but I have an old bottle of it which I use very sparingly and only outdoors.
Second, scarify each end of the cleaned belt ends using coarse sandpaper and a sanding block.
Third, cut off a piece of Scotch Brand (there may be others) bi-directional filament tape (it is only 0.008" thick but super strong) slightly wider and longer than the original belt splice.
Fourth, push the ends of the belt together and apply "the original Weldwood contact cement" to the (underside) ends of each belt end.
Here I have to say something. There is no other glue or contact cement here in Canada which is equivalent to what I have just specified and nothing else will work. Yes, one can purchase a can of it as shown in the last photo through Amazon.ca but don't. Amazon or Amazon.ca is not the supplier, they use third party suppliers, who may, or may not, be aware that this contact cement is banned here as being too hazardous (at least to the general public). Also, as a result, it is a ridiculous price compared to what it costs south of the border even if someone will ship it here. As well, there is a practical reason why not to buy such an amount unless you want to re-splice hundreds of belts all at the same time. For as soon as you open the can, whatever solvent or solvents there are in it, which keep the glue liquid, they will start to evaporate and no matter how tightly one reseals the can, after about 3 months the entire can contents turn into a solid rubbery block making 99.8% of the can's contents useless. It can be purchased south of the border cheaply in a small 20 ml tube and this is what I now use. I have picked up a tube on a recent visit in the USA.
to be continued.
Attachments
-
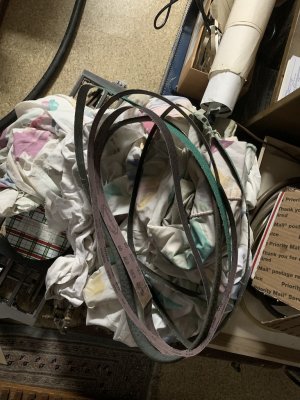 517 A Selection of One Inch Wide Abrasive Belts that I Use.jpg320.7 KB · Views: 8
 -
 518 Removing All Traces of Existing Splice Glue.jpg396.2 KB · Views: 6
 -
 519 Scarifying Each End of the Abrasive Belt.jpg462.8 KB · Views: 6
 -
 520 Special Bi-Directional Filament Tape Which is Only Eight Thousands of an Inch Thick.jpg404.9 KB · Views: 8
 -
 521 Special Rubberized Contact Cement.jpg695.7 KB · Views: 8
Last edited: