• Scam Alert. Members are reminded to NOT send money to buy anything. Don't buy things remote and have it shipped - go get it yourself, pay in person, and take your equipment with you. Scammers have burned people on this forum. Urgency, secrecy, excuses, selling for friend, newish members, FUD, are RED FLAGS. A video conference call is not adequate assurance. Face to face interactions are required. Please report suspicions to the forum admins. Stay Safe - anyone can get scammed.

DRO Installs on Mill and Lathe

SeeWell

New Member
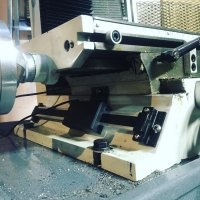
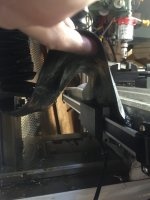
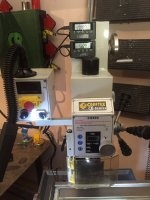
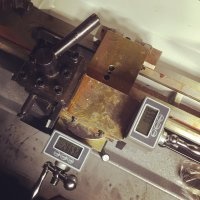
Minor jobs but these were my first orders of business before going too much further building anything. My mill came with a vertical DRO so just needed to add X and Y. I used the igaging units which are inexpensive and as it turns out incredibly easy to install. I cut them to size, drilled and tapped 3 holes for each and that is the complete process. Accuracy seems to be well within the manufacturers claims and I would highly recommend them. I picked up some aluminum to make a guard for the X axis install and may refit a whole new chip guard since the stock one seems to be lacking coverage. IMG_0868.JPG IMG_0864.JPG IMG_0865.JPG IMG_0867.JPG

IMG_0868.JPG IMG_0864.JPG IMG_0865.JPG IMG_0867.JPG
 

Janger

(John)
Administrator
Vendor
Nice install. How did you drill the holes? With a hand drill? And the threading?
 

SeeWell

New Member
Yes I just used a hand drill and then used an extension on my tap to get into the holes. I was simply trying to avoid taking the whole thing apart for just 6 holes and it worked quite well. Moving the mill table along its axis allowed for plenty of room to get in with the tools. All in all took me a couple hours install and cost about $75 for the mill DRO's
 

Tom O

Ultra Member
I bought a 4 axis one a couple years ago from dro pro's for my craftex mill it works good and it wasn't too bad converting the quill either.
 
Top