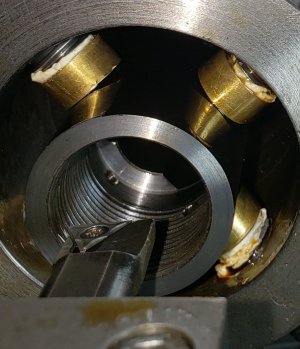
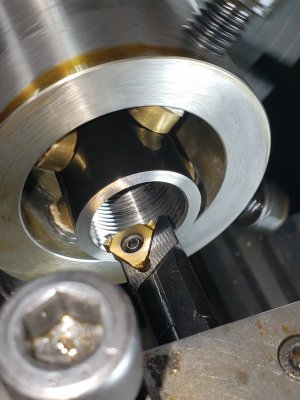
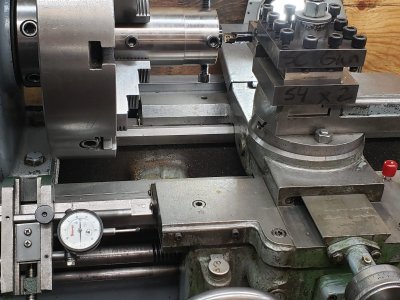
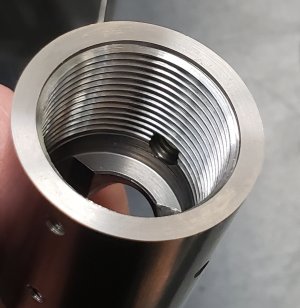
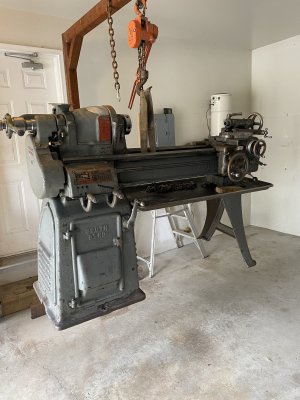
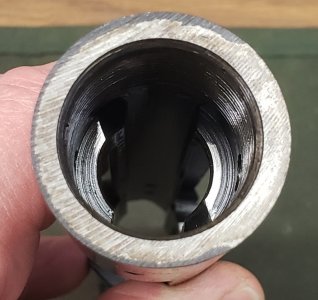
Once the locking lug recess, and action face is trued up, its time to chase the threads. If you thought cutting threads is tricky. Try doing internal, and virtually completely blind because the tools and holder and post is in the way. I am not cutting new threads. Just going deeper to get rid of any inconsistencies, which there are plenty, not concentric and not round! So we have to pick up the existing thread. Start the lathe, in slow, making sure that the cutter will not touch any part of the thread, engage the half nuts. As the cutter just enters switch off the lathe but don't disengage the half nuts. Now move the cross slide towards you, and with the compound (oh, which is parallel to the lathe axis) move the compound forward or back 0.001" at a time, and moving the cross slide towards you until you feel it bottom. Keep an eye on the dial number. You're at the bottom of the thread, when the cross slide is closest to you. Put your dials to zero. You can try that procedure a couple times but take note, that if the threads are oval or not concentric, you'll get different results depending on where the lathe stopped, so don't worry about it too much. Now you have to worry about the length of the treaded section. I set up the dial indicator on the carriage stop. I move the cutter in to the point that I want to end the thread. Then move the carriage stop so that the dial indicator compress 1 full turn, lock the carriage stop and zero the dial. Don't use a hard stop. So what will happen, is that as the cutter is moving into the action, the carriage will touch the indicator probe. You now have one full sweep of the needle to disengage the half nuts and move the cross slide away. This happens pretty quick, so you need to practice at a different section of the lathe. When you're ready to go. The compound is at zero, and we said that the bottom of the thread is zero, but start at say 5, or 10 on the dial. With every pass, move the cross slide towards you 0.002". You will keep going until you've cleaned up all the threads. You will hear when its cutting and not cutting, and when go to start another pass, examine it. There is more information I need to mention, ie. Thread root flat and crest flat.
 20220207_111848.jpg230.3 KB · Views: 36
 20220207_114311.jpg518.9 KB · Views: 37
 20220207_115559.jpg346.5 KB · Views: 35
 20220207_120636.jpg436.9 KB · Views: 34
 20220207_121000.jpg414.3 KB · Views: 35
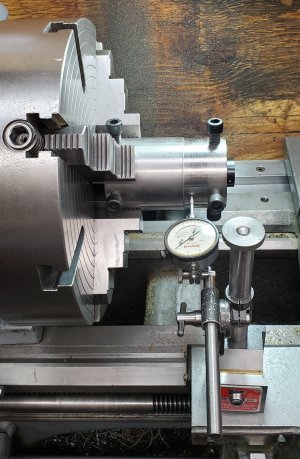 20220207_124924.jpg479 KB · Views: 35
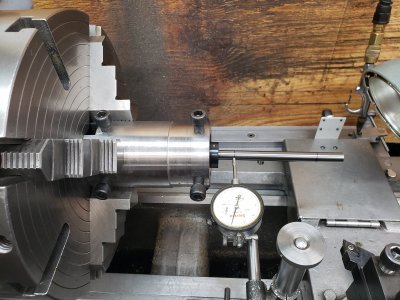 20220207_130948.jpg497 KB · Views: 35
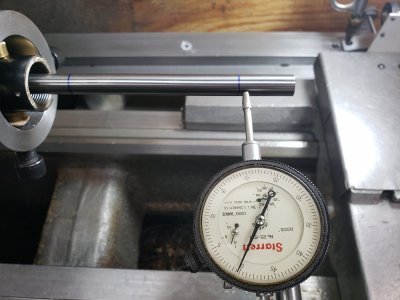 20220207_134843.jpg312.1 KB · Views: 37