• Spring 2024 meetup in Calgary - date Saturday, April 20/2024. discussion Please RSVP Here to confirm and get your invitation and the location details. RSVP NOW so organizers can plan to get sufficient food etc. One week to go! More info and agenda
  • We are having email/registration problems again. Diagnosis is underway. New users sorry if you are having trouble getting registered. We are exploring different options to get registered. Contact the forum via another member or on facebook if you're stuck. Update -> we think it is fixed. Let us know if not.
  • Spring meet up in Ontario, April 6/2024. NEW LOCATION See Post #31 Discussion AND THE NEW LOCATION

PA 2 ton gantry assembly

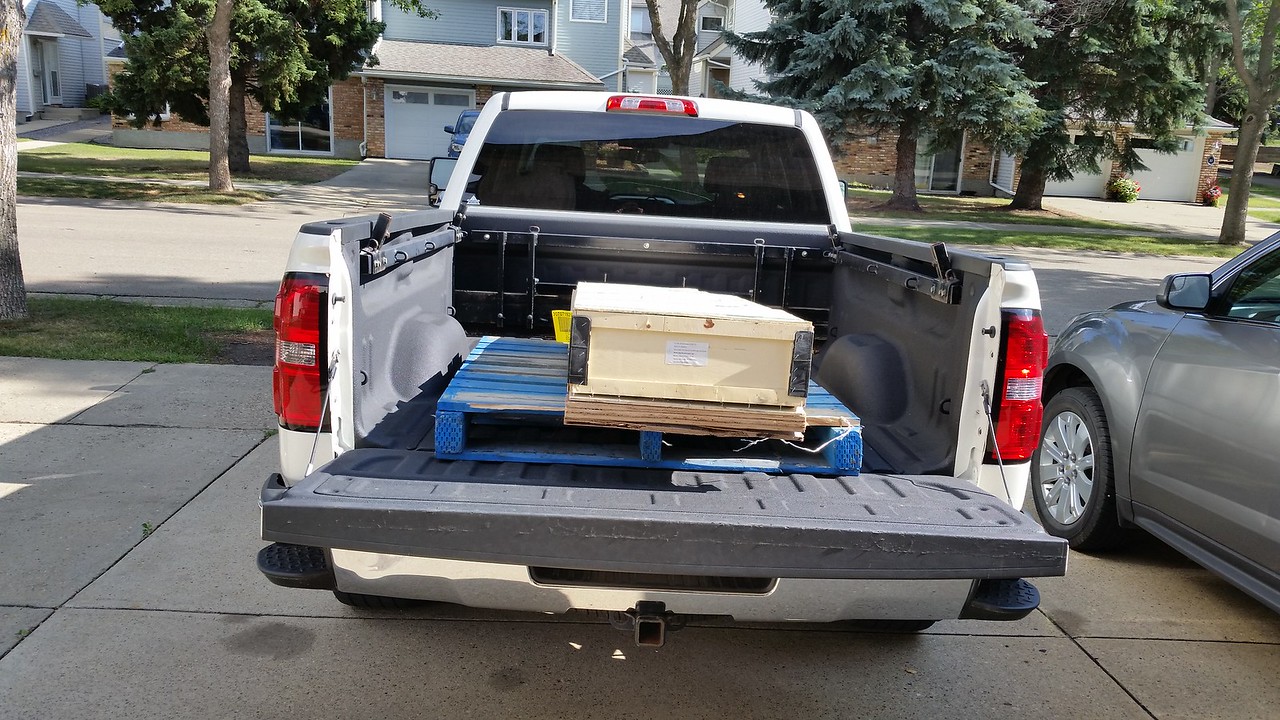
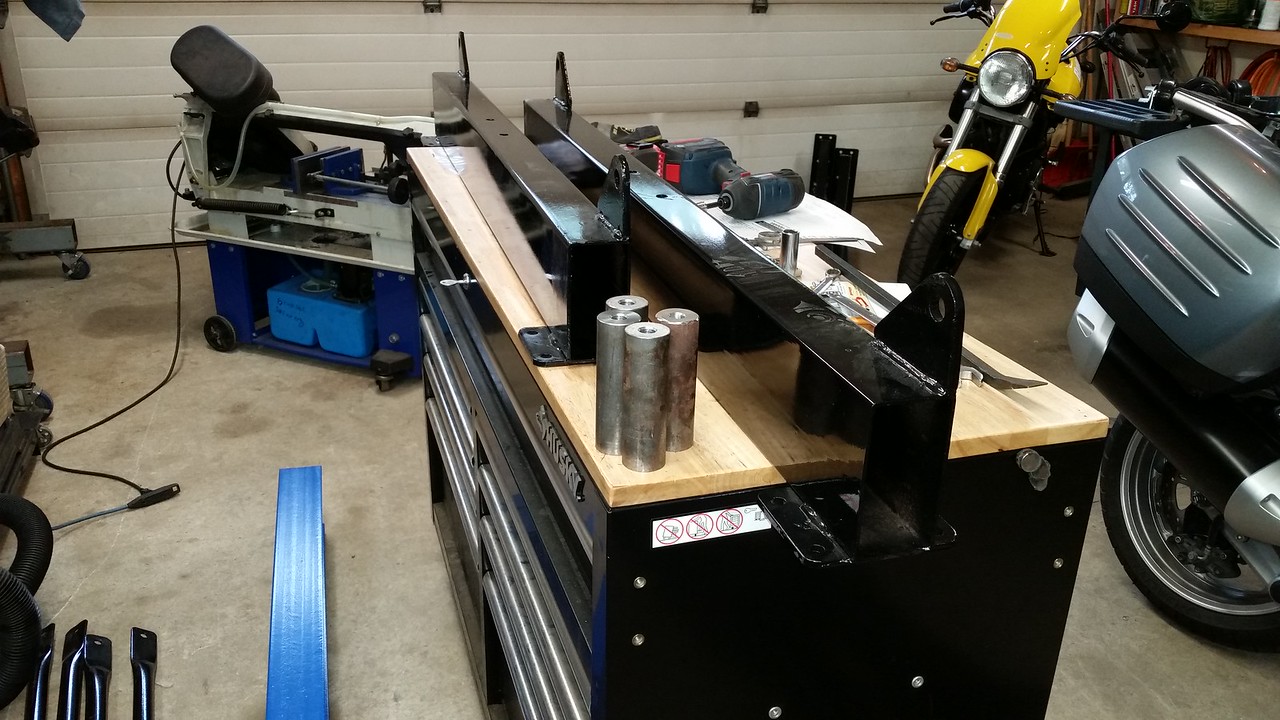
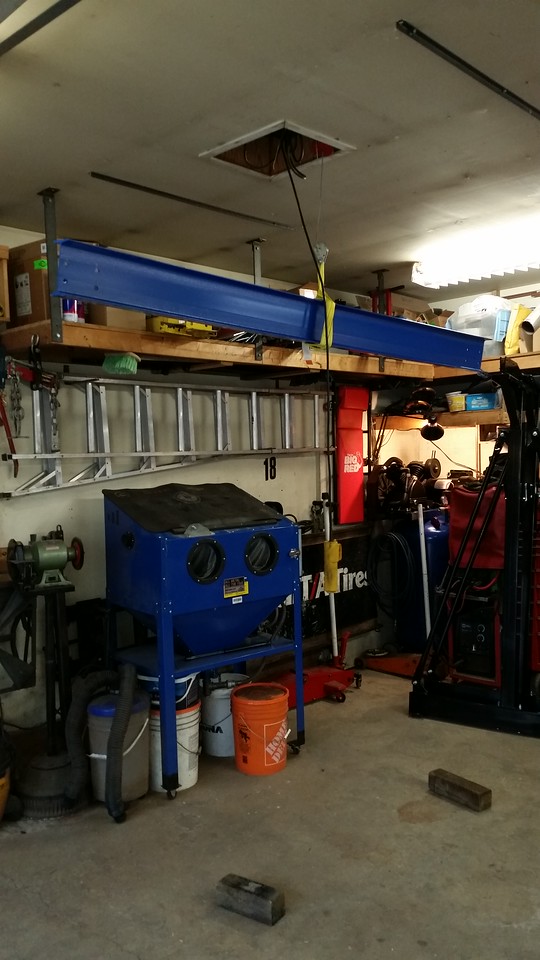
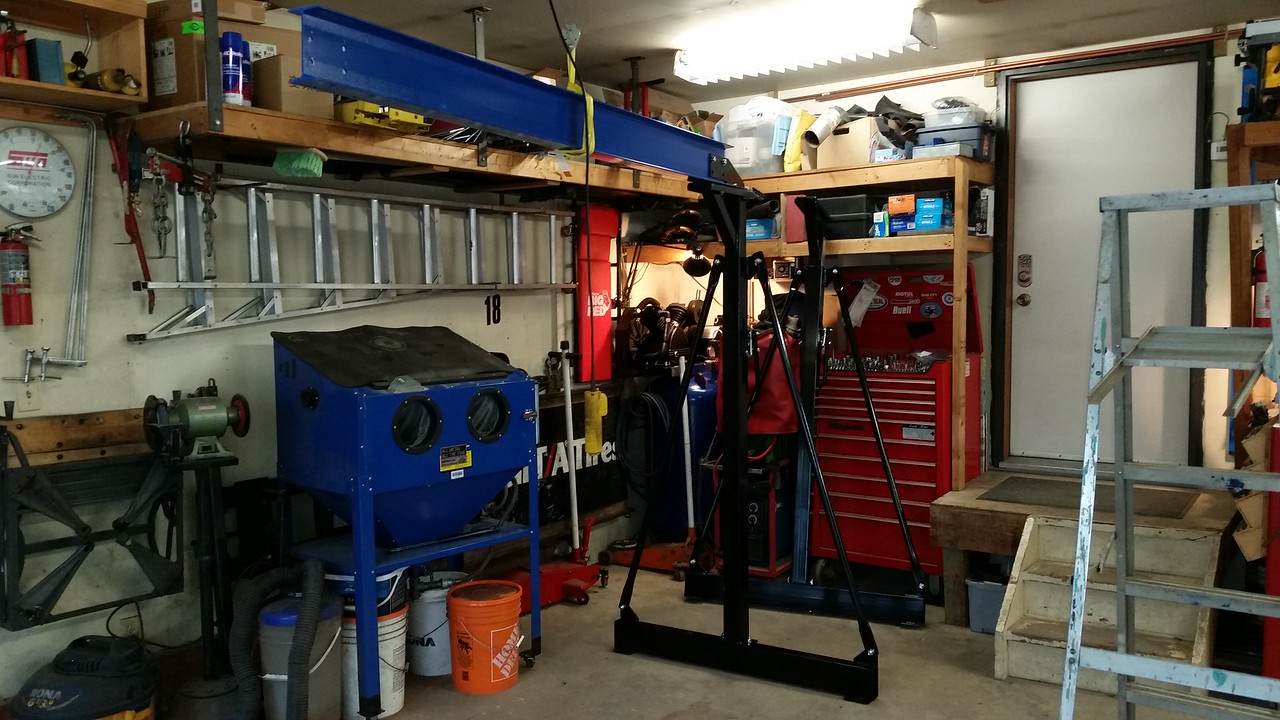
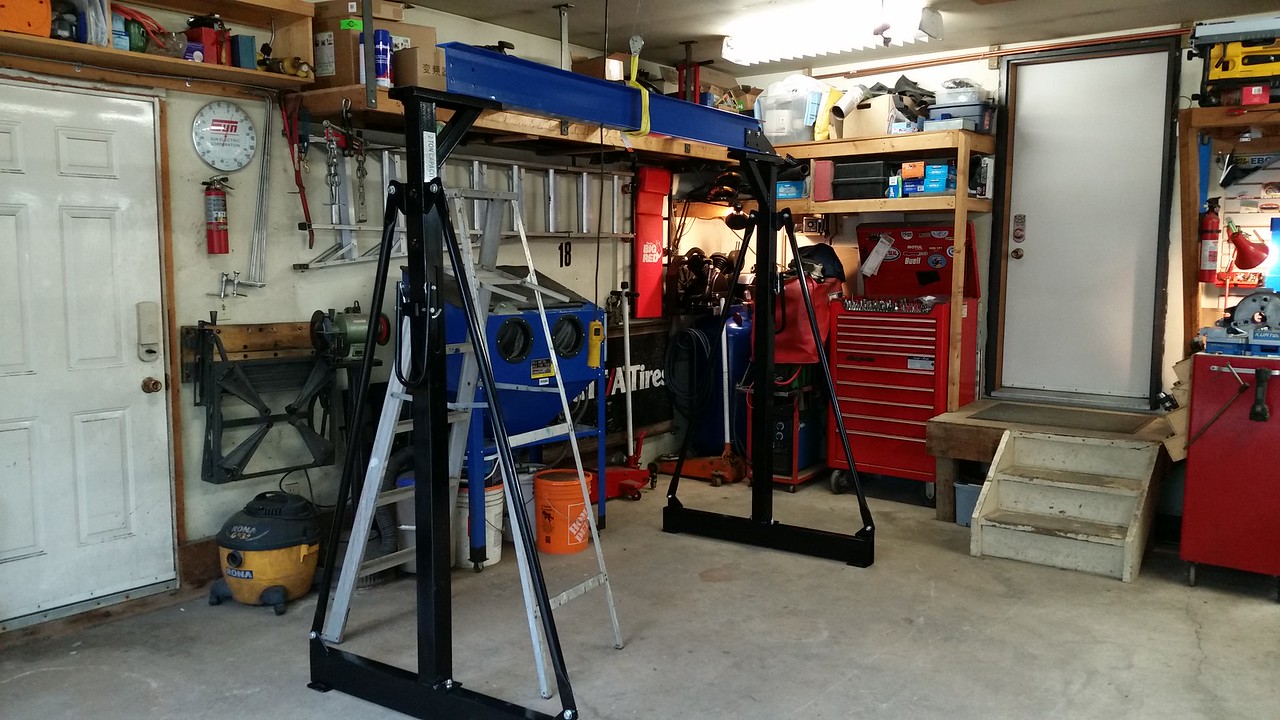
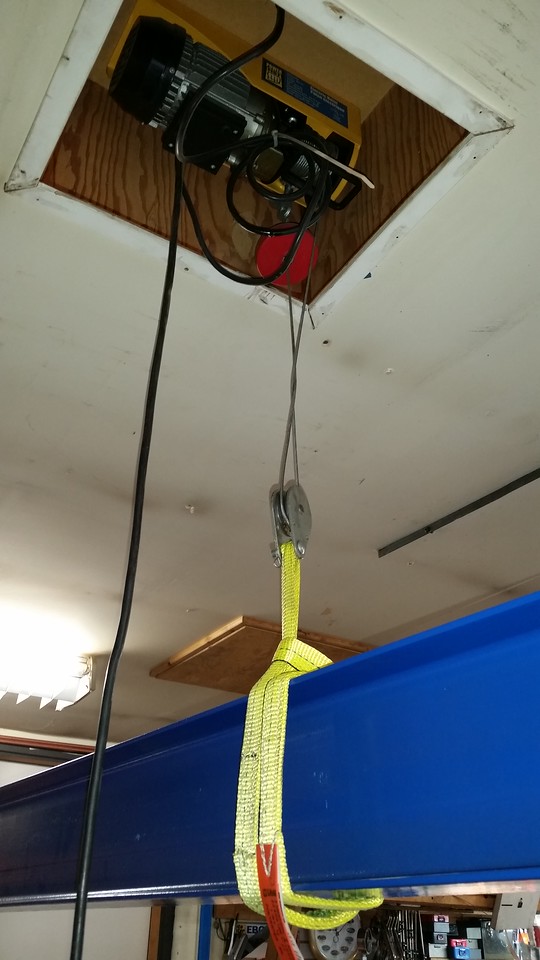
So when Princess Auto put their 2 ton gantry on sale last week for $800 I couldn't resist. I brought one home. I would wager you couldn't buy the steel to make your own at that price. I just discovered however that whereas their 1 ton gantry is a fairly easy 1 person assembly project the 2 ton is a challenge! All parts on the 2 ton are a lot heavier and the overhead beam is close to the limit of what one person can manhandle. I was fine getting the first vertical post attached but attaching the second safely was hard without special equipment or additional helpers. I ended up using my engine crane to lift it part way and manhandled it the rest of the way onto a temporary scaffold I made out of scrap lumber. The scaffold held the second upright in place and provided a wider more stable target for the beam to rest on before it was aligned and attached.

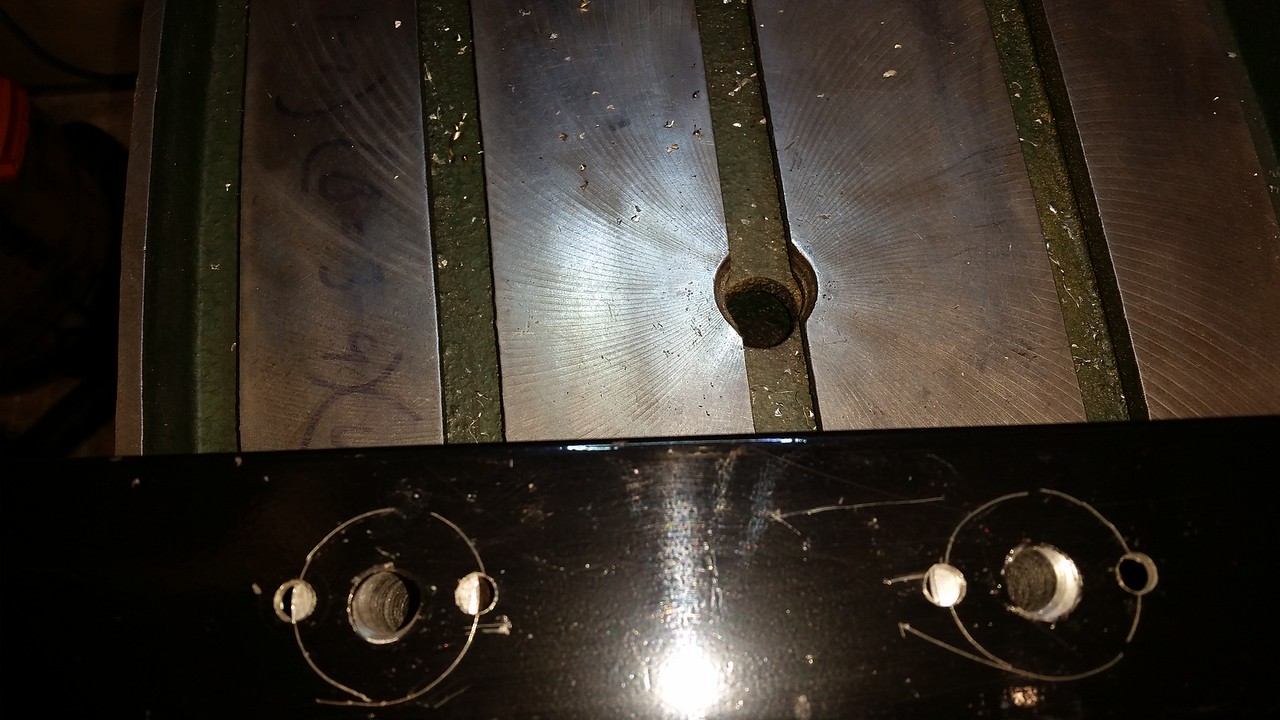
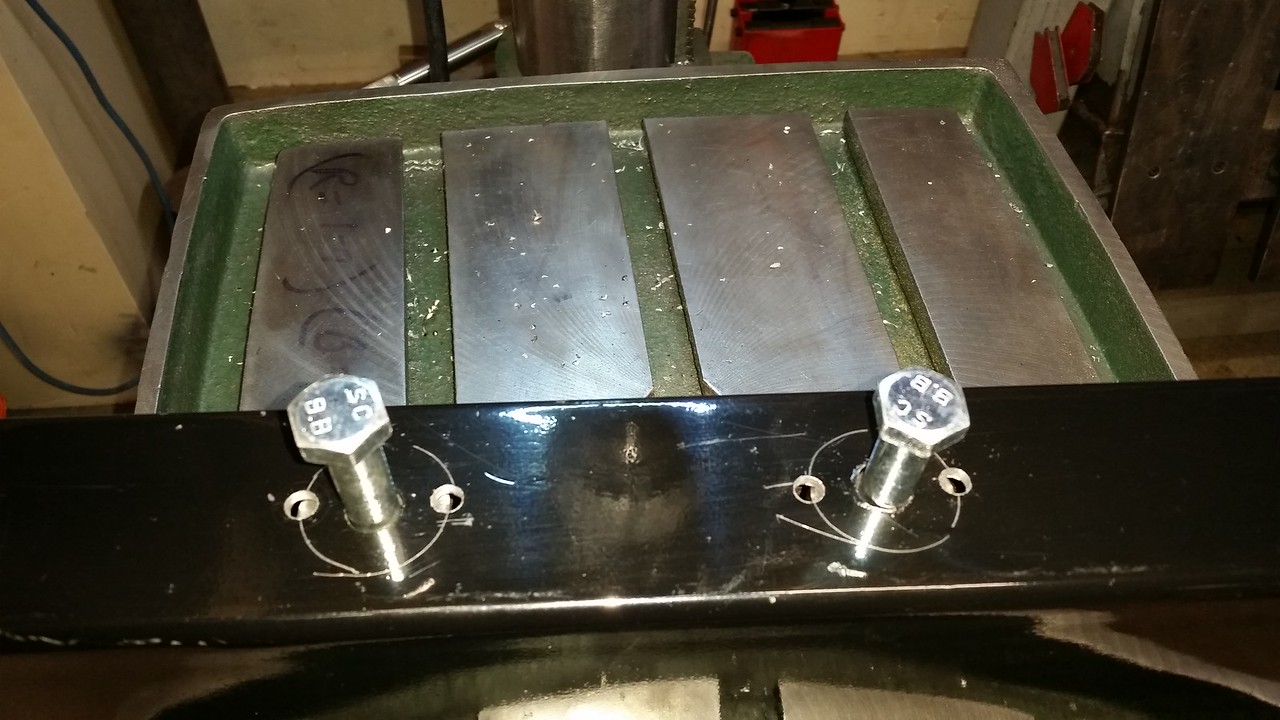
It was so much trouble getting the thing together I can't see myself keeping this disassembled for storage and putting it together again every time I need it. The assembly is close to permanent and will have to stay outside to brave the elements. So I expect to make some kind of plastic envelope around it to protect it from the elements. The thing has about 60 bolts in total so not designed to be easily dismantled for storage as far as I can see.

PAcrane2B.jpg

PAcrane2.jpg
 
If you have to leave it outside, maybe you could squirt the bolts and critical areas with oil of some sort every once in a while to prevent it from rusting too seriously.

I've been thinking along the same lines. I recently had to change my car battery and saw in online instructions where they advise to use vaseline on the terminals to help prevent corrosion. I was wondering if doing the same on the gantry bolts would be a good idea since I already have a ton of the stuff left over from my car battery project. (We won't say anything about what else it could be used for because I'm too old for that already LOL)
 

phaxtris

(Ryan)
Premium Member
Premium Member
The bolts are plated, just leave them, if you spray then down with anything other than paint your going to have a big mess, the oil will attract any and all dust in the area

What you should do however, is drill weep holes at the bottoms of those hss uprights, they will fill up with water, freeze, and split
 

DPittman

Ultra Member
Premium Member
The bolts are plated, just leave them, if you spray then down with anything other than paint your going to have a big mess, the oil will attract any and all dust in the area

What you should do however, is drill weep holes at the bottoms of those hss uprights, they will fill up with water, freeze, and split
The bolts might be plated but the threads they go into won't be. Dust doesn't rust and will wash off. The drilling of holes in areas that will hold water is a good idea also.
 

phaxtris

(Ryan)
Premium Member
Premium Member
The bolts might be plated but the threads they go into won't be. Dust doesn't rust and will wash off. The drilling of holes in areas that will hold water is a good idea also.

I didn't realise the bolts went into tapped holes, just use anti seize
 

DPittman

Ultra Member
Premium Member
I didn't realise the bolts went into tapped holes, just use anti seize
Oops I made the mistake of assuming things, my bad! I don't know whether the bolts have nuts on them or just into threaded steel. They probably are just bolt and nuts.
 
Oops I made the mistake of assuming things, my bad! I don't know whether the bolts have nuts on them or just into threaded steel. They probably are just bolt and nuts.

Just bolts lock washers and nuts. No threaded holes. Thanks everyone for your input. Certainly food for thought!
 

John Conroy

member
Premium Member
That looks like a great deal. There are none left in any of the stores around Alberta but they are still available online so I just ordered one. $45 ($75 with a $30 rebate) for shipping which also seems like a great deal for a 380 lb item.
 
Last edited:

combustable herbage

Ultra Member
Premium Member
That looks like a great deal. There are none left in any of the stores around Alberts but they are still available online so I just ordered one. $45 ($75 with a $30 rebate) for shipping which also seems like a great deal for a 380 lb item.

Some companies have really upped their online game PA being one of them, I recently purchased a BBQ from CT and instead of fighting with it in store I just used the curbside pick up option and two young lads lifted it onto my trailer under my guidance easy peasy.
 

Everett

Super User
I had one of the one ton units on backorder and eventually cancelled the order. Be careful with PA giving you a cheap freight quote, that's what they did to me too and then backed out on their quote after I placed the order on their website. They refused to ship it without me paying hundreds more in shipping. After a couple months I gave up on them, cancelled the order, and will find some other way of moving my machines once my shop is ready to set them up. If they honor your shipping quote then that would be great for you though!
 

John Conroy

member
Premium Member
My friend had a raincheck for the one ton version and after several months PA finally called him to pick it up. He has it sitting in the crate at his shop in west Edmonton. I convinced him to return it and split the cost of a 2 ton version with me. If we get this 2 ton crane he will be returning the 1 ton. If you still want one Everett you can have it for the sale price he paid for it.
 

Everett

Super User
I appreciate the offer but I pretty much gave up on that one. I have another idea in mind now, for even less than the sale price one. It wasn't a total need of it per se but one of those "would be nice to have" things. I was just less than happy with PA at the time for not honoring what they had offered at the time. They're normally pretty good otherwise.
 

kevin.decelles

Jack of all trades -- Master of none
Premium Member
I’d be interested in the dimensions of the steel on the I-beam, and the vertical tubing for the two ton version to see if it is marginally stronger than the one ton.

I want to widen out the I beam on my 1 ton so it will clear my flat d3ck fender wells. The plan is to just do the beam, but am curious on the dimensions of the other core pieces to see if they only strengthened the beam or all pieces.

I’ll try and take some measurements on the one ton version


Sent from my iPad using Tapatalk

Dimensions on the 2 ton model:

horizontal I beam 3.5 X 6 inches
main vertical upright (bottom part of upright) 3 X 3 inches
support tube dia. about 1-3/8 inches

thicknesses of steel hard to measure when assembled but gauges appear to be thicker in all cases I tried to measure. Only bolts and casters appear to be the same size.
 

John Conroy

member
Premium Member
We got our 2 ton crane yesterday. I picked it up at the Purolator Freight yard in south Edmonton because they could not deliver it when I will be home. After taking a few measurements I can see some problems. I thought the total height in the lowest position was going to be 94" but that is the height to the bottom of the top beam. Total height is 100". My 8" garage door only has a 94" height at full open so I'll have to come up with a plan to make it fit. The wheels are 6.5" tall so it will fit through the opening without the wheels but of course that would be pretty inconvenient, LoL. We are heading out camping for a week so I'll have some time to think about a solution.


As you can see the bottom was blown out of the crate and after I cut the strapping off it just fell apart. Pretty flimsy crate so I'm surprised it made it here from China in 1 piece. No big deal as I planned to unload it piece by piece anyway.


John Conroy

member
Premium Member
I got the crane assembled after a few modifications. I didn't like how much the horizontal bottom beams tended to crush when I tightened the bolts that hold them to the vertical tower pieces so I machined some stuffers from 1.25 hot rolled. The are .010" shorter than the inside dimension of the rectangular pipe that makes up the beam and the bolts now tighten nicely without feeling like the pipe is crushing. To get the clearance needed to get through the garage door I cut 7" off the bottom of the inside and outside vertical telescoping tubes so the total height when fully extended will now be limited to about 132". I had to cut the mounting feet off the outer tubes and weld them back on after shortening the tubes but that went smoothly. I also had to shorten the 4 diagonal struts. The are made of 1.5 round tube so I just put them in the press and flattened the spot on the tube where the new bolt holes would be and cut off the excess. Over all I am pretty impressed with the quality of the crane, all the hardware is decent quality and all the holes lined up properly. I assembled it by myself using the little PA 440 lb electric hoist that I have in the ceiling of my garage. I used that to hoist the overhead beam up to the proper height and then just stood up the assembled towers. It was easy working off a step ladder to then get all the bolts installed. I was worried about how much space it would occupy in the garage but I found a spot where it snuggles up against the wall and sits over top of my lathe. It's pretty out of the way there.

These are the stuffers I made for the bottom tubes. I drilled two 1/4" holes at the end of each stuffer and tig welded them in place.


Last edited:

Tom O

Ultra Member
Nice! I never expected to see a winch cable coming out of the ceiling but it’s not a bad idea.
I went the other route and have the Haas going into the ceiling.
 
Top