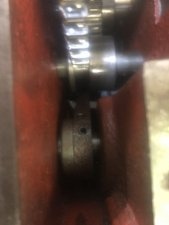
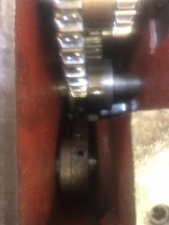
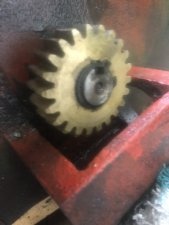
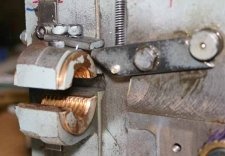
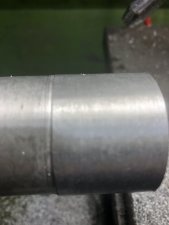
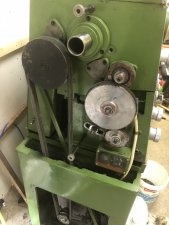
One thing I noticed was that when the clam shell engages, the threading indicator quits as the leadscrew is actually pushed out of the way of the gear on the threading indicator.
If I interpret correct, that tells me the half nut engagement is displacing the leadscrew into the lathe because the indicator gear wheel is fixed in position on the apron. (The indicator assembly on mine is adjustable to swing completely free of the lead screw threads free or adjust tooth engagement. So unless it is just barely contacting to begin with, does it look like the clamshell action is bowing the leadscrew? It doesn't matter if its pushing it up/down or in/out, the issue is alignment. Either are not good.
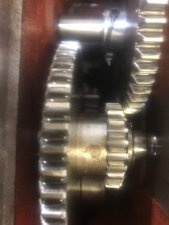
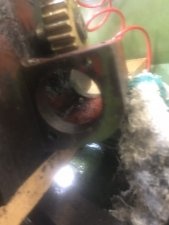
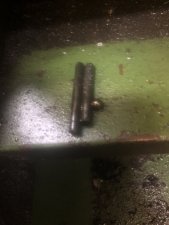
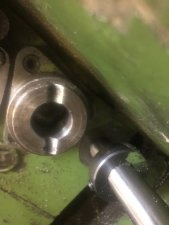
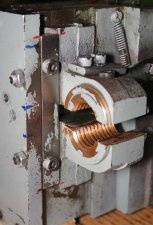
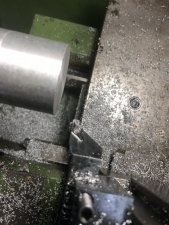
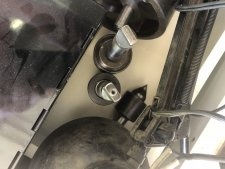
I was looking at your photo's PeterT on your rebuild, How much do I need to remove in order to get at the clamshell? it looks like a few bolts and the gearbox would come off. But I also assume I would need to remove the lead screw since it will be attached to the half nut
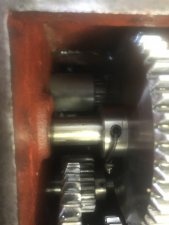
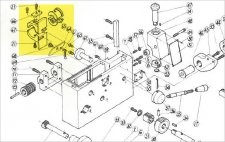
My clamshells are completely behind the apron so apron has to come off. I'd have to refresh my memory it goes something like:
- decouple leadscrew from headstock (a cover coupler & shear pin)
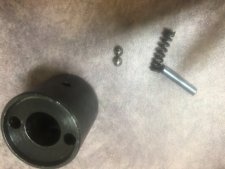
- decouple power feed bar from headstock (shaft roll pin, clutch assembly, balls, springs etc)
- decouple power bar lever rod from headstock (set screw under dust cover & some contact switches)
^^ take pictures off all this because orientations are important ^^
- move carriage to headstock side as far as it can reasonably go in order to minimize bending of 2 shafts
- undo bolts in tailstock bearing block from lathe bed & remove block. May have to be gingerly tapped off,. Mine has roll pins acting as alignment dowels that aren't obvious. Block then detaches 3 rods from respective bearings & bushings. Careful here don't want to introduce any bending to delicate rods
- pull 3 rods through carriage from HS to TS
- (important) pre support carriage underside with wood blocks. I just used stacked 2x4 cutoffs leave maybe 1/2" gap (= the somewhat uncontrolled drop).
- Alternately loosen top bolts that holds carriage on & ease it down to blocks. Pull the top block out or until you have clearance to pull carriage free. Mine has a top gear engagement to the rack so its kind of a slight rotate + out motion.
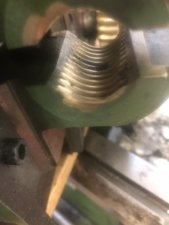
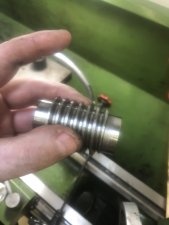
- now you can look at the gory details & the drivetrain mechanism will make sense.

")