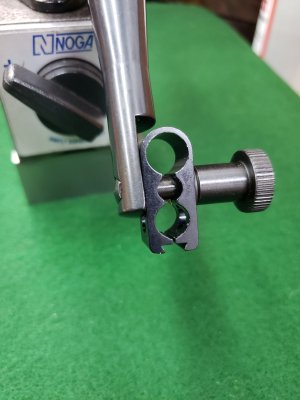
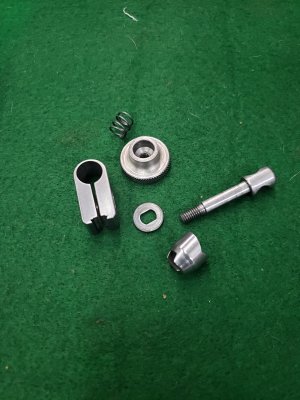
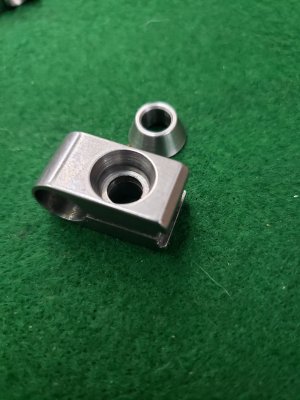
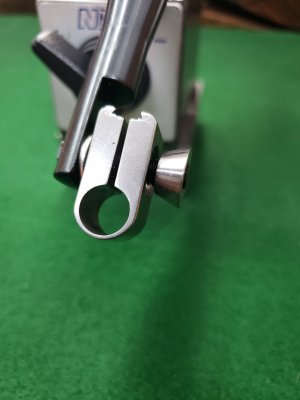
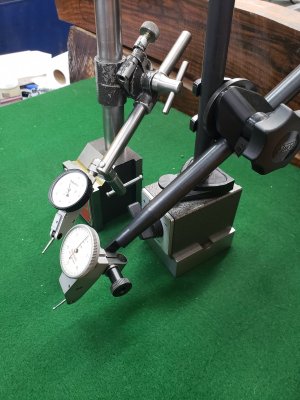
Ok, not glamorous but...over the years, I've acquired a bunch of magnetic indicator stands. In the beginning, all made in China, all junk. They have been the bane of my existence to make them work with my indicators, many of which are Starrett. And the snugs that come with the Starrett sets are beautifully made and function perfectly. The last couple of years, I've purchased 4 Noga magnetic stands, which are highly regarded in all the forums. Well, almost all of it is great, but the snugs that come with them are crap. They don't hold the indicators as securely as I want. They're aluminium, and when you want to remove the indicator you have to stick your fingernail in the slit to separate the snug so that the indicator will come out. So I decided to do something about it. The Starrett snugs have a tapered section on the threaded section which mates with the corresponding taper in the body of the snug.
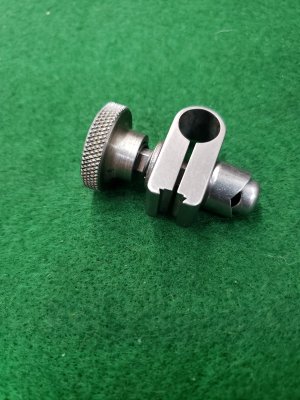
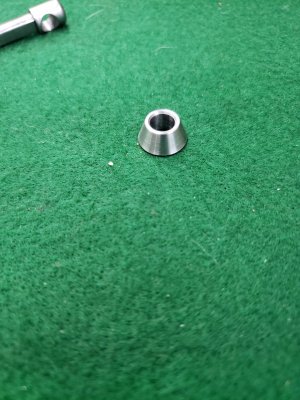
So I made a couple of tapered segments to use with the body of the Starrett snug, and attach to the magnetic base.
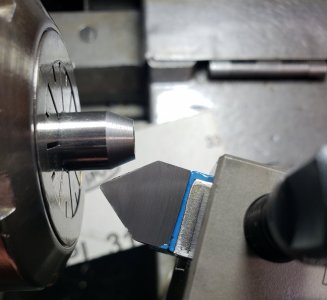
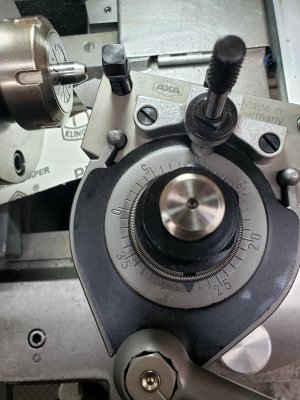
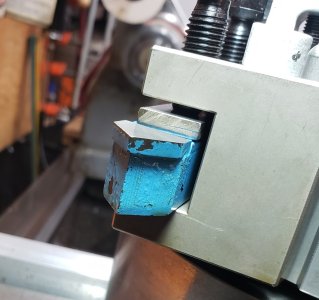
The included angle of tapered section is 40°, 20 per side. Piece of cake if you still have your compound slide on your lathe, and haven't gone solid tool post, like I have. I have an 80° brazed carbide cutter, so I'll use that, but the half is 40°. I could loosen up my solid tool post and rotate it the difference, but I didn't want to do that. Luckily I have the Multifix, so by rotating it in two positions over will give me 18°, so I need 2 more degrees, which I did by repositioning the tool in the tool holder, took a cut, the used Prussian blue to test, and readjusted until had a blue smear at the whole tapered section. They work perfectly. Secure, rigid, quick to remove. I think its taken me longer to post this thread than it did for me to make those two parts.
Attachments
-
 20221109_173806.jpg473.5 KB · Views: 13
 -
 20221109_173849.jpg243.1 KB · Views: 12
 -
 20221109_173956.jpg482.2 KB · Views: 12
 -
 20221109_175058.jpg332.3 KB · Views: 11
 -
 20221109_175121.jpg430.3 KB · Views: 11
 -
 20221109_175209.jpg409 KB · Views: 11
 -
 20221109_174012.jpg508.9 KB · Views: 11
 -
 20221109_174032.jpg366.7 KB · Views: 10
 -
 20221109_174141.jpg201.1 KB · Views: 13
 -
 20221109_174452.jpg441.5 KB · Views: 12
