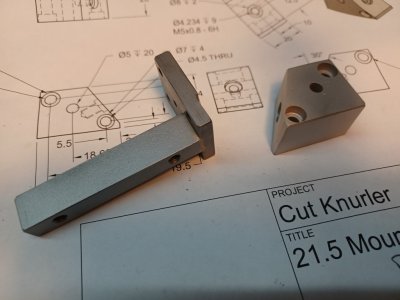
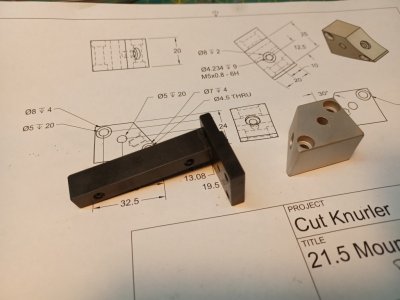
Not really project but close.
I decide to do a test comparing 2 different black oxide treatments
I'll compare Brownells OxPho-Blue to Caswell Plating's cold black oxide concentrate.
Product:
Brownells Oxpho-Blue 4 oz. U.S.
Cost from Amazon $34.54 $8.58/ U.S. oz. (taxes and shipping extra)
Caswell Plating Black Oxide concentrate 1 Pint imperial
Cost from Caswell $43.45 $ 2.17/ Imperial .oz taxes and shipping extra)
The Brownells solution was used as recommended undiluted from the bottle.
The Caswell was used directly from the bottle and undiluted, Caswell recommends dilution of 9 parts distilled water to 1 pint of concentrate.
The test pieces are 1/4" CRS freshly milled and cleaned with acetone, I divided the pieces in 1/2 with tape and numbered 1-4.
Pieces 1 and 2. The oxide solution was applied to each by rubbing in for 1 minute at an ambient temp of approx. 24C
Brownells on section 1
Caswell on section 2
Test pieces 3-4 was applied after the pieces were heated to approx. 100F
Brownells on section 3
Caswell on section 4
Conclusion:
Piece 1 Brownells at ambient temp show blackening but some color hues showing up not a solid black. A lot of mottling
Piece 2 Caswell at ambient temp shows much better darkening and more uniform in colour.
Piece 3 Brownells at 100F shows better colour and even throughout.
Piece 4 Caswell at 100F shows similar to the Brownells in results.
NOTE. None of these pieces have been sealed with oil as per Casswell's instructions, Brownells doesn't mention this in their instructions.
So Caswell shows a much better constant result for 1/4 of the price.


