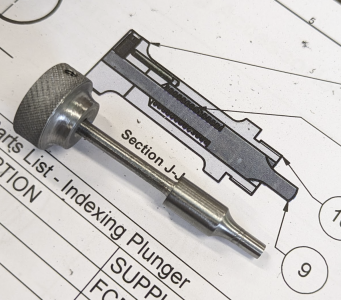
I haven't reported my progress: I left this part sit fallow for a bit while working on a couple of others. Working up my nerve again, and thinking about @thestelster's one-cut technique and how to incorporate it intelligently in the order of operations. I'll come back to it.
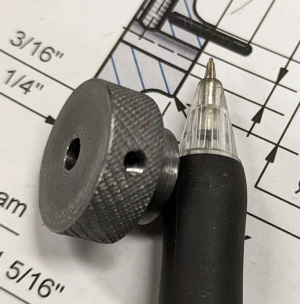
Meanwhile, after a bit of swearing at my knurling tool:

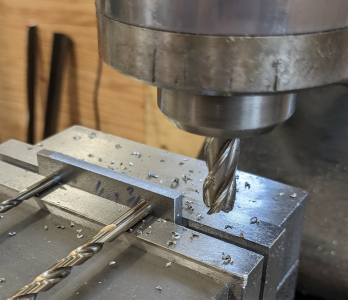
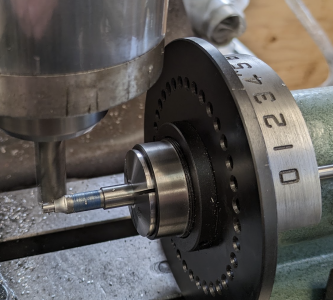
And then mid-way through this little support arm:

The taper came out fine, though slightly off-center. I must have mis-aligned my hole centers fractionally, which might mean I wasn't fastidious enough setting up to drill them, or that I really do need a set of gauge pins.
Next will be to bore those out larger, one 3/8" clearance, and one for 1/2"x20tpi threads.
Meanwhile, after a bit of swearing at my knurling tool:

And then mid-way through this little support arm:

The taper came out fine, though slightly off-center. I must have mis-aligned my hole centers fractionally, which might mean I wasn't fastidious enough setting up to drill them, or that I really do need a set of gauge pins.
Next will be to bore those out larger, one 3/8" clearance, and one for 1/2"x20tpi threads.


