MrBlair
Member
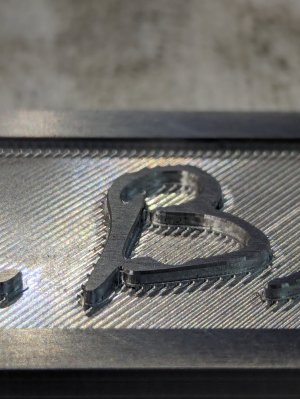
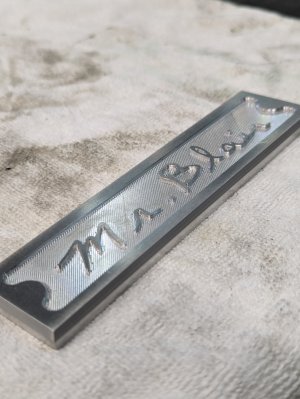
Going to be building myself a 3 drawer wooden toolbox to store my machinery handbook (whenever the 32nd edition finally ships), as well as other tooling at work. First step today was building an inlay for it, I like the designs other manufactures have, so I wanted to have my Grandfathers signature somewhere on the toolbox.

I definitely should of considered a larger endmill for the initial adaptive clearing, and also tightened up the stepovers on the parallel finishing pass, however I'm very happy with the results.

Used:
0.06"D endmill for the roughing pass
0.035"D endmill for the finishing pass and tight areas like the inside of the "L"
60* engraver to chamfer the perimeter as well as the finishing pass in the pocket at a 45* angle.
Ill be countersinking and drilling the 2 holes at a later date, when I know the dimensions of the exact screws ill be using.
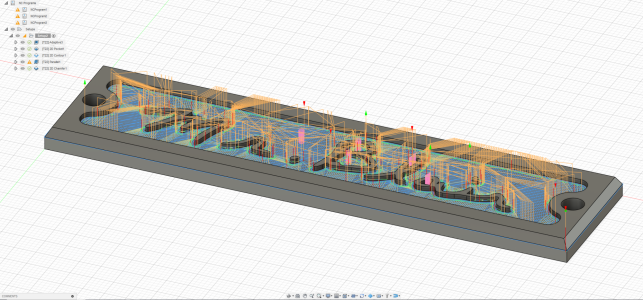
I definitely should of considered a larger endmill for the initial adaptive clearing, and also tightened up the stepovers on the parallel finishing pass, however I'm very happy with the results.
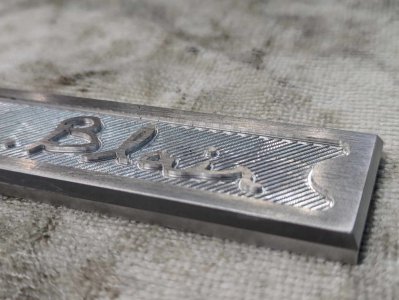
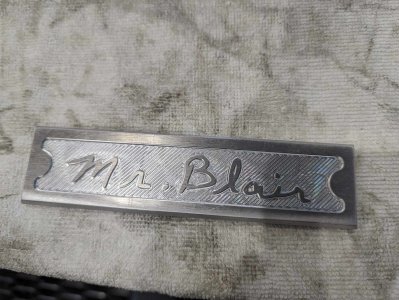
Used:
0.06"D endmill for the roughing pass
0.035"D endmill for the finishing pass and tight areas like the inside of the "L"
60* engraver to chamfer the perimeter as well as the finishing pass in the pocket at a 45* angle.
Ill be countersinking and drilling the 2 holes at a later date, when I know the dimensions of the exact screws ill be using.
Last edited:

